Acoustic treatment is one of the highest-value upgrades in a home studio, and it does not have to be expensive. A few well-placed broadband panels and corner bass traps can make recordings and mixes much easier to trust than a new microphone or a new pair of monitors. Treatment controls reflections inside the room. It is not the same as soundproofing, which is a heavier job of stopping sound from traveling in or out.
Quick answer: place broadband absorption at the first reflection points on the side walls, on the wall behind the monitors, and behind your listening or singing position, then add thick bass traps in the corners. Use 2- to 4-inch mineral-wool or fiberglass panels rather than thin 1- to 2-inch foam. DIY panels cost less than most ready-made packs and can work just as well. Isolation pads such as Auralex MoPADs help speakers, but they are not a substitute for room treatment.
Disclosure: some links in this guide are affiliate links. As an Amazon Associate, Sandy Music Lab earns from qualifying purchases at no extra cost to you, and commissions never decide which products make a list. See our editorial policy.
Why does a home studio need acoustic treatment?
Small rooms with hard, parallel walls smear detail, add flutter echo, and make some bass notes boom while others disappear. Early reflections arrive a few milliseconds after the direct sound and blur stereo image and recorded tone. Treatment absorbs or scatters those reflections so you hear more of the source.
Treatment will not make the room quieter for the neighbors. That is soundproofing, which depends on mass, airtight sealing and often decoupling, and it is a different, usually more expensive project. This guide is part of our home recording studio setup series. See also Wikipedia on bass traps and acoustic foam.
Where should you put acoustic panels first?
Start at the first reflection points, then treat the wall behind the monitors, the wall behind your head, and the corners. The usual side-wall check is the mirror trick: sit in the mix position and slide a mirror along the wall; wherever you see a monitor, place a panel.
A practical order looks like this:
- First reflection points on the side walls, between you and the monitors.
- The wall behind the monitors, to reduce bounce off the front wall.
- Behind your head, or behind a singer when you are recording.
- Corners for bass traps, floor to ceiling if you can, starting with the front corners.
- A ceiling cloud above the mix position, once the walls and corners are started.
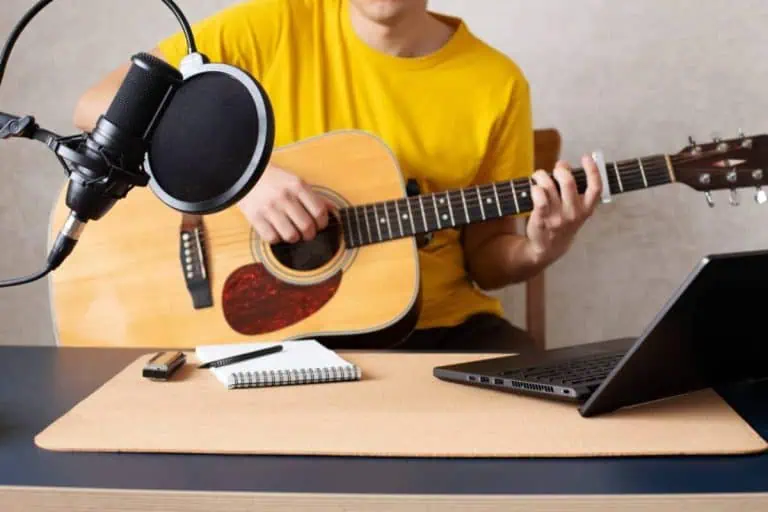
- Extra panels beside a vocal or acoustic-guitar recording spot.
Buy or build fewer, thicker panels and put them in these spots. Two good panels at the side reflections help a mix position more than a box of thin tiles spread around the room.
What kind of acoustic panels work in a home studio?
Thickness and material matter more than shape or color. Thin 1- to 2-inch foam absorbs mainly high frequencies, so a foam-covered room can sound dull on top and still boomy down low. Use 2- to 4-inch mineral-wool or fiberglass panels for mids and highs, and 4-inch-plus corner bass traps for the low end.
| Type | Typical thickness | What it treats | Notes |
|---|---|---|---|
| Thin foam tiles | 1–2 in | High frequencies mainly | Cheap, but easy to overuse |
| Broadband mineral-wool or fiberglass panels | 2–4 in | Mids, highs, some low-mids | Best all-round first purchase or DIY build |
| Corner bass traps | 4 in and up | Low frequencies | Essential in small rooms |
| Diffusers | Varies | Scatter reflections | Useful later in larger rooms, not a first buy |
If you would rather buy than build, Auralex LENRD bass traps are wedge-shaped foam corner traps sold in a 4-pack. Fabric-wrapped 2-inch broadband panels are a ready-made alternative to DIY frames. Auralex MoPAD isolation pads are not wall treatment; they decouple studio monitors from the desk to reduce vibration. For monitor choice and placement, see best studio monitors for a home studio.
Check Auralex LENRD bass traps on Amazon Check Auralex MoPAD isolation pads on Amazon Search fabric-wrapped acoustic panels on Amazon
How do you build DIY acoustic panels?
A 2-foot by 4-foot frame filled with 2- to 4-inch rigid mineral wool or fiberglass, wrapped in breathable fabric, is the usual budget panel. Wear gloves, long sleeves, eye protection and a dust mask, and hang the panel with a 2- to 4-inch air gap, which extends absorption lower.
- Build a simple 1×4 frame that matches the board size and depth, or wrap a frameless board if you prefer.
- Insert the rigid mineral-wool or fiberglass board.
- Wrap it in fabric you can blow air through, pull it taut, and staple the fabric to the back of the frame.
- Add hanging hardware, then mount the panel with that air gap.
- For corner bass traps, use thicker 4- to 6-inch panels, or straddle the corner so the panel sits across it.
This is a weekend project, not a full construction job. Leave commercial fire ratings, building codes and unusual wall types to a professional if your space requires it.
What free or low-cost acoustic fixes help first?
Fix speaker and desk placement before you buy anything. Face the long wall if you can, sit centered between the sides, and pull the monitors away from the wall so they form an equilateral triangle with your head. Add a thick rug, a stuffed bookshelf on the back wall, and a duvet behind a singer.
A closet full of clothes still makes a dry vocal booth for quick takes. See how to record vocals at home. A rough budget path is: free placement and soft furnishings first; then a few DIY broadband panels at the reflection points; then corner bass traps; then a ceiling cloud or rear-wall panels. Exact prices move, so treat those tiers as a sequence, not a shopping quote.
Common mistakes are covering every wall in thin foam, ignoring the corners, treating random spots instead of the reflection points, expecting panels to soundproof the room, and buying treatment before you have placed the desk and monitors.
How we researched this guide
We checked widely used acoustic-treatment practice (first-reflection placement, mineral-wool broadband panels, corner bass traps, and the difference between treatment and soundproofing), plus Wikipedia’s bass-trap and acoustic-foam overviews. We verified the Auralex LENRD 4-pack and MoPAD ASINs against current Amazon listings and dropped an unverified ProPanel product link. We have not measured these rooms or products ourselves. See our editorial policy.
Home Studio Acoustic Treatment FAQs
Where should you put acoustic panels first?
Start at the first reflection points on the side walls between you and the monitors, then treat the wall behind the monitors and the wall behind your head, or behind the singer when recording. Add bass traps in the corners after that.
Does acoustic foam work?
Thin 1- to 2-inch foam absorbs high frequencies but does little for mids and bass, so a room covered in it can sound dull yet still boomy. Thicker mineral-wool or fiberglass panels and corner bass traps are more effective per dollar.
Does acoustic treatment soundproof a room?
No. Treatment controls reflections inside the room. Soundproofing reduces sound passing in or out, which requires mass, sealing and often decoupling, and is a separate project.
How many acoustic panels does a bedroom studio need?
There is no single count, but 4 to 8 broadband panels plus 2 to 4 corner bass traps make a large improvement in a typical bedroom. Start with the reflection points and expand from there.
What material is best for DIY acoustic panels?
Rigid mineral wool or fiberglass board, 2 to 4 inches thick, wrapped in breathable fabric. Leaving a 2- to 4-inch air gap behind the panel improves low-frequency absorption. Wear a mask, gloves and eye protection when handling the insulation.