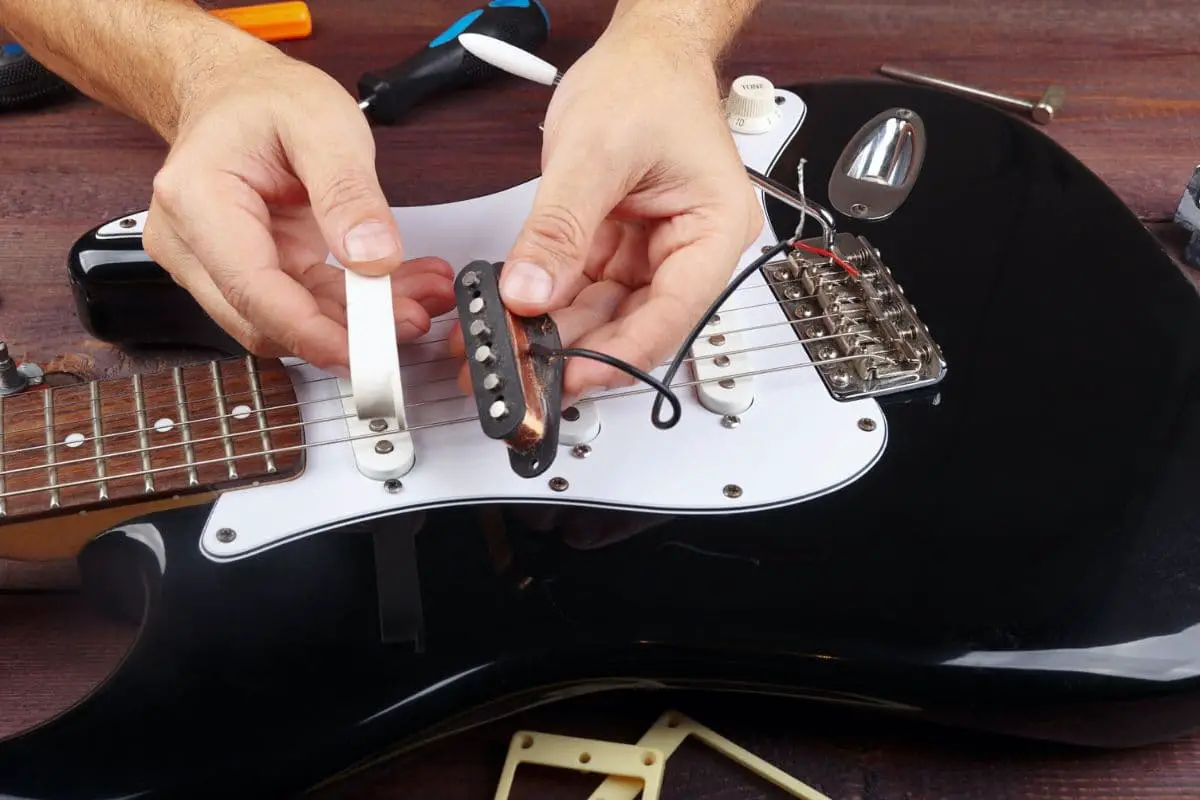
Guitar pickups are a vital part of any electric guitar; without them, the vibration from the strings can’t be transformed into an electrical signal and transported to the amplifier. In essence, without a pickup, your electric guitar won’t work. So, if you are experiencing technical difficulties such as hum, buzz, or even no sound, you might wonder how to check if your pickup is working.
The easiest and most accurate way to check whether your guitar pickup works is to test it with a multimeter. Multimeters can read the resistance your pickup is giving out, indicating whether the pickup is faulty or in good working condition.
It can be frustrating when you want to jam and your guitar has pickup issues—but there are several ways to determine the cause of the problem. This article will discuss the different ways to test if your pickup is working and share some handy information on pickups, so if you are experiencing some issues with your pickup, please read on!
If you want to find out what my recommended guitar gear is, then here is what I recommend on Amazon:
- Fender Cutaway Acoustic-Electric Guitar Bundle (MY FAVORITE GUITAR)
- Snark SN-8 Super Tight All Instrument Tuner (Easiest Tuner I’ve Used)
- 6 String Acoustic Guitar Capo (Best CAPO for quick changes)
- Dunlop Max Grip 1.0mm Nylon Picks (Thick Guitar Pick So You Don’t Lose Grip!)
- Universal Guitar Stand (Cheap & Minimalist Guitar Stand I Recommend)
- Levy’s 2″ Wide Quick Adjust Guitar Strap (Best Guitar Strap For Any Level)
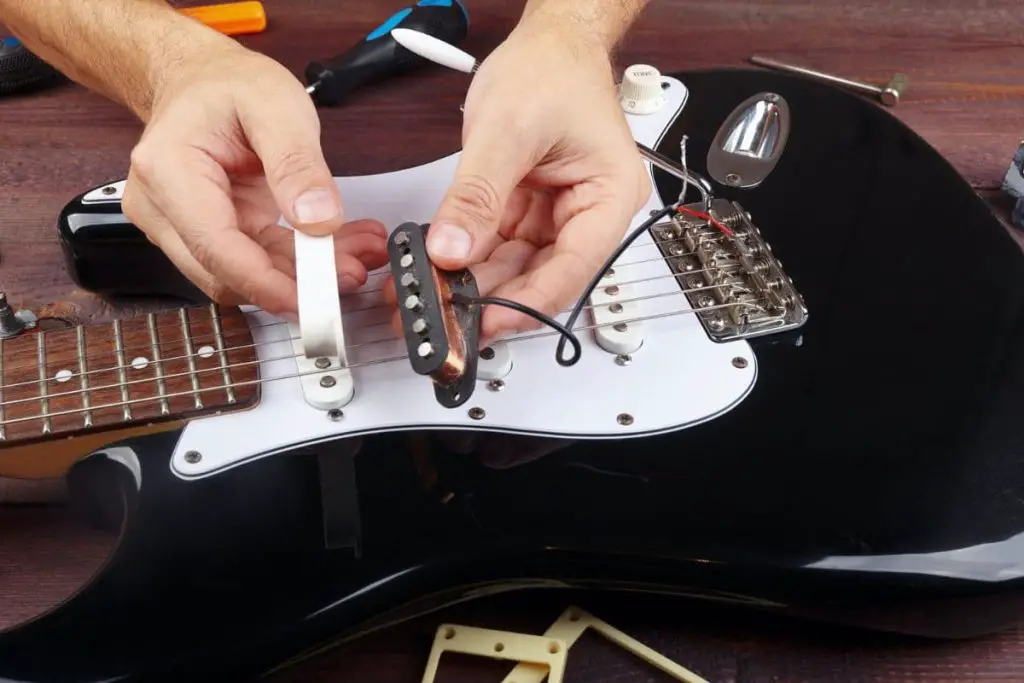
1. Test Your Installed Guitar Pickup With a Multimeter
Multimeters are handy tools. They are affordable and can be used to test an array of different electronics, not just your guitar pickup. When using a multimeter, you can accurately read your pickup’s resistance.
Multimeters are also widely available, so if you don’t already have one, you can run to your local electrical shop or even purchase one online.
This process might sound complicated if you have never used a multimeter before, but let me assure you, they are super easy to use. Once you get the hang of it, testing your pickup will be easy and fast.
What Is Guitar Pickup Resistance?
The resistance of a guitar pickup is a measure of the electrical current that runs through the wire coils.
The more copper wire wound around the magnets—the higher the resistance. The wire is not the only factor that comes into play; the material of the pickup magnet also plays a big part in determining your pickup’s resistance.
To check if your pickup is working, you want to see if the electricity is moving from the hot wire to the ground wire.
How To Test a Pickup Using a Multimeter
Whether the tone of your guitar sounds off or your guitar has suddenly stopped working, testing your pickup with a multimeter will give you a clear indication of its health.
If the pickup you want to test is on your guitar, you can test it from the guitar’s output jack.
Follow these steps to test your pickup with a multimeter:
- Set the multimeter to 20K ohm – Ω. You will have this option, so turn the dial.
- Plug your amp cable into your guitar, but do not plug it into your amp. It would be best to locate the cable’s free end to test the resistance.
- Turn the tone and volume on your guitar to the highest possible setting. If you have mistakenly turned the volume setting down, the test will not give accurate results.
- Select the pickup you want to test if you have more than one pickup on your guitar. You should test both or all three pickups on your guitar.
- Connect the multimeter probes to the cable you plugged into your guitar. One multimeter probe goes on the cable’s sleeve—the other on the cable’s tip.
- The multimeter will give you a reading. This measurement is your pickup’s resistance.
When measuring resistance, ensure you select the correct range on your multimeter. The usual range is 20K ohm, but you get a wide variety of different multimeters, so check your manual to ensure the correct range is for the multimeter you have. If you select the wrong range, you will get an incorrect reading.
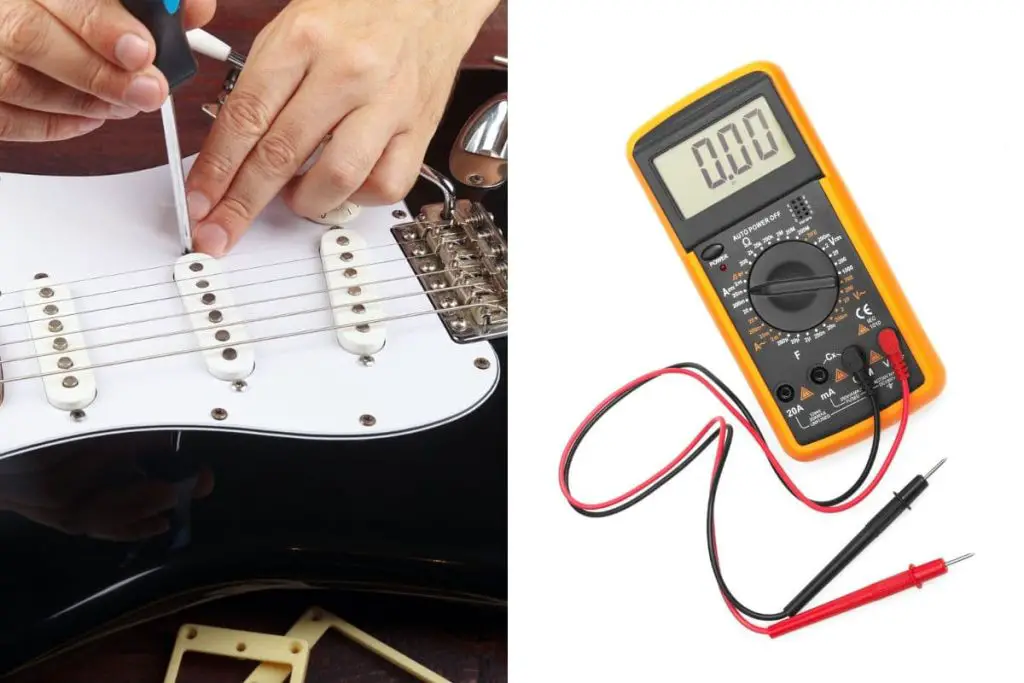
Suppose you don’t own a multimeter but would like to invest in one. In that case, you can get this AstroAI Multimeter and Ohm Volt Amp Tester (available on Amazon.com).
It is a high-speed digital multimeter with a built-in backlight LCD. This multimeter is easy to use and will help you accurately determine your pickup’s resistance. It is also super safe as it has a double ceramic fuse which protects it from overloading, and the silicone cover protects against electric shock.
You can also use an analog multimeter or, as some people know it, a needle meter. Analog multimeters work perfectly to test your guitar pickup’s resistance but remember to always set it to zero before using it, or you will not get an accurate reading.
You can get this super cool Gardner Bender GMT-319 Multimeter Tester (available on Amazon.com) to ensure your pickup’s resistance is in the correct range. The Gardner Bender offers replaceable test leads for your convenience, a color-coded analog display, so it is easy to read, and a manual range selection. With fuse overload protection circuitry incorporated, you can feel safe while using it and be sure to get a correct resistance reading.
2. Test Your Uninstalled Pickup From the Lead Wires
If you bought a new pickup or have one lying around, you can test it from the lead wires without installing it on your guitar.
You will use a multimeter, but instead of attaching it to your guitar cable, you will test the pickup directly. The concept remains the same, but you will connect the multimeter’s probes to different wires.
Testing an uninstalled pickup with a multimeter is easy and will give you a good indicator of the pickup’s health. The reading will likely be more accurate than testing an already installed pickup, as there will be no interference.
How to test non-splittable humbuckers and single-coil pickups:
- Set your multimeter to ohm Ω.
- Attach the red probe to one wire and the black probe to the other wire.
Testing a 4-conductor humbucker with five wires:
- Set your multimeter to ohm Ω.
- Connect the white and red wires. You can use a connector and electrical tape so that the connection is not permanent like it would be if soldered together.
- Connect the green and bare wires.
- Connect the multimeter’s black probe to the white and red wire.
- Connect the multimeter’s red probe to the green and bare wire.
Your pickup is healthy if the resistance reading is in the correct range. If the reading shows a problem, you can test each coil separately to figure out where the problem is.
To do this, you will keep your multimeter on the ohm setting and separately test the fixed-lug north and adjustable south coils. The resistance of each pickup coil should be half of the pickup’s desired resistance.
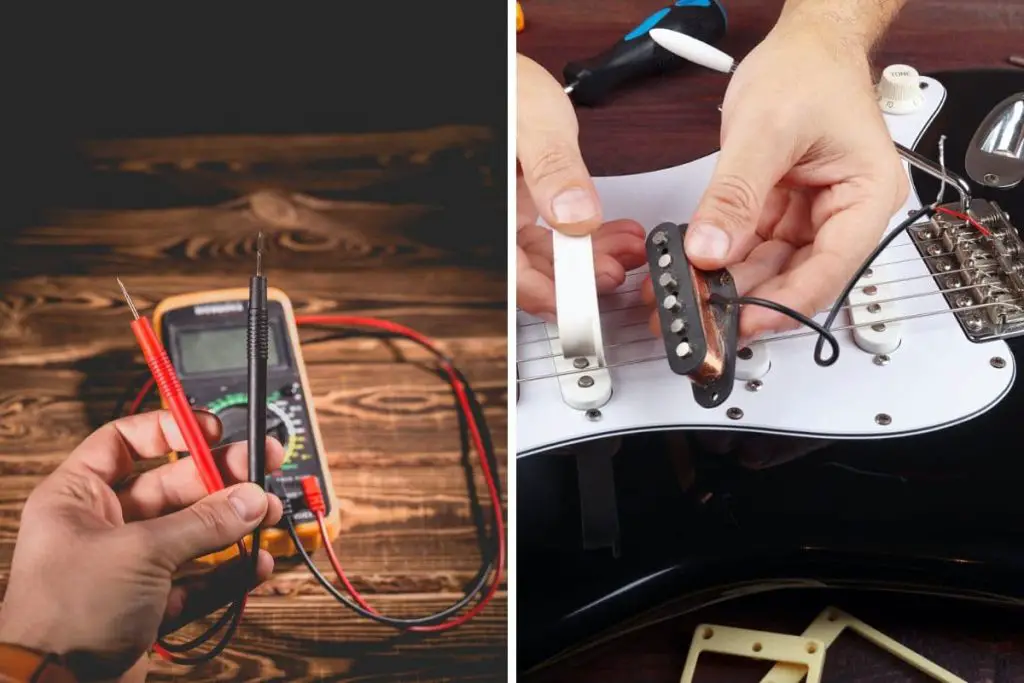
What Your Resistance Reading Means
So, now you have tested your pickup and have a reading, what does that mean?
The resistance of pickups varies from make and model, so it is best to run a search for your specific pickup to see what its desired resistance range is. The resistance can range anywhere from 3K to 40K. However, 3k is extremely low, and 40K is extremely high and rare.
If you have a pickup with very high resistance, it will most likely produce a louder and warmer sound. Humbuckers usually have a much higher resistance than other pickups.
Below you can see the general resistance range of some of the most popular pickups:
- Fender Stratocaster – 6K
- Seymour Duncan CS Psychedelic Strat – 5.85K
- Gibson P.A.F Humbucker – 8.4K
- Bare Knuckle The Sinner Single Coil – 21.5K
- Fender Telecaster Lead – 6.4K
- Seymour Duncan Antiquity P90 – 7.8K
- Gibson Melody Maker – 7.4K
- Fender Precision Bass – 10.6K
- Seymour Duncan Hot P90 – 15K
- Gibson P-90 – 8.6K
- Fender Broadcaster Lead – 7.6K
- Seymour Duncan Jupiter Rails – 8.02K
- Gibson Mini Humbucker – 6.8K
So, now you have tested your pickup and have a reading—what does that mean?
- If the multimeter displays 0. L indicates there is a problem with the wiring. One of the wires in your pickup might be bent, or the soldering may have come loose.
- A reading of 0 means there is a short. The short is most likely between the hot wire and ground connection. It is best to check all your wires and electrical components, as something as simple as a hot wire touching a metal component can lead to a short.
- A reading close to your pickup’s supposed resistance means that the pickup is working well. If you are experiencing sound issues with your guitar, it is not coming from your pickup.
Always ensure your multimeter’s probe wires are in good working condition, or you might not get an accurate reading. If your wires are worn or bent, it is best to replace them. You can get this KAIWEETS Electrician Test Leads Kit (available on Amazon.com) to replace your multimeter wires.
The kit includes alligator clips, mini-hooks, needle probes, and small caps, so you will have everything you need to check the resistance of your guitar pickup. The test leads are compatible with most multimeters and made from double-insulated silicone, making them durable and flexible.
How To Check What Pickups You Have Installed on Your Guitar
There are many reasons why you might want to know which pickups you have on your guitar. Maybe you tested them and got a poor resistance rating, or perhaps you are just curious. Whatever the reason, you have a few different ways to determine which pickups are on your guitar.
There is an enormous variety of pickups available on the market, but they will fall into one of three categories, namely:
- Humbuckers
- Single-coil pickups
- P90 pickups
Humbuckers are the widest pickups, single-coil pickups are the smallest and thinnest, and P90 pickups are wider than a single-coil but thinner than a humbucker.
It is possible to figure out what pickup you have on your guitar by looking at it and comparing it to pictures. If you want to be sure, you can uninstall the pickup and look for the make and model on the back.
Here is an interesting video showing you what single coil pickups, humbuckers, and P90s look like, what they sound like, and some fascinating facts about them.
3. Testing Your Pickup Using a Screwdriver
The best way to test a pickup is with a multimeter, but you can try this easy technique when in a pinch. It won’t be as accurate, but it will indicate which one of your pickups is causing the problem.
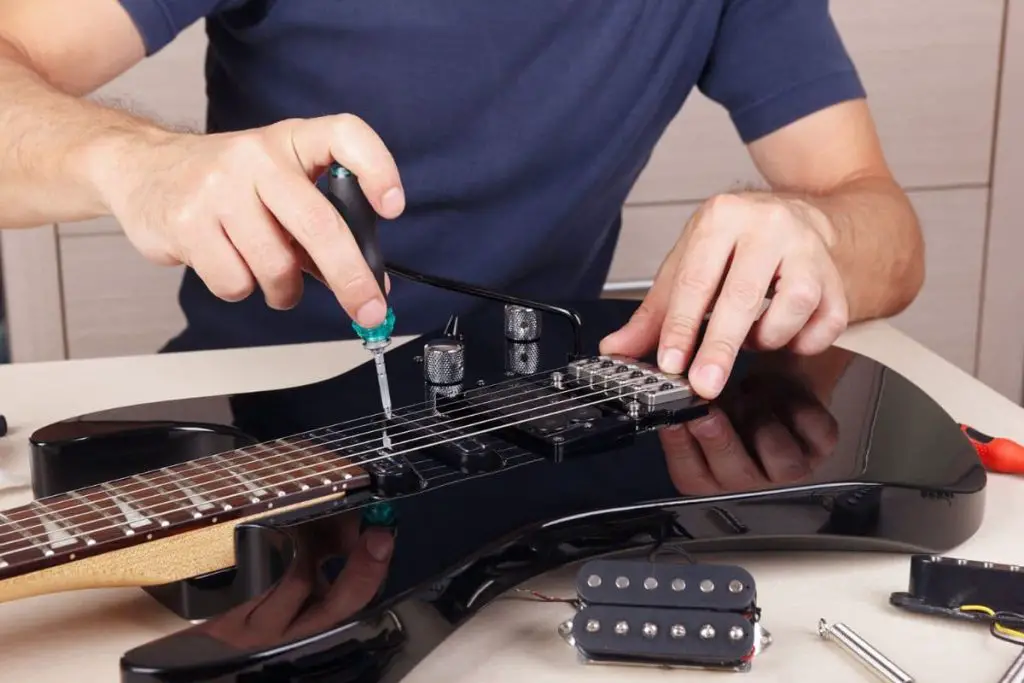
Follow these easy steps to determine which pickup is faulty:
- Plug your guitar into an amp.
- Set your balance and volume to max.
- Take a screwdriver and tap each pickup softly.
Since the pickup has an electromagnetic field surrounding it, tapping it with a screwdriver while plugged into an amplifier should result in a loud clicking noise. If both or all three pickups make a loud noise, they are working fine; if one of them is silent, you have found the faulty pickup.
If you have an uninstalled pickup on your guitar, you can connect a cable that has a jack plug on the one side directly from your amp to your pickup. You can tap the pickup with a screwdriver to see if it makes a sound.
Ways To Tell if a Pickup Is Faulty and Needs To Be Tested
Knowing how to test your pickup is essential—but knowing when and why is also necessary.
Here are a few indicators that something might be wrong with your pickup and that you should test it:
- If there is no sound output at all.
- If the volume goes away when turning the tone control down.
- If you have exposed your guitar to high humidity for an extended period.
- If there is rust visible on your pickup
Reasons Why a Pickup Might Be Faulty
So now that you know how to test your pickup—you might be wondering how it got damaged or broken in the first place. Pickups are made from magnets, wires, and electrical components, meaning they are sensitive to humidity, and you need to take care of them.
Some reasons why your pickup might be damaged or broken include:
- Bad wiring – If you didn’t install your pickup correctly, there could be bent wires or loose connections. This wiring issue will usually cause your amp to buzz.
- Incorrect installation – If you incorrectly installed your pickup—it will result in pickup malfunction.
- Loose solder joints – With wear and tear, solder joints can come loose and cause your pickup to stop working.
- High humidity – If you expose your pickup to high humidity, it can cause the coils and magnets to corrode.
- Loose components – You should ensure that you tighten and fit all parts securely.
- Incorrect or damaged pots – If you don’t have the correct pots or your pots are damaged, you will run into some issues.
- Degraded insulation – Wear and tear and high or low humidity can cause the insulation inside your pickup to degrade, leading to shorts.
- Powerful magnetic fields – If you expose your guitar to a powerful magnet for some reason, your pickup may be affected. A strong enough magnetic field can cause your pickup to lose some of its power.
Is It Time To Check the Pots on Your Guitar Pickup?
If you are having sound issues, you might automatically think one or all of your pickups are the problem, but that is not always true. Volume and tone posts can cause many issues if you are not using the correct ones for your pickup.
It is time to check the pots on your guitar pickup when you experience tone and sound problems with your guitar. Pots have different resistance ratings and may affect the sound and tone of your guitar if paired with the wrong pickup.
Manufacturers often print their pots rating on the pot, but if you cannot find it, your multimeter will come in handy again. Switch the device to ohm and attach a probe to the left and suitable lugs.
Other Electrical Testers and Methods To Test a Pickup
A multimeter is an easy and practical way to test a pickup. However, there are some other machines and methods that you can use, although most guitarists won’t own or use them.
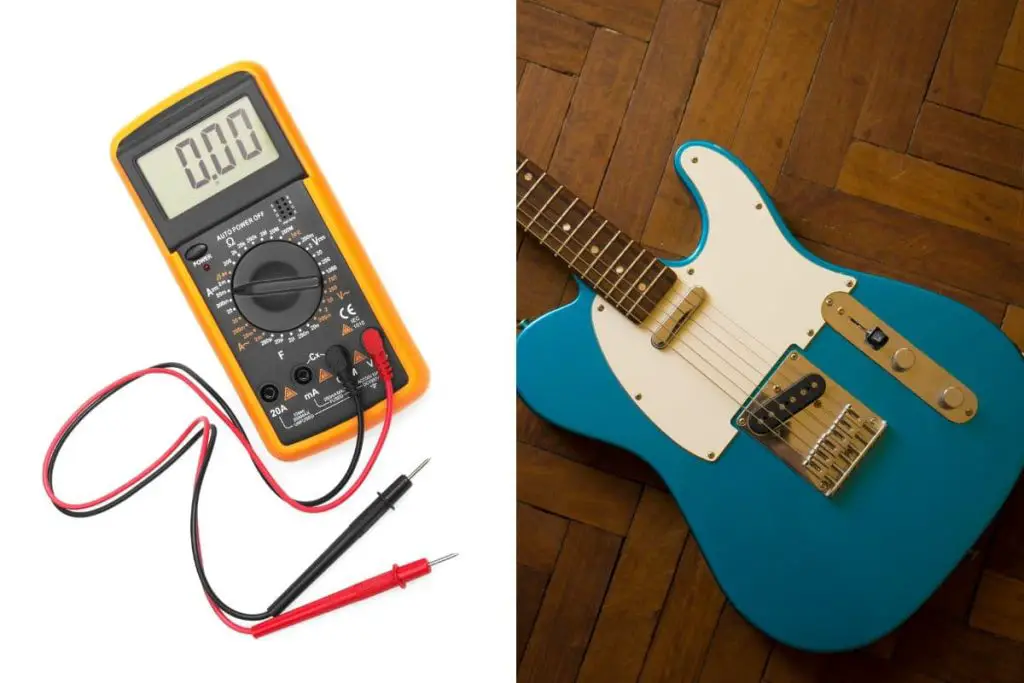
These machines are much more expensive and complicated to use than a multimeter. So, a multimeter is probably the best way to go unless you already have one of these.
For interest’s sake, and in case you might own one of these machines, here they are.
Voltmeter and Wheatstone Bridge
You can use a voltmeter and Wheatstone bridge to determine the DC resistance of your pickup. This method is a more complicated way of testing a pickup, but it is possible. A Wheatstone bridge is an electrical circuit used to measure electrical resistance. This method will give you highly accurate results; however, it won’t be easy.
Oscilloscope and Signal Generator
It is also possible to measure your pickup’s impedance using an Oscilloscope and signal generator. These machines are super expensive, so unless you have access to one, I suggest investing in a good-quality multimeter.
Now, we’re going to take a look at some frequently asked questions.
How do I test my guitar pickups?
There are several ways to test guitar pickups to make sure they are functioning properly:
- Visual Inspection: Start by checking the pickups visually for any damage, such as broken wires, loose connections or a cracked casing. This will give you a good indication if your pickups need any repairs or replacement.
- Multimeter Test: To test the resistance of the pickups, you can use a multimeter to measure the DC resistance of the coils. Set the multimeter to the resistance mode, then touch the probes to the solder points on the pickups, and read the meter. If the reading is within the manufacturer’s specifications, then the pickups are functioning properly.
- Listening Test: One of the simplest ways to test pickups is to simply listen to them. Plug the guitar into an amplifier and play each pickup individually, paying close attention to the tone and volume levels. If the sound is clear and balanced, with no hum or interference, then the pickups are likely functioning properly.
- Magnetic Polarity Test: You can use a small compass to test the magnetic polarity of the pickups. Place the compass near the pickups and observe the direction of the compass needle. The needle should point towards the opposite polarity of the magnet in the pickup. If the needle points towards the same polarity, the pickup may be wired incorrectly.
- Tapping Test: To test the output of the pickups, you can tap the strings with a metal object while the guitar is plugged into an amplifier. This will help you to hear any changes in output or any static noise that may indicate a problem with the pickup.
It’s important to remember that the sound of a guitar pickup can also be affected by the amplifier, pedals, and other factors in the signal chain. If you are unsure about the sound or function of your pickups, it may be a good idea to take the guitar to a professional for a thorough inspection and evaluation.
How do I know if my pickups are active?
There are a few ways to determine if your guitar pickups are active or passive:
- Look for a Battery Compartment: Active pickups require a power source, typically a 9-volt battery, which is usually housed in a compartment on the back of the guitar or in the control cavity. If you see a battery compartment, chances are your pickups are active.
- Check for Preamp Controls: Active pickups often have onboard preamps that allow you to shape the tone of the pickups. These preamp controls may be located on the guitar body or on a separate control box. If you see controls for bass, treble, and/or mid-range, it’s likely that your pickups are active.
- Listen for a Boosted Signal: Active pickups typically produce a stronger signal than passive pickups, which means they can provide more output and sustain. If you notice a significant boost in volume or sustain when using your guitar, it’s possible that your pickups are active.
- Read the Pickup Specifications: If you are unsure whether your pickups are active or passive, you can check the manufacturer’s specifications or consult the guitar’s owner’s manual. This information should tell you whether your pickups are active or passive.
If you are still unsure whether your pickups are active or passive, you can take your guitar to a professional technician or guitar shop for an evaluation. They can help you determine the type of pickups you have and whether they are functioning properly.
How do I know if my guitar pickup is broken?
There are a few signs that your guitar pickup may be broken or malfunctioning:
- No Sound or Weak Signal: If you are not getting any sound or a very weak signal from your guitar, it could be a sign that your pickup is not functioning properly. Try plugging in a different guitar to the same amplifier to rule out any other potential issues.
- Distorted Sound: A distorted or fuzzy sound can also be a sign of a faulty pickup. This could be caused by a damaged coil or a loose wire.
- Buzzing or Humming Noise: If you hear a buzzing or humming noise, this could be caused by a ground issue or a damaged wire. Try moving the guitar around and see if the noise changes to rule out any external interference.
- Uneven Output: If the output of your pickup is uneven, meaning some strings are louder than others, this could be a sign that the pickup is damaged or dirty.
- Physical Damage: If you see any physical damage to the pickup, such as a cracked or broken casing, loose or damaged wires, or any other visible damage, this could be a sign that the pickup needs repair or replacement.
If you suspect that your guitar pickup is broken, it’s best to take it to a professional technician or guitar shop for repair or replacement. They can diagnose the problem and make the necessary repairs or replacements to get your guitar back in working order.
How can I test my guitar pickups without a multimeter?
While a multimeter can be a useful tool for testing guitar pickups, there are a few ways to test your pickups without one:
- Visual Inspection: Start by visually inspecting the pickups for any damage or obvious signs of wear. Check the wiring and connections for any loose or broken wires, and inspect the pickup casing for any cracks or other damage.
- Listening Test: One of the simplest ways to test pickups is to play the guitar and listen to the sound. Plug the guitar into an amplifier and play each pickup individually, paying close attention to the tone and volume levels. If the sound is clear and balanced, with no hum or interference, then the pickups are likely functioning properly.
- Magnetic Polarity Test: You can use a small compass to test the magnetic polarity of the pickups. Place the compass near the pickups and observe the direction of the compass needle. The needle should point towards the opposite polarity of the magnet in the pickup. If the needle points towards the same polarity, the pickup may be wired incorrectly.
- Tapping Test: To test the output of the pickups, you can tap the strings with a metal object while the guitar is plugged into an amplifier. This will help you to hear any changes in output or any static noise that may indicate a problem with the pickup.
If you suspect that your pickup is not working properly, it’s best to take your guitar to a professional technician or guitar shop for repair or replacement. They can diagnose the problem and make the necessary repairs to get your guitar back in working order.
How do you tell if pickups are working without strings?
It can be difficult to test guitar pickups without strings, as the strings are what generate the magnetic field that the pickups detect. However, there are a few ways to test pickups without strings:
- Tap Test: With the guitar plugged into an amplifier, tap on the pickup with a metal object such as a screwdriver or metal pick. If you hear a sound coming through the amplifier, this is a good indication that the pickup is working properly.
- Magnetic Polarity Test: You can use a small compass to test the magnetic polarity of the pickups. Place the compass near the pickups and observe the direction of the compass needle. The needle should point towards the opposite polarity of the magnet in the pickup. If the needle points towards the same polarity, the pickup may be wired incorrectly.
- Visual Inspection: Inspect the pickups visually for any damage or obvious signs of wear. Check the wiring and connections for any loose or broken wires, and inspect the pickup casing for any cracks or other damage.
It’s important to keep in mind that testing pickups without strings can be less reliable than testing with strings. Without the strings, the magnetic field generated by the pickups will be weaker, and the tone and volume may be different than when the guitar is strung and tuned. For the most accurate results, it’s best to test pickups with strings installed.
Do guitar pickups fail?
Yes, guitar pickups can fail over time due to various factors, such as wear and tear, moisture, heat, or physical damage. The most common types of guitar pickup failures include:
- Wiring Issues: One of the most common causes of guitar pickup failure is wiring issues, such as broken or loose wires or connections. This can cause a variety of problems, including weak or distorted output, buzzing or humming noise, or no sound at all.
- Coil Damage: The coils in guitar pickups can become damaged over time due to exposure to moisture, heat, or physical damage. This can cause a loss of output, distortion, or other issues.
- Magnet Damage: The magnets in pickups can become demagnetized or damaged over time, which can cause a loss of output or changes in the tone of the pickup.
- Physical Damage: Drops, bumps, or other types of physical damage can cause the pickup to fail, either by breaking the wiring or damaging the casing or magnet.
If you suspect that your guitar pickup is failing, it’s best to take it to a professional technician or guitar shop for repair or replacement. They can diagnose the problem and make the necessary repairs or replacements to get your guitar back in working order.
Are guitar pickups fragile?
Yes, guitar pickups are very fragile and are susceptible to damage if they are not handled or maintained properly. While the pickups themselves are made of sturdy materials such as magnets and coils, the wiring and connections can be delicate and may become damaged if they are mishandled or exposed to moisture or heat. Physical damage, such as drops or impacts, can also cause damage to the pickups or wiring.
Do pickups sound better with age?
It is a common belief among some guitarists that guitar pickups can sound better with age, similar to how vintage guitars can develop a “mojo” or improved tone over time. However, the idea that pickups improve with age is somewhat of a myth.
While it is true that some vintage pickups are highly sought after for their tone, this is not necessarily due to their age. Rather, it is due to the quality of materials and construction used in the original pickup design, which can vary from one model to another. The way a pickup is wound and the materials used, such as the type of magnet or wire, can have a significant impact on the tone and output of the pickup.
Additionally, the overall sound of a guitar and its pickups is affected by a variety of factors, such as the type of wood used in the guitar’s construction, the quality of the strings, the type of amplifier, and the playing style of the guitarist. So while it is possible that some vintage pickups may sound great, it is not necessarily due to their age, and it is important to remember that there are many other factors that can affect the tone and output of a pickup.
In summary, while some guitarists may believe that pickups sound better with age, there is no scientific evidence to support this claim. The quality of a pickup’s tone is determined by a variety of factors, including the original design, the materials used, and the overall construction and setup of the guitar.
Can pickups be too close to strings?
Yes, guitar pickups can be too close to the strings, and this can cause a variety of problems with the tone and playability of the guitar. If the pickups are too close to the strings, it can cause the strings to vibrate in a way that produces a “muddy” or distorted sound, with reduced sustain and clarity.
In addition to affecting the tone of the guitar, pickups that are too close to the strings can also make it more difficult to play, as the strings may come into contact with the pickup and produce unwanted noise or interference. This can be especially problematic for lead guitar playing, where precise string bending and vibrato are important for creating a clean and articulate sound.
To avoid these issues, it’s important to set the pickup height correctly. The optimal distance between the pickups and the strings will vary depending on the type of pickup and the playing style of the guitarist, but a good rule of thumb is to set the pickups at a height that allows the strings to vibrate freely without coming into contact with the pickup.
If you’re not sure how to set the pickup height on your guitar, it’s best to take it to a professional technician or guitar shop for an evaluation. They can help you determine the correct pickup height for your guitar and make any necessary adjustments.
If you want to find out what my recommended guitar gear is, then here is what I recommend on Amazon:
- Fender Cutaway Acoustic-Electric Guitar Bundle (MY FAVORITE GUITAR)
- Snark SN-8 Super Tight All Instrument Tuner (Easiest Tuner I’ve Used)
- 6 String Acoustic Guitar Capo (Best CAPO for quick changes)
- Dunlop Max Grip 1.0mm Nylon Picks (Thick Guitar Pick So You Don’t Lose Grip!)
- Universal Guitar Stand (Cheap & Minimalist Guitar Stand I Recommend)
- Levy’s 2″ Wide Quick Adjust Guitar Strap (Best Guitar Strap For Any Level)
Related Posts:
- Do One Pickup Guitars Sound Better? 9 Things To Know
- This Is How Acoustic Guitar Pickups Work
- 14 Ways To Make Electric Guitar Pickups Sound Better
- How To Deal With Noisy Guitar Pickups (7 Easy Ways)
- Acoustic Guitar Pickup Not Working? How to Fix It
- 7 Surprising Benefits of a Single Pickup Guitar
- What Is A Passive Pickup On An Acoustic Guitar?

