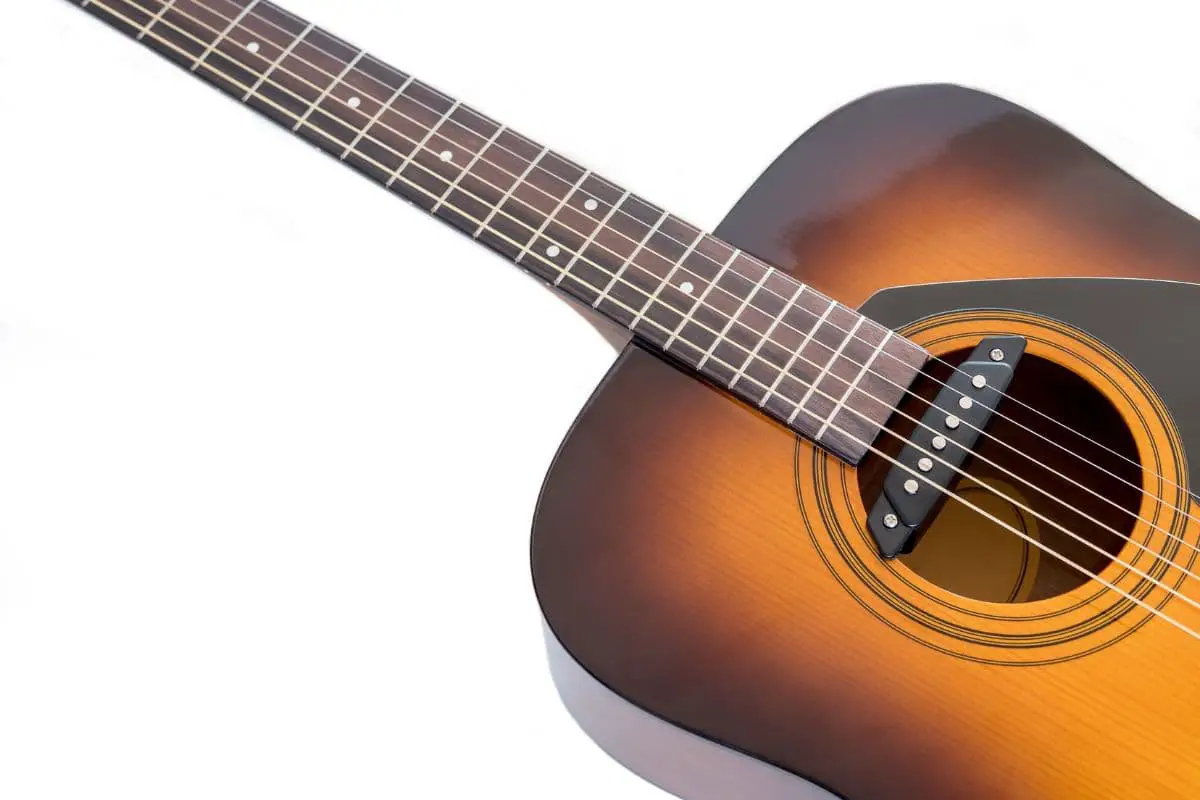
Some acoustic guitars come with built-in pickups, whereas others can use external pickups. If your guitar’s pickup suddenly stops working, it can be a bit alarming. These small gadgets let you amplify and record your music, but they have many parts that need to be maintained and repaired to prevent them from failing.
Your acoustic guitar pickup isn’t working because the cables are loose, the wires aren’t soldered properly, or the battery is dead. Test the audio interface, amplifier, and digital audio workstation if the pickup is fine. Use a multimeter to see if the pickup’s battery needs to be replaced.
In this post, we’ll explain why your acoustic guitar pickup isn’t working and what you can do about it.
👇😀👇NOTE👇😀👇
If you want to find out what my recommended guitar gear is, then here is what I recommend on Amazon:
- Fender Cutaway Acoustic-Electric Guitar Bundle (MY FAVORITE GUITAR😀)
- Snark SN-8 Super Tight All Instrument Tuner (Easiest Tuner I’ve Used😏)
- 6 String Acoustic Guitar Capo (Best CAPO for quick changes)
- Dunlop Max Grip 1.0mm Nylon Picks (Thick Guitar Pick So You Don’t Lose Grip!)
- Universal Guitar Stand (Cheap & Minimalist Guitar Stand I Recommend)
- Levy’s 2″ Wide Quick Adjust Guitar Strap (Best Guitar Strap For Any Level)
Test the Cable
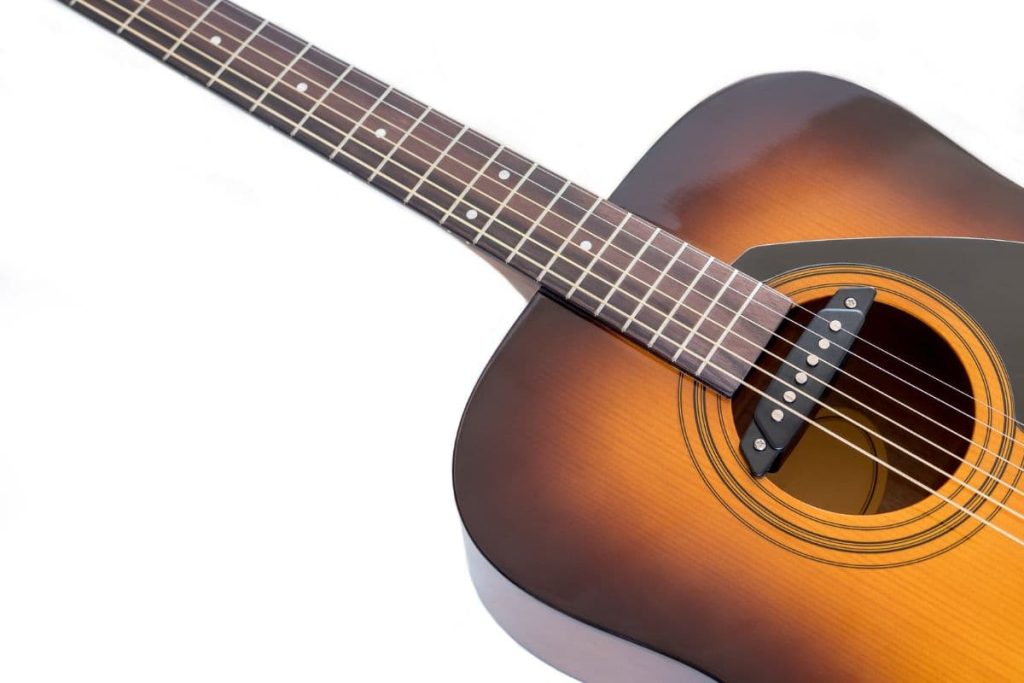
Does your pickup have power, but it’s not transmitting a signal to any of your devices? If so, there’s a high chance that something’s wrong with the cable. If it’s the first time you’ve used the cable, you might have the wrong type.
Some cables have one band, and others have multiple bands. These bands transmit signals, so they won’t work if you have the wrong type for your pickup. The same applies to the other side of the cable and the device it’s connected to.
If it’s the right type of cable, try it on another device. Connect your guitar to something else, or connect the audio interface to a different instrument. If the cable works, there’s more than likely an issue with the pickup; otherwise, the cable needs to be replaced.
Replace the Battery
Replacing the 9v battery in your acoustic guitar’s pickup can make all the difference. Most pickups have small batteries that last a long time, so it’s understandable that you might forget about them. However, it’s important to test the battery before replacing it. If you add a new battery when the old one still has a charge, there’s likely a fault somewhere else in the pickup.
Here’s how to test and replace your pickup’s battery:
- Remove the retainer clip and take out the battery. Now is the time to replace the retainer clip if it’s damaged. The clip can break, which allows moisture into the battery compartment. Pull out the battery and check how many volts it has (most pickup batteries are nine volts).
- Test the battery with a multimeter. Place both nodes of the multimeter (you can also use a voltmeter) on the open ends of the battery. Turn on the meter and set it to detect volts. The battery should read however many volts there are on the label. For example, if it says 9 volts, it shouldn’t be any less than that.
- If the battery is lower than 9 volts (or whatever voltage it’s supposed to be), it’s time to replace the battery. Some batteries have a slightly higher voltage than the label. This is typically okay unless the battery is hot to the touch, bulging, or otherwise damaged. Always replace damaged batteries, even if they have the right voltage.
- Slide the new battery into the pickup and close the retainer clip. Make sure the open prongs face the right direction. Close the clip and ensure none of the battery is exposed. If it’s loose, there’s a high chance that it won’t have a reliable connection. This problem will result in your pickup not working.
The Duracell Coppertop 9v Batteries are some of the most reliable batteries on the market. This four-pack will last several years in your acoustic guitar’s pickup. Not only do they last over five years when unused, but they also hold a longer charge than any other nine-volt battery we’ve come across.
Inspect the Amp or Audio Interface
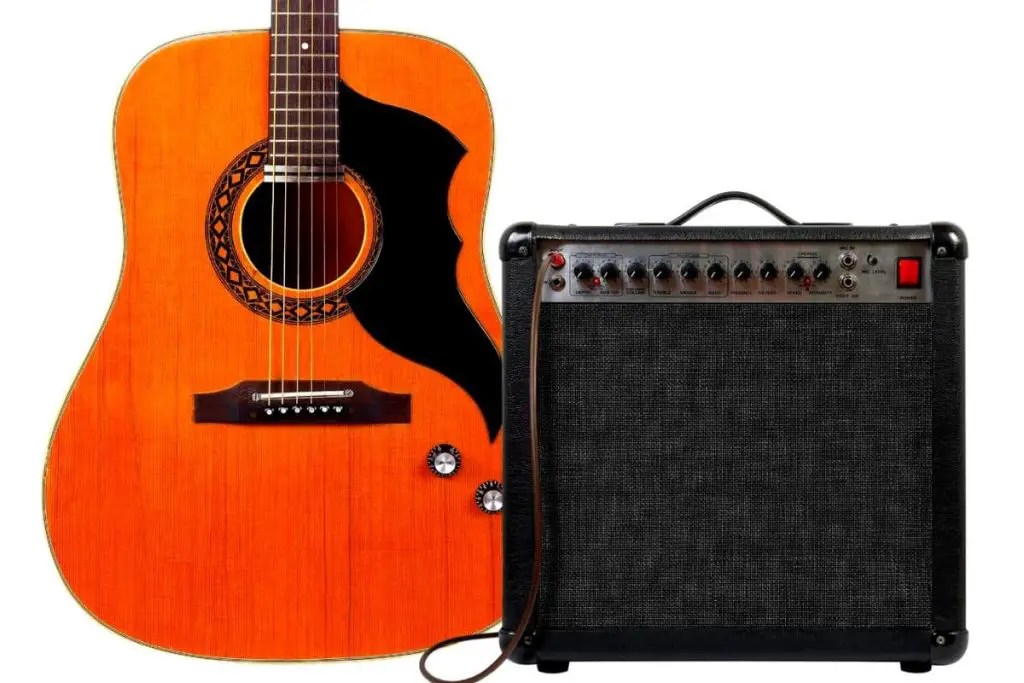
Your acoustic guitar pickup might be fine. The fault could lie in one of the connected devices, including the amplifier or the audio interface. Both of these devices require a direct, stable connection. They have numerous parts and features that could disrupt the pickup, making it seem like it suddenly doesn’t work.
So, what should you look for?
- Check if the amp or audio interface is on and the volume is up. These might seem like the most obvious steps, but they’re essential. Some audio interfaces don’t need to be turned on; they turn on by being plugged into the power source (computers, outlets, etc.). There’s also a volume switch on some pickups.
- Test the gain, treble, and bass. Your pickup might not sound like it’s working if the gain is too low. The gain controls the tone. When there’s no tone, there’s barely any volume. Furthermore, a complete lack of treble or bass could make the instrument very hard to hear through the pickup, AI, or amplifier.
- Make sure the audio interface or amplifier registers the connection. Some audio interfaces have illuminated inputs. When there’s something plugged into it, the input gets bright or displays a specific color. The same applies to some amps. If your equipment doesn’t register the pickup, it could be because there’s a problem with the cables.
- Ensure the device has a steady power source. The internal wiring, external cable, or plug outlet could be damaged. If there’s no secure source, your pickup won’t register long enough to work through any of these devices. If you’re having trouble, consider removing the extension cables and plugging the device directly into the outlet.
- Inspect the external speakers. If your audio interface is connected to a computer or a speaker system (which it more than likely is), check if the speakers are in good condition. Plug something else into the speakers and see if they work. Much like the amp or AI, make sure the speakers have a reliable power source.
Fix the Digital Audio Workstation
Digital audio workstations (also known as DAWs) are what you use to edit and record various instruments. You can plug an acoustic guitar’s pickup into a laptop via a USB cable or an audio interface, then access the DAW. Most DAWs have numerous controls that can affect whether or not you hear them coming out of the speakers.

Consider these quick DAW fixes:
- Turn on the feedback monitoring option. Most digital audio workstations have feedback systems. These settings let you play your recording through your headphones or speakers. However, if the feedback option is turned off, you won’t hear anything coming out of the DAW, but it can still record.
- Adjust the gain, compression, volume, dB, etc. If your digital audio workstation is too low, it won’t pick up anything from your acoustic guitar. The same applies to the volume and the gain. If any of these primary settings are turned down, your instrument won’t produce sound or tone, which could make it seem like the pickup isn’t working.
- Make sure the digital audio workstation is updated. Most digital audio workstations need to be updated regularly. You can turn on automatic updates, but make sure you know if your DAW is current if it’s not working. Remember, your guitar pickup isn’t always the problem. It could be the programs you’re working with.
- Check the DAW’s receiver to know how it’s pulling the signal from the acoustic guitar’s pickup. Most digital audio workstations let you pull signals from pickups, USB cables, audio interfaces, and microphones. If your DAW is set to receive a signal from a microphone, but you’re using an audio interface, the pickup won’t work.
- Find out if the digital audio workstation is getting a signal from the instrument. Look for a notification that the DAW is connected to something. It doesn’t matter what receiver it’s set to if it’s not getting a signal from an input. Once the DAW shows it’s receiving the signal from the instrument, you can head to the next list of suggestions.
Replace the Guitar’s Wiring
Replacing your guitar’s wiring can be the perfect solution. According to Acoustic Guitar, your pickup’s wires can loosen from misuse, heavy usage, and old age. When the wires loosen, they need to be replaced or crimped to the pickup. Make sure you use the proper wire gauge as recommended by the manufacturer.
Follow this step-by-step process to replace the pickup’s wiring:
- Remove the strings from the guitar if you need to access the pickup through the sound hole. Acoustic guitar pickups are often inside of the sound hole. They sit near the bridge to optimize the bass tones. However, they can also be found near the neck or on the fretboard. If it’s inside of the guitar, remove the strings to prevent them from snapping.
- Remove the retaining screws to pull out the pickup. All pickups are held to the guitar with small screws. Manufacturers almost never use an adhesive because they know you’ll eventually have to remove or replace the pickup. On that note, don’t use wood glue when you put the new pickup on the guitar.
- Loosen and disconnect the damaged wires. Some wires are attached with screws that retain the connection, while others use soldering to keep them on the pickup. If your pickup has soldered wires, they should be removed with pliers. You might need to pry the soldered metal off of the pickup, too.
- Connect new like-for-like wires, then crimp them into the pickup. Always use the same wire gauge. If you use the wrong gauge, the connection won’t work. Furthermore, using wires that are too long will take up a lot of space in the guitar. These wires can alter the guitar’s sound by changing the string’s circular vibrations.
- Seal the pickup and replace the strings if necessary. The pickup needs to be connected with the same retaining screws. You can also replace the battery during this process. Some pickups have foam seals and rubber seals that prevent moisture damage. Never connect a pickup without replacing these seals.
Repair Bent Inputs
Acoustic guitar pickups deal with multiple inputs. For example, there’s an input on the pickup, one on the audio interface, and one on the computer or sound system. Pickups also deal with multiple outputs. With all of these connections, there could be bent or damaged ports that need to be repaired.
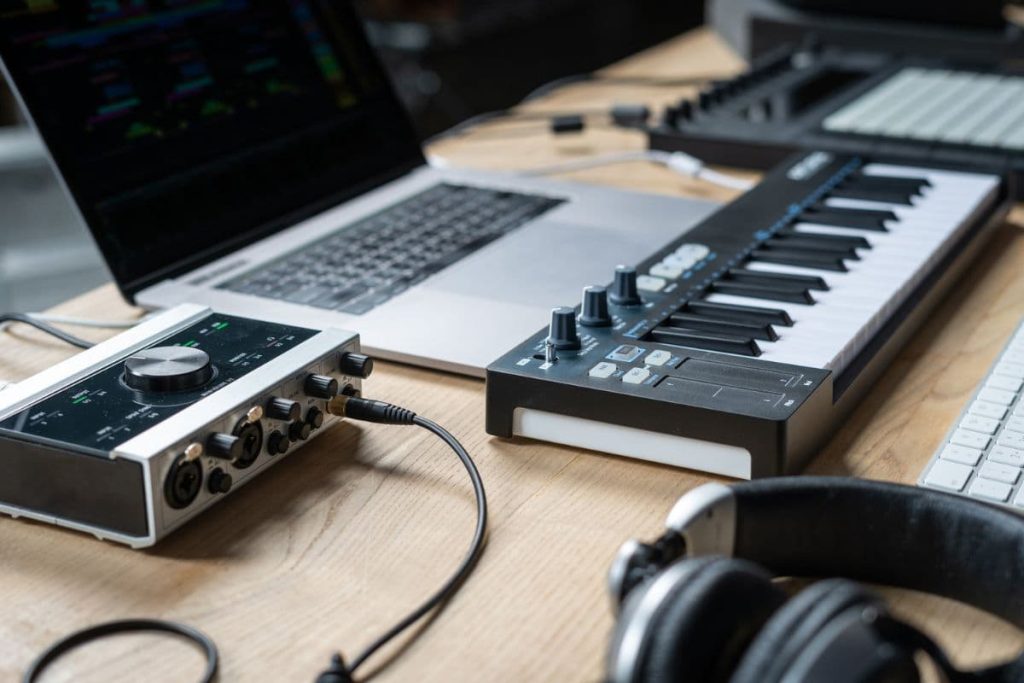
If an input is broken on the audio interface, sound system, or computer, you might need to take it to a local repair shop. Contact the manufacturer before opening the device. However, you can usually remove a bent input on a guitar’s pickup because it’s not fully enclosed.
Follow these quick steps:
- Unscrew and remove the pickup.
- Disconnect the screws holding the input to the pickup (some of them have retaining brackets that clip on and off).
- Attach the new input (always choose one recommended by the manufacturer).
- Connect the pickup to the guitar and test your work.
Reset the Phase Switch
According to Taylor Guitars, many pickups have a phase switch. If it’s turned off or it’s blocked, you’ll have to reset the switch. All you have to do is flip the switch in the opposite direction. This is one of the simplest and most straightforward solutions to a pickup that suddenly won’t work.
So, what causes phase switch problems?
- Dropping the guitar or something falling into the instrument
- Accidentally bumping the phase switch
- A loose pickup falling and hitting the inside of the sound hole
- Loose phase switches from wear and tear
If the phase switch doesn’t stay in the correct position, you might have to replace it. A loose switch will keep flipping, which becomes a non-stop issue. Replacing the phase switch typically means you have to get a brand-new pickup. Read on to learn the easiest and most effective method.
Replace the Pickup
If all else fails, you might need to replace the pickup. Unfortunately, acoustic guitar pickups don’t last forever. They can get worn down from long-term use, misuse, or not using it at all. The good news is that it’s quite easy to replace a guitar’s pickup. Whether you have a pickup under the strings or inside the guitar, you’re in the right place.
Here’s how to quickly replace the pickup:
- Remove the battery. If the battery still has a charge in it, you can reuse it in the next pickup. There’s no need to get rid of the battery; it’s very unlikely that it caused anything to happen to the pickup. Test the battery with the previously mentioned multimeter method if you’re unsure of how to do so.
- Loosen the screws holding the pickup to the guitar. Keep those screws because you’ll need them to install the new pickup. Some pickups include the mounting screws, but that doesn’t mean they’ll fit your guitar. If the screws are too small, they won’t hold the pickup, or they’ll strip the wood frame.
- Disconnect the wires from the inside of the guitar (if applicable). If you have a built-in pickup, you’ll likely have to remove the wiring. These wires are connected to the pick and possibly a tuner or other parts of the guitar. In some cases, they’re zip tied or glued inside of the instrument to prevent them from moving around.
- Connect a new like-for-like pickup to the guitar. Always use the same make and model if possible; otherwise, you might have to cut the guitar to fit a bigger pickup. You can’t fit a smaller pickup if it’s already cut out. Make sure you add the necessary rubber seals or foam seals if your old pickup had one.
- Add a new battery and test your new pickup. Plug it into a computer, an audio interface, or a similar device. If it picks up the signal, you’re good to go. If it still doesn’t work, there’s more than likely an issue with the cables, the connected devices, or the software you’re using on the computer (check the aforementioned DAW).
Quick Note: If you have a clip-on pickup, simply get a new one instead of following these instructions. They’re strictly intended for built-in pickups.
Monitor the Pickup’s Magnetism
Seymour Duncan shows some guitar pickups are magnetic. If you have a magnetic pickup, there’s a small possibility that it loses its magnetism. When this happens, the pickup will be rendered useless. A pickup can lose its magnetism if it’s too close to extremely strong magnets and other magnetic devices.
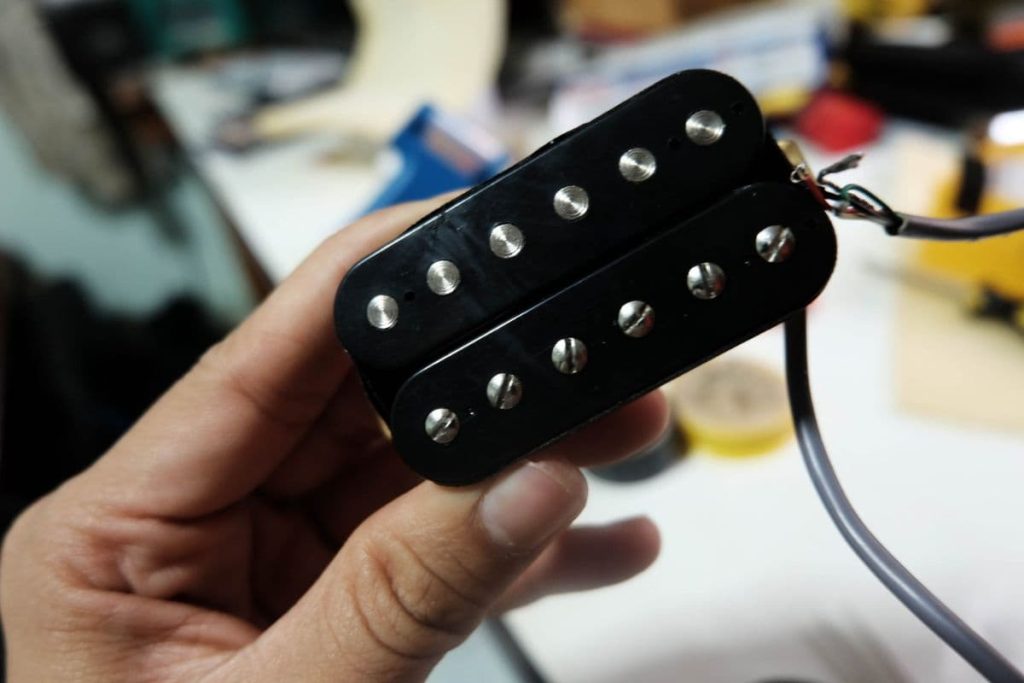
There are plenty of meters you can use to measure your guitar pickup’s magnetism. However, there’s no real way to reliably add the magnetism back into the pickup. You’ll have to get a new pickup, so if you think this is an issue and you’ve eliminated everything else on the list, you’ll have to get a new pickup.
If your pickup isn’t magnetic, there’s no reason to test it with this method.
Final Thoughts
Your guitar pickup is a vital part of performing. Fortunately, there are plenty of simple fixes to get the pickup back on track. If your pickup doesn’t work with any of the suggestions above, try replacing the cable and the pickup. While pickups don’t last forever, you can get plenty of years out of them with continuous monitoring and maintenance.
👇😀👇NOTE👇😀👇
If you want to find out what my recommended guitar gear is, then here is what I recommend on Amazon:
- Fender Cutaway Acoustic-Electric Guitar Bundle (MY FAVORITE GUITAR😀)
- Snark SN-8 Super Tight All Instrument Tuner (Easiest Tuner I’ve Used😏)
- 6 String Acoustic Guitar Capo (Best CAPO for quick changes)
- Dunlop Max Grip 1.0mm Nylon Picks (Thick Guitar Pick So You Don’t Lose Grip!)
- Universal Guitar Stand (Cheap & Minimalist Guitar Stand I Recommend)
- Levy’s 2″ Wide Quick Adjust Guitar Strap (Best Guitar Strap For Any Level)
Related Posts:

