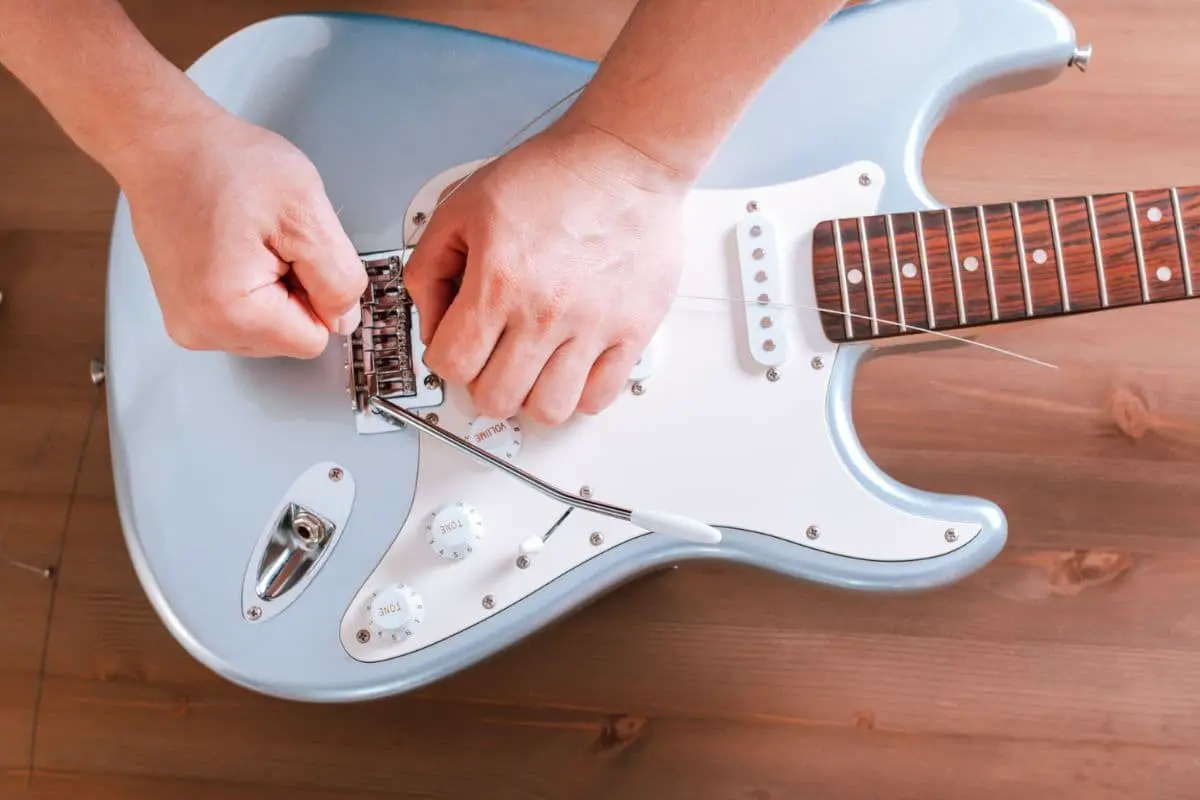
Disassembling an electric guitar is often much simpler than putting it back together, which is why you shouldn’t go about dismantling yours if you’re not confident you can return it to a working state. However, even if you’re confident in your skills, you still might need some practical advice that can help ensure that you’ll pull the process off without any issues.
Before you put an electric guitar back together, you should clean and rebuff it first. If you have problems with feedback, you can construct a Faraday cage. After that, you should re-install the bridge, tremolo spring plate, and the springs. Then, you should re-install the pickups and the neck.
This article will take you through a detailed guide on reassembling your electric guitar after pulling it apart. Hopefully, you’ll read it before you start playing around with disassembling and reassembling it yourself.
If you want to find out what my recommended guitar gear is, then here is what I recommend on Amazon:
- Fender Cutaway Acoustic-Electric Guitar Bundle (MY FAVORITE GUITAR)
- Snark SN-8 Super Tight All Instrument Tuner (Easiest Tuner I’ve Used)
- 6 String Acoustic Guitar Capo (Best CAPO for quick changes)
- Dunlop Max Grip 1.0mm Nylon Picks (Thick Guitar Pick So You Don’t Lose Grip!)
- Universal Guitar Stand (Cheap & Minimalist Guitar Stand I Recommend)
- Levy’s 2″ Wide Quick Adjust Guitar Strap (Best Guitar Strap For Any Level)
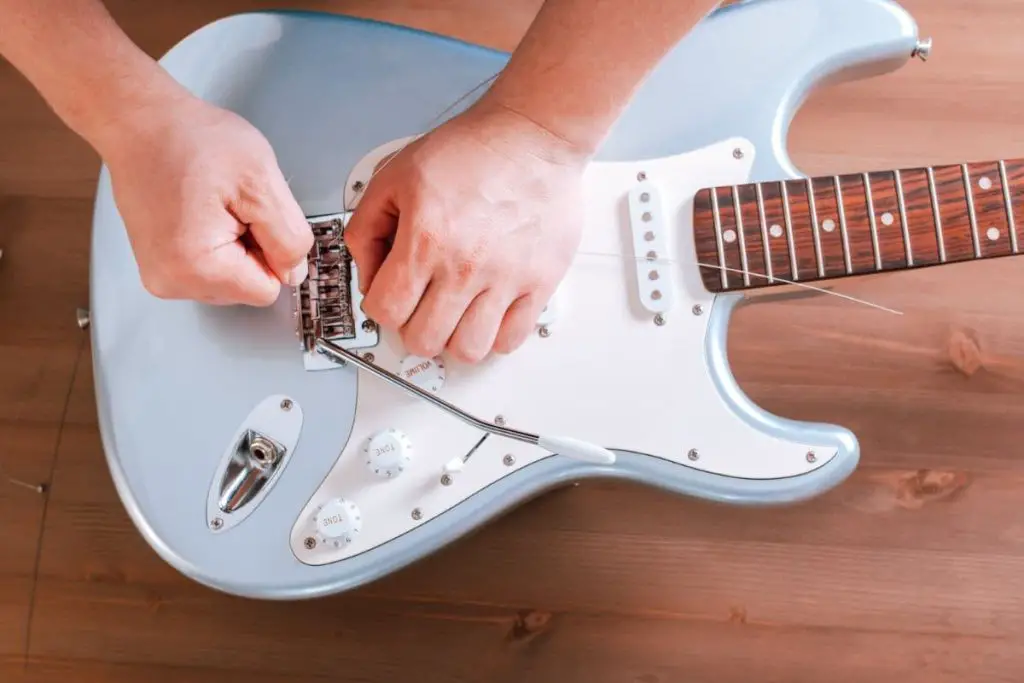
1. Make Sure You Have All the Parts
This one might go without saying, but it is still worth mentioning because it’s easy to get overconfident and lose a screw or two. Most of us have been in a situation in which we were almost done assembling something only to realize that there was a screw missing and it was nowhere to be found.
As you disassemble your guitar, pack each screw into a labeled zip lock bag, so you know where everything is at all times. You might not have to be that rigorous, but ensuring that everything is in a sealed container from which it can’t disappear is the best way to prevent a headache when reassembling your guitar.
You should also pay close attention to where all the accessories and components are. While losing a pickup, pot, or tuning peg is much harder, it’s still possible, especially if you tend to misplace things. For that reason, proceed with caution when you disassemble your guitar.
2. Clean and Rebuff
You should take the opportunity to clean your guitar thoroughly while it is in pieces. This will allow you to remove any dust or other debris from parts that are not easily accessible. A simple piece of cotton cloth will do just fine, and if some places are still hard to reach, you can use a cotton swab.
You can also use the opportunity to bring a new shine to your guitar, particularly if it’s an older model or if you’ve reliced it but don’t want it to look too ancient and battered. To buff it up, you can use any rubbing compound you can get in your local store. Pretty much anything will work fine.
You can do this by hand, but it will be very time-consuming and labor-intensive; plus, you’ll probably get swirl marks and make your guitar look worse. The easiest way to go about it is using a polishing bonnet you can attach to a drill.
Once you’ve got your tools set up, start polishing. The most important thing is to keep on moving the polishing bonnet. Otherwise, you might get swirl marks if you stay on one spot for too long. You should get both the front and the back of your guitar. This should be easy enough to do with the polishing bonnet and drill, but you might have to do the sides by hand if it’s hard to hold the guitar with one hand while polishing it.
Here’s a useful instructional video on how to make your guitar shine again.
Once your guitar is clean and shiny, you can proceed to the next steps. Overall, reassembling your guitar is not difficult as long as you stay focused and don’t try to rush the process.
3. Re-Install the Bridge
Before reinstalling your bridge, you should inspect it to see if it has been damaged or worn out. If it has, you should probably look for a new one. Finding a bridge should not be difficult. Mark down the model and look for the exact same one if you want to play it safe. If you want to modify your guitar, you can try installing a different bridge that fits; however, that might be difficult.
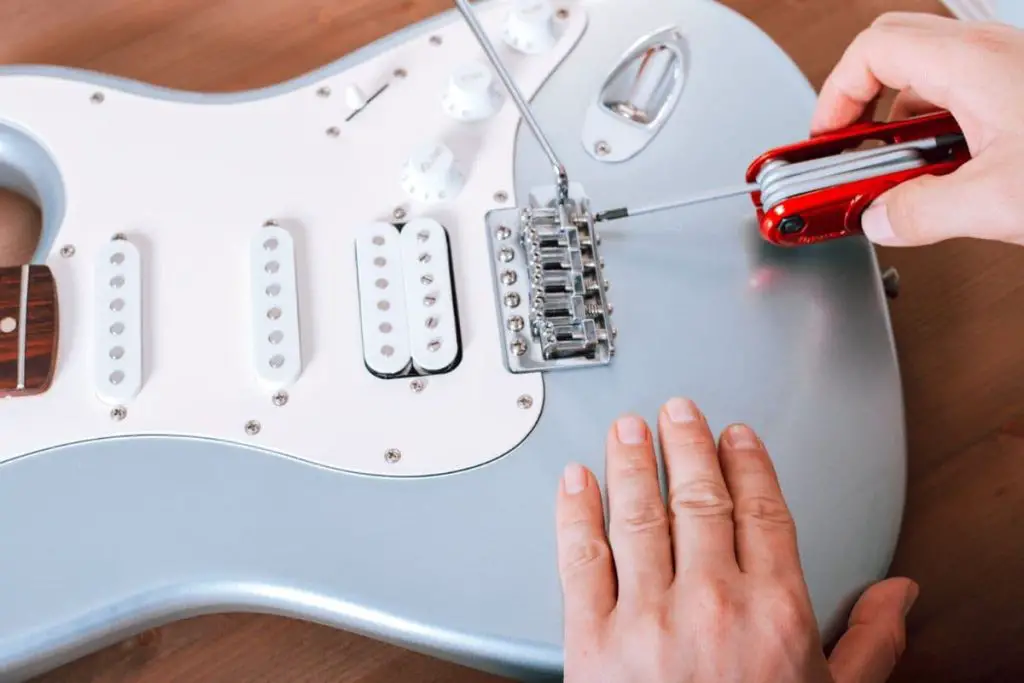
It’s important that the width of every slot fits the gauge of your guitar strings. If a slot is too narrow, it may bend the string and cause tuning problems. If it’s too wide, it may cause the strings to rattle and buzz.
To save time on measuring everything to see if a potential new bridge can be installed properly on your guitar and do it all again if you’re unsuccessful, you should opt for the same bridge model.
Anyway, whether you’re buying a new bridge or reusing the one you already have, you can install it at this point. You should screw it in, of course, but it’s not necessary to tighten the screws completely at this time. You can do it later.
Once the bridge is in place, you can re-install the tremolo spring plate and the springs. Positioning them in a triangular shape will make the bridge sit tighter in its place.
4. Make a Faraday Cage
While this step is not essential to reassembling your guitar, you might want to use this opportunity to create a Faraday cage if you have problems with feedback and noise on your guitar.
This process is often referred to as “shielding,” and its goal is to eliminate electromagnetic interference. The electrical components in the guitar can act as antennas for radio and electric signals around you, which produces buzzing, noise, and thus, annoyance.
To shield your guitar, you can use conductive paint or copper tape. Conductive paint is rather expensive and it takes a couple of layers of it to reach the desired effect. Copper tape is the most popular option because it is cheap and easy to implement. That’s what guitarists mostly use, and it will work great for you, too.
So, for this, you’ll need:
- Copper tape
- Scissors
- A boxcutter
- A multimeter (optional)
First, you have to cover the pickguard. The whole pickguard must be covered. The strips of copper you use for this should overlap about 5 mm (0.2 inches). They should be as flat as possible. Once you cover the whole pickguard, use a boxcutter to poke the holes for the pickups and other components. That’s everything you need to do to shield your pickguard.
After that, you’ll need to shield the cavities. You can either cut strips of copper tape or you can tailor pieces of it. The first option is much simpler, so you can just go with that, even if it doesn’t look as great. No one will look into your guitar’s cavities anyway.
So, cut pieces of copper tape and cover the cavities. A bit of copper tape should stick out and lie on the guitar’s body. That way, it will come into contact with the copper on the pickguard and create a complete Faraday cage, preventing interference and that awful, annoying buzzing.
This is sometimes also done with aluminum tape. However, copper is much more popular and does a better job, so it’s better to stick with that option. Once your guitar is properly shielded, you can move on to the next step.
5. Re-Install the Pickups
Re-installing pickups will require a little bit of soldering, so you’ll need to brush up on your soldering skills to do this properly. If you’re not confident in your skills, get someone to help you.
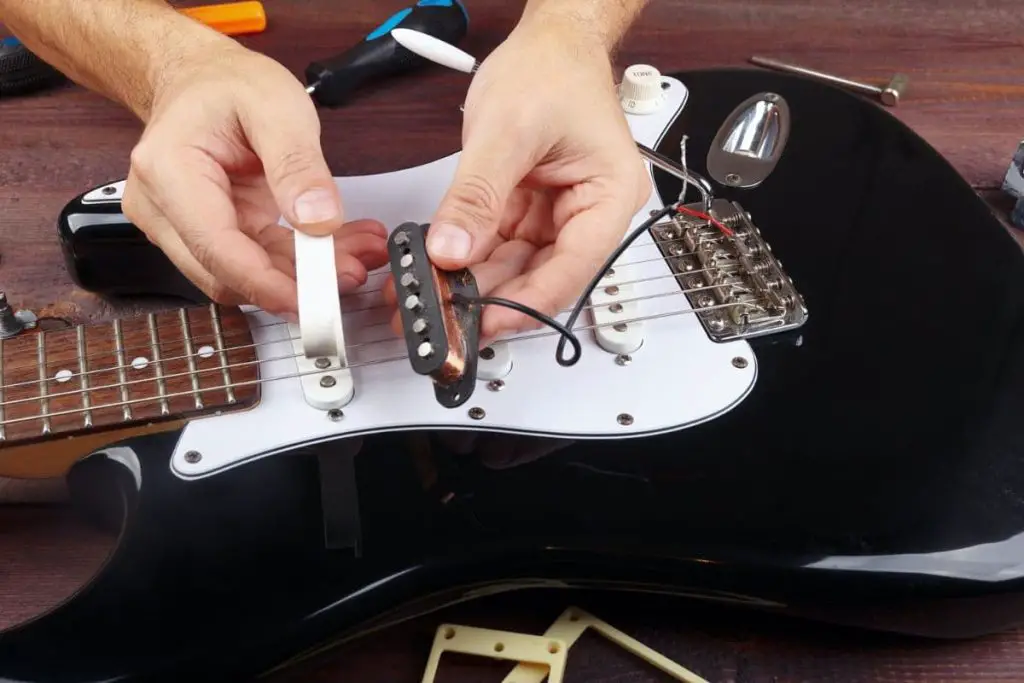
Start from the neck pickup, then install the middle one, with the bridge pickup being left last. If there are fewer pickups, this step will go much faster. Make sure that they’re screwed in tightly. A pickup that’s not screwed in properly might be too high and close to the strings, which usually causes interference and buzzing.
Of course, all the wires must be in their right places before you screw in the pickups.
At this point, you should put the knobs (or pots, if that’s how you wish to call them) back in their place if you took them out. Make sure to tighten them, so they don’t fall out or cause sound problems moving on.
Once everything is in its place, you should start soldering. You should start with the ground wire and solder it to the spring plate. After that, you can solder the pickups to the volume knob, as well as any other knobs your guitar might have. Once that is done, you should solder them to your guitar’s five-way switch.
Once all the magnets and knobs are in place, you’re all set. You can now move on to the next step, which is re-installing the neck.
6. Re-Install the Neck
The difficulty of this step depends on what kind of neck your guitar has. Bolt-on guitar necks are really simple to install, while the set-in neck type requires more effort and some technical know-how. Let’s see what you need to do to re-install your guitar neck regardless of its type.
With a bolt-on guitar neck, everything is already measured and there are holes exactly where you need them. You won’t have to measure anything or put in too much effort. Put the neck and neck plate in their places and tighten all the screws. Unless you were really unlucky, everything should be firmly in its place.
Replacing a Set-in Neck
With a set-in neck, the process is a bit more complicated, as you’ll have to measure the scale length. The length from the inside of the nut to the 12th fret has to be the same as the distance from the fret to the bridge. In other words, the distance between the middle of the nut and the 12th fret has to be half the distance of the bridge.
Getting this distance wrong will cause problems with your guitar’s pitch and intonation. Getting it really wrong might even make the guitar unplayable. Therefore, you need to be extremely careful if your guitar has a set-in neck.
Once everything is measured, you’ll need to glue the neck to the body. You should first dry-fit it to see if you need to change anything. The neck should fit tightly, but you shouldn’t have to apply force to squeeze it in. There should also be no side movement, as that can cause several problems with your sound.
Apply a moderate amount of glue. You want just enough to keep everything in place, but you don’t want the glue to overflow. After that, clamp the neck in place and leave it overnight. Use a piece of cloth or another soft material between the clamp and the neck, so you don’t damage the latter.
Thankfully, set-in guitar necks are not very common on electric guitars, so you’ll probably have to deal with a bolt-on neck. If you have a guitar with a set-in neck, it’s best not to detach the neck if you have to disassemble it. Doing so might damage the guitar, and it’s obviously difficult to put it back in its place, so it’s best to leave it where it is.
7. Put Back the Pickguard and Strings
Note that the order in which this step comes may vary based on how your guitar is built. You might have to install the pickguard before the pickups, and you might even have to do it before the bridge is in its place.
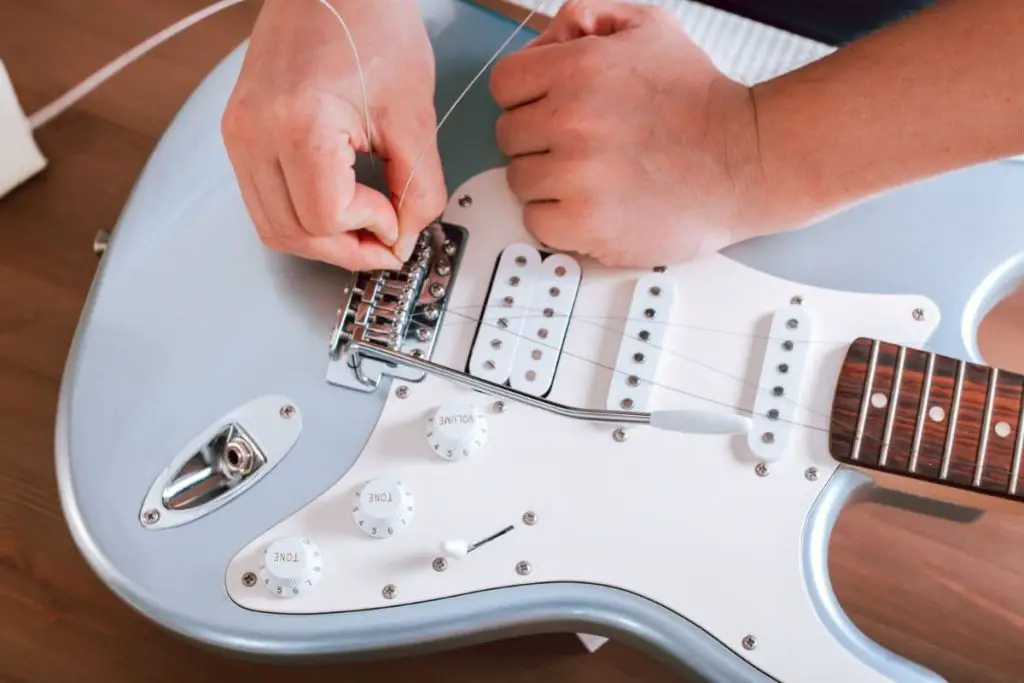
Installing the pickguard might be the simplest part. You only have to put it in its place and screw the bolts back in. Unless you’ve lost one or more, you should have no problems. You can tighten the screws on the bridge completely if you didn’t do it in the first step.
While you’re there, you can also install the strings. Getting a fresh set of strings is the best option. Nothing stops you from using the old ones, but since you’ve just taken your guitar apart, you might as well get a new set of strings.
Of course, if you also disassembled the tuning pegs, you’ll want to put them back before the strings. Removing the pegs might be unnecessary, but even if you do remove them, screwing them back in is a piece of cake.
Once strings are in place, tune your guitar and test it. Hopefully, everything stays in its place and the guitar sounds the same, if not better, than before. If components start falling off, you’ve messed something up and have to retrace your steps to figure out what’s wrong.
Additional Things You Can Do
While your guitar is disassembled, you might want to use the chance to implement certain improvements to your guitar. I’ve already mentioned that you can change the bridge and the strings, but there are some other upgrades that might be worth looking into, such as refretting your guitar and repainting it.
Let’s quickly look into these options.
Refretting Your Guitar
Refretting your guitar is a good idea if your overall playing experience has become less comfortable lately. If bending and sliding become harder, and if your guitar is producing twangy, buzzing sounds, this is a sign that you need new frets.
When refretting your guitar, picking the right material for the frets is the most important task. There are a few materials to choose from:
- EVO gold: This is a new invention, and it’s still not particularly common. They are a good choice if you’ve got a nickel allergy, but since they’re less durable than the other materials, they’re not a good choice for most people.
- Stainless steel: These are the most durable frets on the market. The downside is that they take longer to adjust, but they stay the same for ages.
- Nickel silver: This is the most common material for frets. Nickel silver frets help you get a nice mellow tone and are durable, albeit not as durable as stainless steel.
Before you remove the frets, you need to hydrate the neck with lemon oil. It’s best to remove it if it’s bolt-on. Then, you have to briefly apply soldering iron to each fret to melt the glue and retract the wood. At the same time, pull the fret out gently with a pair of pliers.
After that, apply a bit of glue in the gap and insert the frets in with a rubber hammer. Be gentle and patient, so you don’t destroy the neck.
Painting the Guitar
Before you paint your guitar, you need to sand it thoroughly to remove the previous finish. Use a sander at first, and then sandpaper. You should vacuum the guitar to clean up the mess and create a good surface for painting.

If necessary, apply some putty to create an even surface. Then, use mineral spirits to remove all the oil from the guitar. Let them dry before you touch the instrument again. After that, you can apply primer and then spray paint. A paint with nitrocellulose is usually the best option.
Final Thoughts
That does it for this post. Hopefully, your guitar reassembly will be successful and your instrument will look and sound better than ever.
Assemble an Electric Guitar DIY: How To Put An Electric Guitar Back Together FAQ
Here are some common questions about the assembling and disassembling of an electric guitar and how to put an electric guitar back together.
How do you assemble an electric guitar?
Here are the steps to assemble an electric guitar:
- Install the guitar tuning pegs
- Install the guitar nut
- Install the guitar fretboard and guitar frets
- Install the neck onto the guitar body
- Install the guitar bridge and tailpiece
- Install the guitar pickups
- Install the guitar pickguard
- Install the control knobs and switches
- Install the output jack
- Install the guitar strings
Now, here’s a break down of each step to assemble an electric guitar:
- Install the tuning pegs: Start by attaching the tuning pegs to the headstock of the guitar. Make sure they are securely attached and aligned properly.
- Install the nut: The nut sits at the top of the neck and guides the strings to the tuning pegs. It needs to be properly sized and aligned with the fretboard.
- Install the fretboard and frets: Carefully install the fretboard onto the neck and secure it in place. Then, install the frets into the slots on the fretboard.
- Install the neck onto the guitar body: Carefully attach the neck to the body of the guitar. Make sure it is aligned properly and securely attached.
- Install the bridge and tailpiece: Install the bridge and tailpiece onto the body of the guitar. Make sure they are aligned properly and securely attached.
- Install the pickups: Attach the pickups to the body of the guitar. Make sure they are aligned properly and securely attached.
- Install the pickguard: Attach the pickguard to the body of the guitar. Make sure it is aligned properly and securely attached.
- Install the control knobs and switches: Attach the control knobs and switches to the body of the guitar. Make sure they are aligned properly and securely attached.
- Install the output jack: Attach the output jack to the body of the guitar. Make sure it is aligned properly and securely attached.
- Install the strings: Install the strings onto the guitar. Make sure they are properly threaded through the nut and bridge, and properly wound around the tuning pegs.
Overall, assembling an electric guitar can be a complex and time-consuming process, requiring careful attention to detail and a good understanding of guitar mechanics. It’s always a good idea to consult with a professional guitar technician or experienced guitarist if you’re not sure how to proceed.
How hard is it to put together a guitar?
Putting together a guitar can be a difficult and time-consuming process, especially for someone who has never done it before. It requires knowledge of guitar mechanics, as well as a variety of specialized tools and equipment. The difficulty of the assembly process will depend on the complexity of the guitar design, the quality of the parts, and the skill level of the assembler.
Assembling a guitar requires careful attention to detail, as even small mistakes can have a big impact on the playability and sound of the finished instrument. The process may involve a number of steps, including attaching the neck to the body, installing the pickups and wiring, installing the bridge, and installing the tuning machines.
While it is possible to assemble a guitar yourself, it’s always a good idea to consult with a professional guitar technician or experienced guitarist if you’re not sure how to proceed. They can provide guidance, advice, and assistance in order to help you build a high-quality guitar that meets your specific needs and preferences.
How do you attach a guitar to the back?
The most common method to attach a guitar to the back a bolt-on neck, which involves the following steps:
- First, place the neck onto the body, ensuring that the neck pocket and neck heel match up properly.
- Next, align the screw holes in the neck plate with the holes in the body.
- Insert the screws into the holes, being careful not to over-tighten them.
- Test the neck-to-body fit by playing the guitar and checking for any gaps or unevenness in the joint.
- Adjust the truss rod and bridge as needed to achieve the desired string height and overall playability.
By following these steps, you should be able to attach the guitar neck to the body securely and accurately, allowing for proper string action and tone. However, if you’re unsure about the process, it’s always a good idea to consult with a professional guitar technician or experienced luthier for guidance and assistance.
Which end of the guitar strap goes where?
Attaching a guitar strap can be confusing, especially if you’re new to playing guitar. Here’s a step-by-step guide to help you:
- Locate the two strap buttons on your guitar. One is usually located at the base of the body, and the other is located on the upper horn of the body, where the neck meets the body.
- Take the end of the strap with the larger hole and loop it over the strap button on the base of the body. The button should fit snugly into the hole.
- Take the end of the strap with the smaller hole and loop it over the strap button on the upper horn of the body. The button should fit snugly into the hole.
- Adjust the length of the strap to your desired length. Most straps have an adjustable buckle that allows you to lengthen or shorten the strap as needed.
- Put the strap over your head and onto your shoulder, making sure the guitar is securely in place before playing.
It’s important to note that the strap buttons on your guitar should be securely fastened and tightened to prevent the guitar from falling off or becoming unbalanced while you’re playing. Additionally, it’s always a good idea to check your strap and strap buttons regularly to ensure they’re in good condition and working properly.
Do electric guitars need to be set up?
Electric guitars typically need to be set up to ensure optimal playability and performance. A guitar setup involves adjusting various elements of the guitar to improve playability, intonation, and tone.
A typical guitar setup may involve adjusting the truss rod to ensure the neck is straight, adjusting the action to ensure the strings are at the optimal height above the fretboard, adjusting the intonation to ensure that the guitar is in tune across the entire fretboard, and adjusting the pickups to achieve the desired tone.
While some guitarists may prefer to set up their own guitars, it’s often recommended to have a professional guitar technician perform a setup, particularly for beginners or those who are unfamiliar with the process. A proper setup can make a significant difference in the overall playability and sound of the guitar.
Is it cheaper to build your own electric guitar?
Building your own electric guitar can potentially be cheaper than buying a new one, but it largely depends on various factors such as the quality of materials used, the complexity of the build, and whether or not you have the necessary tools and skills to complete the project.
If you’re experienced with woodworking and have access to the necessary tools, you may be able to save money by sourcing materials and building the guitar yourself. However, if you’re new to guitar building, you may need to invest in specialized tools and equipment, which can increase the overall cost.
It’s also important to note that building your own guitar can be a time-consuming process, so you’ll need to factor in the value of your time as well.
In general, building your own guitar can be a rewarding and enjoyable experience, but it may not necessarily be cheaper than buying a pre-made guitar. It ultimately depends on your personal goals, budget, and skill level.
How do you tune an electric guitar?
To tune an electric guitar, you can follow these steps:
- Start by selecting a reliable guitar tuner. There are a variety of tuner types available, including pedal tuners, clip-on tuners, and smartphone apps.
- Ensure that your guitar is properly plugged into an amplifier or directly into an electronic tuner, depending on the tuner you’ve selected.
- Begin by tuning the low E string, which is the thickest string on the guitar. Play the open string and adjust the tuning peg until the tuner indicates that the string is in tune.
- Move on to the A string, which is the second thickest string. Repeat the process of playing the open string and adjusting the tuning peg until the tuner indicates that the string is in tune.
- Continue tuning the remaining strings in order, which are D, G, B, and high E.
- Once all strings are in tune, play a few chords or a simple melody to ensure that the guitar sounds good and in tune.
- If any string is out of tune, repeat the tuning process until all strings are properly tuned.
It’s important to note that proper guitar tuning is critical for achieving the best sound and performance from your electric guitar. It’s recommended to tune your guitar regularly, particularly before playing or recording. By following these steps, you can tune your electric guitar and ensure that it’s in optimal playing condition.
How do you put a screw in a guitar?
Putting a screw in a guitar typically involves these steps:
- Identify the location where the screw needs to be inserted. This may be in the body, neck, or headstock of the guitar, depending on the repair or modification being performed.
- Choose a screw that’s appropriate for the job. Screws come in various sizes and styles, so it’s important to select the correct one.
- Use a small drill bit to create a pilot hole for the screw. This helps to prevent the wood from splitting and makes it easier to insert the screw.
- Insert the screw into the pilot hole using a screwdriver. Be sure not to overtighten the screw, as this can cause damage to the guitar.
- Once the screw is securely in place, check the surrounding area to ensure that it’s not been damaged during the process.
It’s important to note that when working with guitars, it’s best to take your time and use caution to avoid any damage. If you’re unsure about any step in the process, it’s recommended to seek the help of a professional guitar technician to avoid causing any damage to the guitar.
How do you reattach a guitar strap?
To reattach a guitar strap, follow these steps:
- Locate the strap buttons on your guitar. These are typically located on the top and bottom of the guitar’s body.
- If the strap is not already attached to the strap button, slide one end of the strap over the button.
- Pull the strap down tightly over the button and make sure it’s securely in place.
- Repeat this process for the other strap button.
- Adjust the length of the strap to your desired length by using the adjuster buckle.
- Test the strap to ensure that it’s securely attached to the guitar by gently pulling on it.
It’s important to note that not all guitars have strap buttons, particularly some acoustic guitars. If your guitar does not have strap buttons, you can purchase strap attachments that clip onto the soundhole or neck of the guitar.
Can you glue a guitar back together?
It is possible to glue a guitar back together, but it depends on the extent of the damage and the type of guitar. If the damage is minimal, such as a small crack in the body or neck, it may be possible to repair the guitar with wood glue and clamps. However, more extensive damage may require more complex repairs, and in some cases, it may not be feasible to repair the guitar.
It’s important to note that gluing a guitar back together may not restore its original sound and playability. The repair may affect the guitar’s resonance, tone, and intonation, so it’s important to have the repair done by a professional guitar repair technician.
How do you join a broken guitar?
Joining a broken guitar involves repairing the broken pieces and gluing them back together. The specific steps for joining a broken guitar will depend on the extent of the damage, the type of guitar, and the materials involved.
Here is a general guide for joining a broken guitar:
- Assess the damage: Determine the extent of the damage and identify any broken pieces. It’s important to make sure all the pieces are accounted for before proceeding.
- Prepare the broken pieces: Sand the broken edges of the pieces to remove any rough spots or splinters, and make sure the surfaces are clean and dry.
- Apply glue: Apply a thin layer of wood glue to the broken edges of the pieces. Make sure to apply enough glue to create a strong bond, but not so much that it oozes out when the pieces are pressed together.
- Align the pieces: Carefully align the broken pieces and press them together firmly. Use clamps to hold the pieces in place while the glue dries. It’s important to apply even pressure to the broken pieces to ensure a tight fit.
- Let the glue dry: Allow the glue to dry completely according to the manufacturer’s instructions. The drying time can vary depending on the type of glue used and the temperature and humidity of the room.
- Sand and finish: Once the glue is dry, use sandpaper to smooth any rough spots or excess glue. Then, refinish the repaired area to match the rest of the guitar.
Does the buckle on a guitar strap go on the top or bottom?
The buckle on a guitar strap should typically go on the top, where the neck of the guitar is located. This is because it allows for a better distribution of weight and helps to keep the guitar in the correct playing position.
Where does the strap go on an electric guitar?
The strap on an electric guitar is attached to two strap buttons located on the body of the guitar. One button is typically located on the upper bout of the guitar, where the neck meets the body, and the other is located on the lower bout of the guitar. The strap is then placed over the player’s shoulder, with the upper bout button resting on the player’s chest, and the lower bout button resting on the player’s hip or waist. This helps to distribute the weight of the guitar evenly and allows for comfortable playing over extended periods of time.
If you want to find out what my recommended guitar gear is, then here is what I recommend on Amazon:
- Fender Cutaway Acoustic-Electric Guitar Bundle (MY FAVORITE GUITAR)
- Snark SN-8 Super Tight All Instrument Tuner (Easiest Tuner I’ve Used)
- 6 String Acoustic Guitar Capo (Best CAPO for quick changes)
- Dunlop Max Grip 1.0mm Nylon Picks (Thick Guitar Pick So You Don’t Lose Grip!)
- Universal Guitar Stand (Cheap & Minimalist Guitar Stand I Recommend)
- Levy’s 2″ Wide Quick Adjust Guitar Strap (Best Guitar Strap For Any Level)
Related Posts:
- Is Learning Electric Guitar Worth It? How To Decide
- Electric Guitar Not Working When Plugged In? 5 Fixes
- How To Put Binding on an Electric Guitar
- How To Tune Your Electric Guitar Without an Amp
- How To Install a Whammy Bar on Your Electric Guitar
- How To Make an Electric Guitar Sound Better for Metal
- 10 Ways to Make Your Electric Guitar Louder
- How to Practice Electric Guitar in an Apartment
- What To Do When Your Electric Guitar Sounds Muffled
- Why Do Acoustic Electric Guitars Need Batteries?
- 9 Definite Signs Your Guitar Needs a Refret
- Best Electric Guitars

