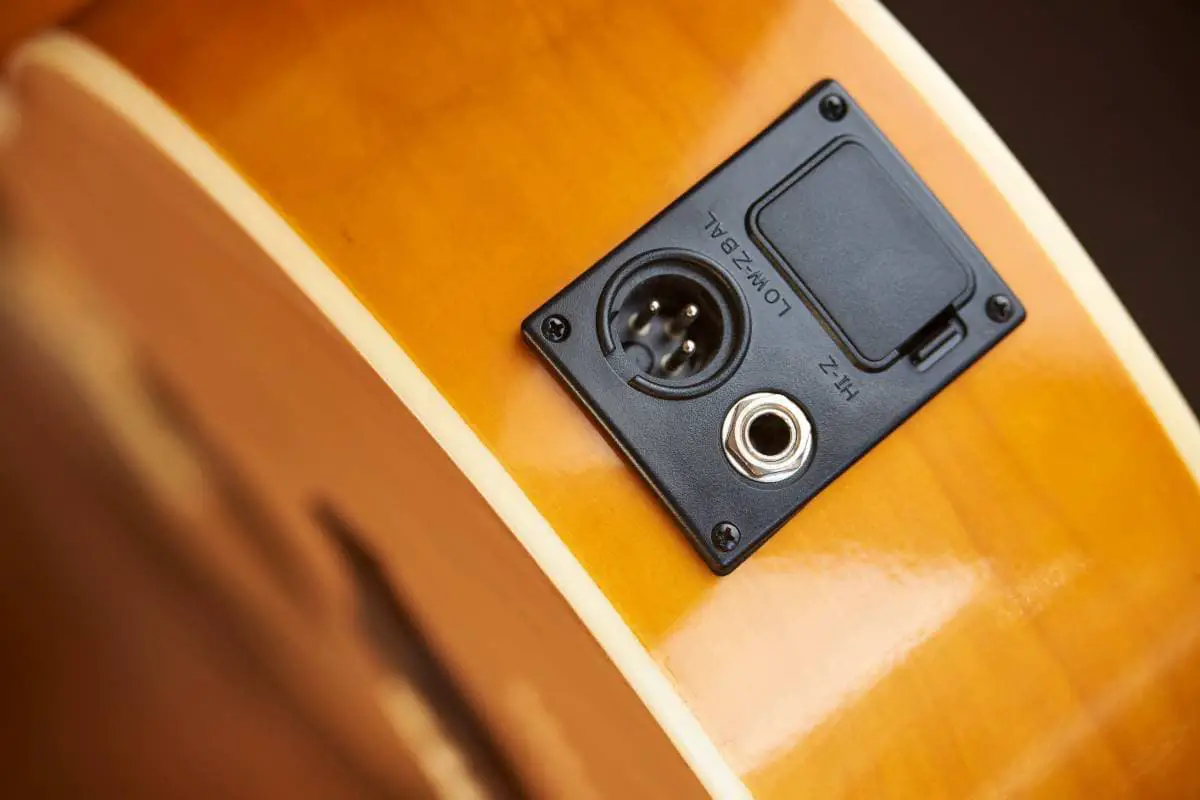
A loose or broken guitar input (okay, technically, it’s output) jack can severely hinder your playing experience. The only thing worse than constant buzzing from your guitar is no sound, and a faulty jack can give you both. That’s why it’s important to take care of the maintenance of the jack and learn how to fix problems with it before they become serious.
Here are some tips on how to fix a loose or broken guitar input jack:
- Invest time in maintenance.
- Make sure the problem’s in the jack.
- Tighten the jack.
- Move the metal clip back into place.
- Inspect and fix the wires.
- Replace the jack.
In this article, I’ll give you detailed instructions on diagnosing and fixing various problems with your guitar jack. This will allow you to play without constant noise and with improved sound quality.
👇😀👇NOTE👇😀👇
If you want to find out what my recommended guitar gear is, then here is what I recommend on Amazon:
- Fender Cutaway Acoustic-Electric Guitar Bundle (MY FAVORITE GUITAR)
- Snark SN-8 Super Tight All Instrument Tuner (Easiest Tuner I’ve Used😏)
- 6 String Acoustic Guitar Capo (Best CAPO for quick changes)
- Dunlop Max Grip 1.0mm Nylon Picks (Thick Guitar Pick So You Don’t Lose Grip!)
- Universal Guitar Stand (Cheap & Minimalist Guitar Stand I Recommend)
- Levy’s 2″ Wide Quick Adjust Guitar Strap (Best Guitar Strap For Any Level)
1. Invest Time in Maintenance
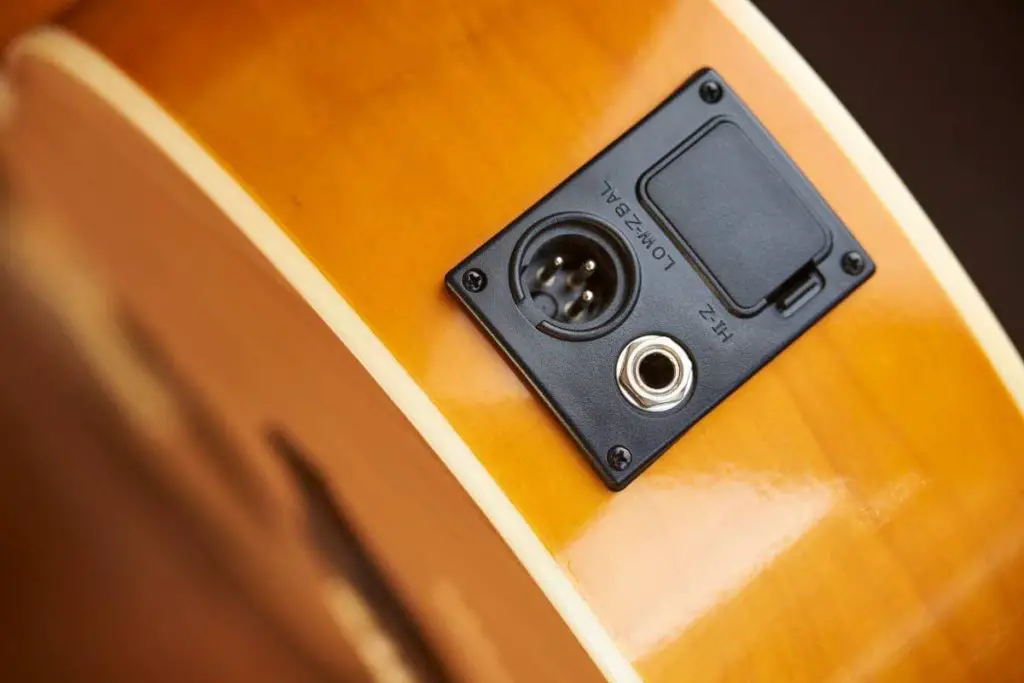
People have always said that prevention is better than cure. This is an important piece of thought not only when it comes to health, but also when it comes to extending the life of your beloved instrument. Examining it for problems periodically will ensure that you won’t suffer from needless headaches and that you have flawless performances.
Here are some things to do to ensure that your guitar jack is in great condition:
- Listen to your guitar: There’s no better way of diagnosing guitar problems than listening to your guitar and acting quickly. Listen for signs of problems and act quickly to prevent them from getting worse. It’s very likely that you won’t have to do much even if you notice your problems. Otherwise, a small problem can snowball and you can end up having serious problems with the jack or some other guitar parts.
- Don’t let your cable pull it: Having the full weight of your cable pulling down on your guitar jack is a great way to destroy it. The best way to prevent this is to keep the cable between your guitar strap and the body of the guitar. This way, most of the weight will rest there, and the cable won’t pull on the jack, leaving it in place.
- Clean it regularly: Quite often, you can have sonic problems simply because your jack is dirty. Even if your guitar is in its bag or case when you don’t play it, it’s still possible for dust and grime to get to the jack and cause problems. You can simply use a q-tip and some contact cleaner or rubbing alcohol to wipe the inside of the jack. Doing this from time to time will keep problems away and ensure the guitar works smoothly.
If you take good care of the guitar jack, it’s very likely that you won’t experience any problems, and the following steps might not be necessary. However, if you’re experiencing some trouble with your guitar jack, read on to learn more about how you can solve those problems.
2. Make Sure the Problem’s in the Jack
Imagine taking time to disassemble your guitar jack, resolder the wires, and put everything back in its place only to realize that the jack was alright and the problem was something entirely different. That’s why it’s important to be sure that the jack is causing the problem and not something else.
For example, if there’s a lot of buzzing, the problem might be caused by the jack. It might also be caused by the cable, pickups, or even improper shielding. It’s important to rule out these possibilities before you proceed, so you don’t waste time on fixing something that doesn’t need fixing.
Cable Problems
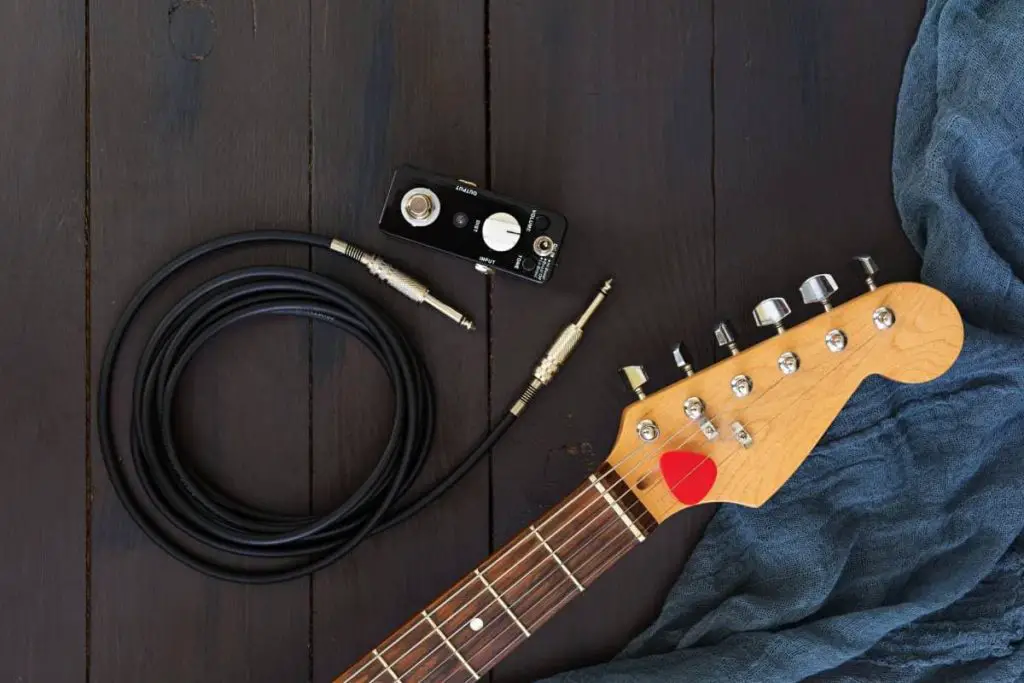
Before doing anything, try plugging in a different cable. If there are suddenly no problems, it’s obvious that the cable was the culprit. You can throw it in the trash can or use it as a decoration, and start using a new cable instead. Cables are not meant to last forever anyway, and it goes without saying that you’re bound to change them here and there.
Problems with the Pickups
Another culprit might be the pickups. For example, the screws that keep them in place might have loosened, allowing them to stand too close to the strings, which causes interference and buzzing. Inspect your pickups and screw them back into place if it seems like they’re too close to the strings.
Improper Shielding
Improper shielding or a complete lack thereof might also cause problems. In that case, you’ll need to make a Faraday cage. While this might sound scary, it’s a fairly simple process and easy to pull off.
You can check out how to do it in this video:
All in all, you need to thoroughly inspect your guitar before you try modifying it. You should proceed with such steps only after you’ve pinpointed the culprit and are sure that you can pull off the modification(s).
3. Tighten the Jack
If you’ve carefully ruled out all the other options, you can proceed with messing with your jack. Ideally, the jack will only be loose and not broken, as this is a very easy problem to fix. Most of the time, this is precisely the issue, so you’ll simply have to tighten it and then go about your day as usual.
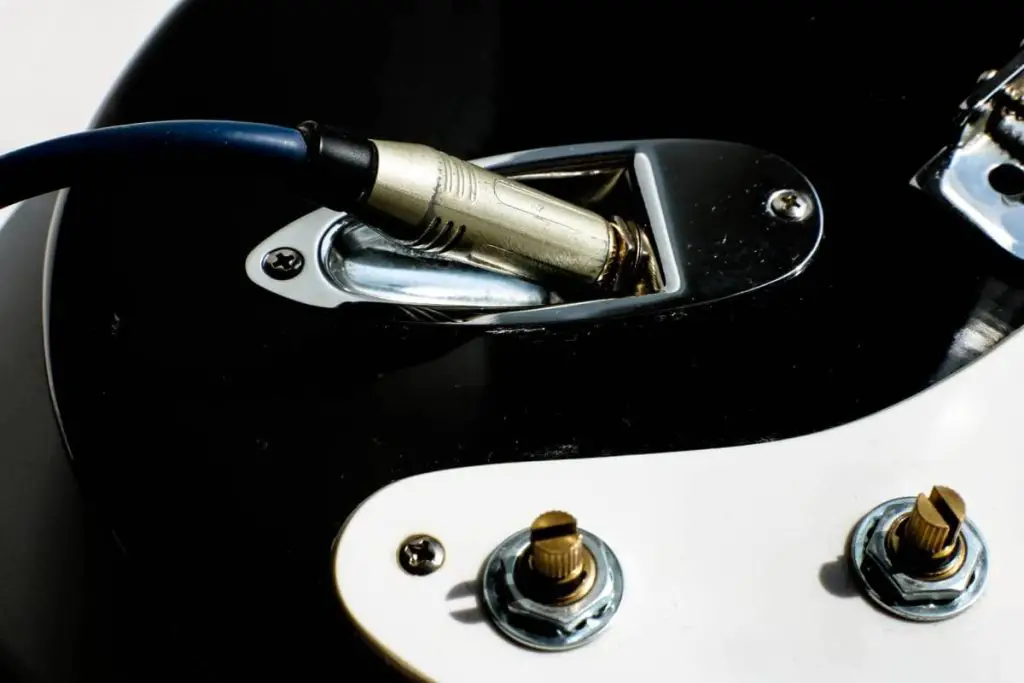
Here are the steps you need to follow to tighten your jack:
- Unscrew the jack plate.
- Set the screws aside carefully so you don’t lose them.
- Gently pull out the jack socket.
- Inspect for damage to the wires. If there’s no damage, don’t tamper with the wires.
- Take a pair of pliers or a half-inch socket.
- Tighten the jack.
- Screw it back into place (hopefully, you haven’t lost any of the screws).
- Plug in your guitar and see if everything works as it should.
You can do this without unscrewing the jack plate on some guitars. However, it’s usually much easier to do this if you unscrew the jack plate, especially on strat-style guitars. Most of the time, tightening the guitar jack will do the trick, and there will be nothing else you’ll have to do.
However, you’ll have to do some more complicated fixes if you’re particularly unlucky.
4. Move the Metal Clip Back Into Place
Inside old-school jack sockets, there’s a metal clip that holds your cable’s plug in place. If this clip gets bent or misplaced, you’ll have problems. The sound might stutter, it might disappear completely, or it might get distorted.
While your jack socket is unscrewed, plug your guitar into it and see if the clip holds the plug in place. You’ll need to adjust the clip if the plug wiggles or moves around. Thankfully, this is very easy to do and requires just a little bit of patience and care.
You’ll likely notice there’s a hole in the jack socket you plug your guitar into. The tip of the metal clip is supposed to be directly over the center of the socket for it to hold your plug firmly in place. You simply have to bend it, slowly and gently, until it stands in its place. You’ll probably only have to move it a few millimeters, so be careful not to overdo it and bend it too far.
Plug your guitar into it and see if it fits well. It should snap into place firmly, without moving. If it’s still a bit loose, bend the clip further, until the plug finally snaps into place. This will require some trial and error, so don’t try to rush it. Rushing will probably cause further problems, and we wouldn’t want that.
On the other hand, if you have a different socket, the one that’s long and looks like a barrel, there’s nothing you can do. Unfortunately, these sockets cannot be repaired, and you’ll have to get a new one.
5. Inspect and Fix the Wires
Wire problems are among the more complicated problems you can experience when you’ve got problems with your guitar jack. They can get broken, loose, and out of place, so you might have to move them and resolder them to make your guitar jack work. This is something you should only attempt if you’ve got soldering experience. It might be best to leave this to a professional if you don’t.

If a wire is disconnected, the only way to fix it is to solder it. Here are the steps you need to take:
- Find a well-ventilated room or do it outside. You don’t want to breathe in the fumes.
- Heat up your soldering iron. It should only take a minute or two.
- Unscrew the jack plate.
- Find the ground wire. It’s typically black.
- Solder it to the hole on the left side of the jack socket.
- Find the positive wire. It’s usually the red one.
- Solder it to the hole on the opposite side.
- Let everything cool down.
- Test to see if everything works.
- Put the socket into its place.
- Screw the jack plate back in.
If there are still problems or your guitar isn’t working, it probably means you haven’t soldered the wires correctly. In that case, it’s best to find someone experienced to help you with the job.
Another reason might be that you misdiagnosed the problem, and the jack wasn’t causing it. That’s why it’s important to inspect your guitars for problems thoroughly. You don’t want to waste your efforts and work for nothing.
6. Replace the Jack
In some cases, the jack might be damaged beyond repair, so you’ll have to get a replacement. This also includes soldering, so be extremely careful and proceed with caution. The process will be very similar to what we’ve outlined in the previous tip.
Here’s what you need to do:
- Unscrew the jack plate.
- Remove the connections. The best way is to melt the solder that’s already there.
- If the wires are damaged, you can strip a little bit off to avoid problems in the future.
- Solder the wires to the new jack socket.
- Let them cool off.
- Test to see if your guitar is working.
- Check for potential problems.
- If everything’s alright, screw the jack back into place.
Be extremely careful when changing your jack. If you’re a beginner or not very confident in your soldering skills, get a guitar technician or a luthier to do this for you. It might cost you more, but it might also save you money down the road because you’ll avoid messing things up and creating future problems.
Types of Guitar Jacks
Before you try fiddling with your guitar jack, it’s important to understand a bit of their anatomy. Not all guitar jacks are the same, and you’ll have to choose the one that’s compatible with your guitar. Otherwise, you can only ruin your guitar instead of fixing it.
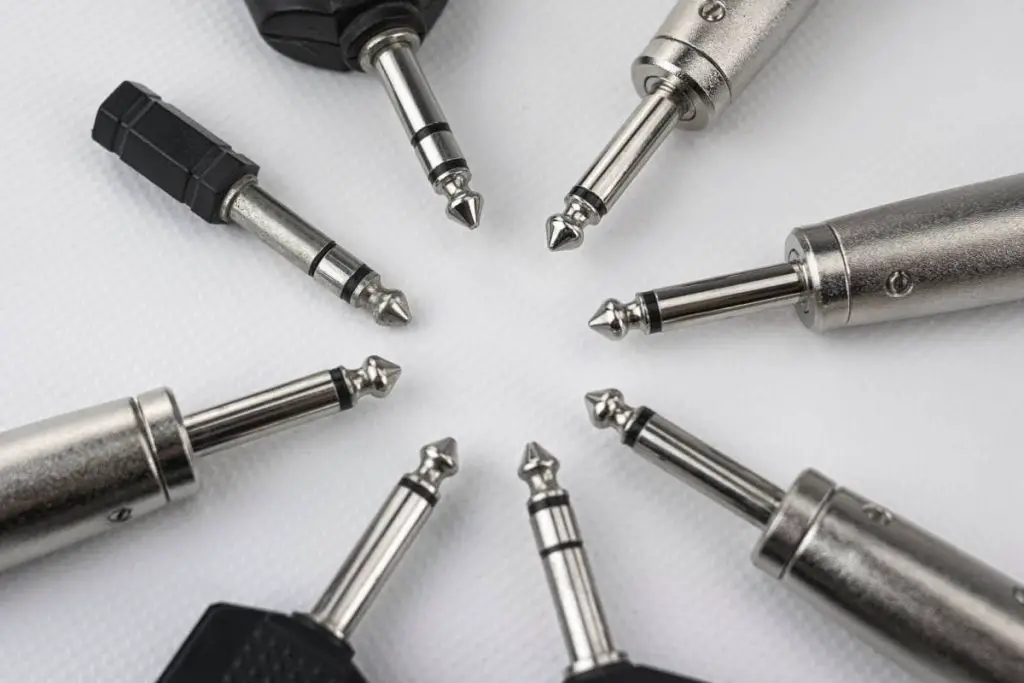
Let’s take a look at their configuration types and types of jack units.
Jack Configuration Types
There are a few configuration types you find on the market. Configuration type simply refers to how the jack is wired for compatibility with the wiring type on your guitar.
Jack configuration consists of the following types:
- Mono jacks: These jacks are the most common type you can find. They’re common on both electric and electric-acoustic guitars with passive pickups. There are only two lugs on them. One is for the ground, and the other one is for the wire through which the sound travels. They’re cheap and easy to replace because of their simplicity.
- Stereo jacks: A stereo jack is similarly built to a mono jack, but it has a third lug. It has an additional flange and a common ground lug. You can find it on both acoustic and electric guitars with active electronics or stereo outputs. It might be slightly more work to replace these, but it’s still quite manageable.
- TRS jacks: TRS or Tip-Ring-Sleeve jacks are similar to stereo jacks, but they have an extra lug. This allows you to control each stereo signal and send it to its own amp, direct box, or preamp. They’re common on acoustic guitars with under-saddle (active) pickups or on-body microphones.
- Power jacks: A power jack is either a stereo or TRS jack that connects directly to a preamp. They’re soldered directly to circuit boards, which makes them hard to replace without damaging the electronics. If you have problems with such a jack, you’ll have to replace the entire unit, which can be quite costly.
Jack Unit Types
This refers mainly to the type of housing the jack has. There are a couple of types, and they’re always combined with one of the configurations above.
These types include:
- Open jacks: Open or skeleton jacks are common on guitars with passive pickups. We call them open jacks because they don’t come with a protective housing. Protection is provided by the guitar slot’s seal instead. If they’re installed properly, they can be quite sturdy, in spite of the name.
- Enclosed jacks: Otherwise known as panel jacks, they’re very common on Chinese budget guitars. Even though they’re enclosed and thus theoretically safer from damage, they’re usually made from cheap plastic, and thus wear out very quickly. You should avoid this unit type and opt for open jacks instead.
- Barrel jacks: These jacks are common on electric-acoustic guitars. They replace the endpin on them and are a convenient way of connecting the electronics to a cable and an amp.
- Flange jacks: You can occasionally find these on electric-acoustic guitars, particularly on the ones made by Takamine. They’re similar to barrel jacks in the sense that they replace the endpin and come in all the possible configurations.
Knowing exactly what kind of guitar jack you need will allow you to easily find a replacement and help you know what to do. You likely need a typical mono jack, in which case, you’re in luck. Hopefully, you don’t need to replace a power jack, which might set you back financially.
You don’t want to have the misfortune of installing the wrong kind of guitar jack. Just imagine the pain of investing time and effort into it only to get a guitar that doesn’t work. In that case, you’d have to remove the jack, find another one, and install it.
You should also remember that modifying your guitar on your own will cause problems with the warranty. If your guitar is under warranty, you definitely shouldn’t fix it on your own. Get a licensed technician to take a look and see what they can do. If the warranty has expired, you can try it, but you should still be careful not to destroy anything.
Final Thoughts
Most of the time, fixing a loose or broken guitar jack will be a piece of cake. If you only have to tighten it, it’ll take a few minutes, and then you’ll be ready to jam again.
However, it’s a bit more complex if you have to replace it or reconnect the wires. But, if you’ve got some soldering experience, it won’t be a big issue. Always remember to inspect your guitar thoroughly before modifying anything, as you don’t want to spend time and energy needlessly, especially if there’s a chance of damaging your guitar.
👇😀👇NOTE👇😀👇
If you want to find out what my recommended guitar gear is, then here is what I recommend on Amazon:
- Fender Cutaway Acoustic-Electric Guitar Bundle (MY FAVORITE GUITAR)
- Snark SN-8 Super Tight All Instrument Tuner (Easiest Tuner I’ve Used😏)
- 6 String Acoustic Guitar Capo (Best CAPO for quick changes)
- Dunlop Max Grip 1.0mm Nylon Picks (Thick Guitar Pick So You Don’t Lose Grip!)
- Universal Guitar Stand (Cheap & Minimalist Guitar Stand I Recommend)
- Levy’s 2″ Wide Quick Adjust Guitar Strap (Best Guitar Strap For Any Level)
Related Posts:
- 11 Finger Stretching Exercises To Do Without a Guitar
- 10 Tips for Keeping a Guitar in a Dorm Room
- How To Record Guitar Without an Audio Interface
- Should You Take Guitar Lessons? 17 Pros and Cons
- 6 Signs That Your Guitar Strings Need Replacing
- Should Beginner Guitar Players Use a Pick? 7 Facts
- 7 Ways To Record Guitar Without an Audio Interface
- 11 Ways You Can Practice Guitar When Traveling
- How To Keep Your Guitar From Cracking (5 Methods)
- How To Play a Guitar Without Strumming (7 Easy Tips)
- 15 Signs Your Guitar Pick Is Worn Out
- 6 Signs Your Guitar Nut Is Too High
- 5 Reasons Why Your Guitar Pick Sounds Bad
- 16 Ways To Make a Guitar Pick Less Slippery
- 6 Signs Your Guitar Is Too Big for You

