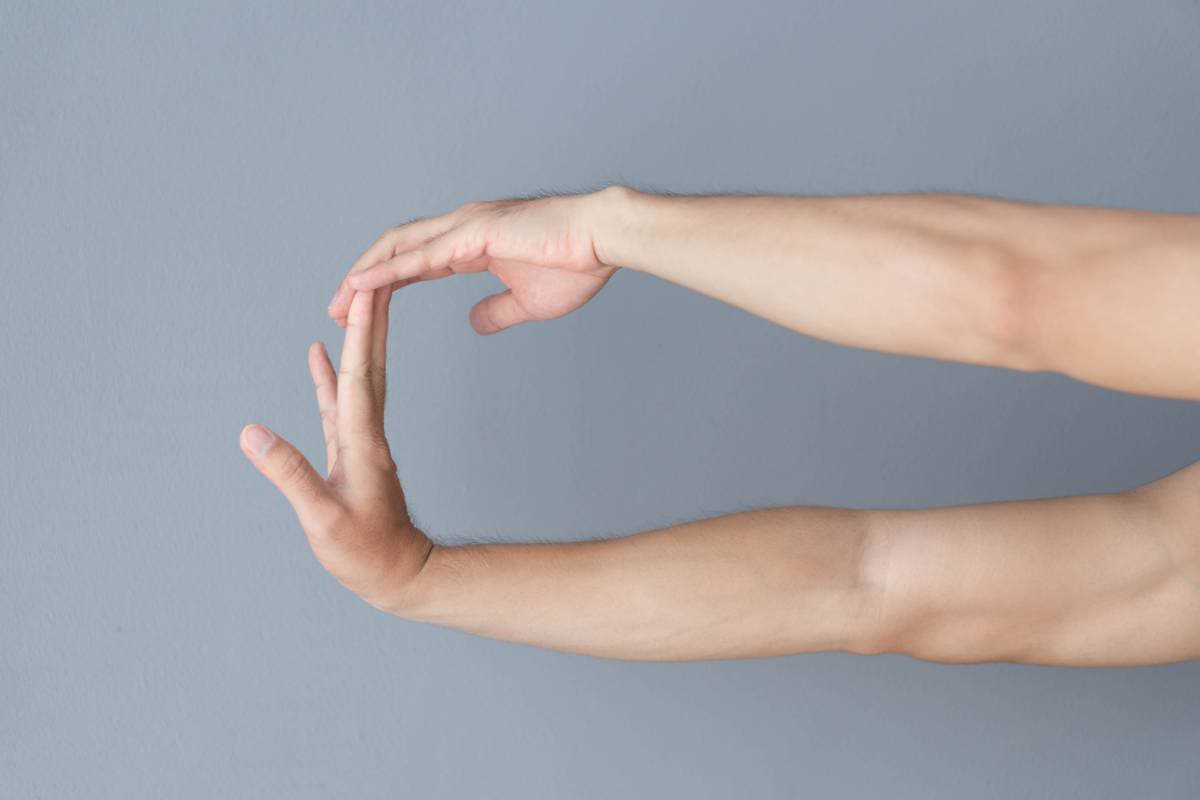
Playing the guitar is a wonderful way to release tension caused by everyday life, but if you are not careful, you can strain or injure the body parts you use while playing. Fortunately, there are plenty of exercises you can perform without ever picking up a guitar to ensure you do not hurt yourself. So, what are the best finger stretching exercises to do without a guitar?
The best finger stretching exercises to do without a guitar involve two key movements. They entail stretching all the fingers on one hand at the same time by clenching your fists and flexing your palms, and rolling, pushing, and pulling each isolated finger individually.
This article will first explain the importance of stretching your fingers before playing guitar and how it can benefit your musical abilities. It will then delve deeper into the exercises and the process behind how to do each.
👇😀👇NOTE👇😀👇
If you want to find out what my recommended guitar gear is, then here is what I recommend on Amazon:
- Fender Cutaway Acoustic-Electric Guitar Bundle (MY FAVORITE GUITAR)
- Snark SN-8 Super Tight All Instrument Tuner (Easiest Tuner I’ve Used😏)
- 6 String Acoustic Guitar Capo (Best CAPO for quick changes)
- Dunlop Max Grip 1.0mm Nylon Picks (Thick Guitar Pick So You Don’t Lose Grip!)
- Universal Guitar Stand (Cheap & Minimalist Guitar Stand I Recommend)
- Levy’s 2″ Wide Quick Adjust Guitar Strap (Best Guitar Strap For Any Level)
Why Stretching Your Fingers Is Beneficial as a Guitar Player
When thinking about the kinds of activities you need to stretch before engaging in them, playing guitar is not one of the first to come to mind. It seems like it should be a simple thing to pick up your guitar and start playing without needing to worry about injuring yourself.
However, it’s important to remember that when you play the guitar, you’re using not only the muscles and joints in your fingers but also the ones they are connected to — in the wrist and forearm. If you jump right into a jam session without warming up these areas, you could end up causing lifelong issues.
Just like an athlete stretches out their body before engaging in their sport, it is crucial for musicians to stretch out their fingers before they pick up their guitar. In addition to wanting to avoid hurting the muscles or joints in your fingers, there are plenty of reasons why completing finger exercises prior to your session can be essential to your playing process.
Finger stretching is helpful in:
- Strengthening the muscles that connect your fingers to your forearms.
- Increasing finger mobility and dexterity.
- Regulating circulation and blood flow in your hands.
- Allowing your fingers to function independently from one another.
- Improving your precision and ability to perform complicated movements.
Performing finger exercises prior to starting a playing session will not only keep your hands and arms comfortable, it will also help you have the most effective practice possible.
Let’s now dive into the specific exercises.
1. Roll Each Finger Between Your Thumb and Index
The best way to start exercising your fingers is to ease your hands into the process. You do not want to overexert them too quickly and end up hurting yourself by stretching them too much.
If you start out by giving each finger a light massage, you will get the blood moving in that part of your body. And your hands will be ready to handle more intense exercises.
To do this:
- Take the base of the thumb of your left hand and place it in the crease between your right thumb and index finger.
- Roll it gently back and forth 4-5 times, then move up your thumb and make the same motion, working each joint and the spaces in between.
- Bring your left index finger to the same spot and repeat the motion, starting at the base of the finger and massaging each knuckle moving upward.
You will want to perform this exercise on each of the remaining fingers on your left hand before proceeding to do the same for each finger (and your thumb) on your right hand.
It would also be a good idea to spend additional time massaging each of your fingertips, especially in the areas where you get calluses.
While you may think it would only be imperative to exercise the fingers holding the neck of the guitar and creating awkward movements while playing various chords, this is not the case.
It is vital to perform each of these stretches on both hands because strumming can also cause your hands to create unusual positions, particularly if you play fingerstyle.
2. Flex Each Thumb With the Other Hand
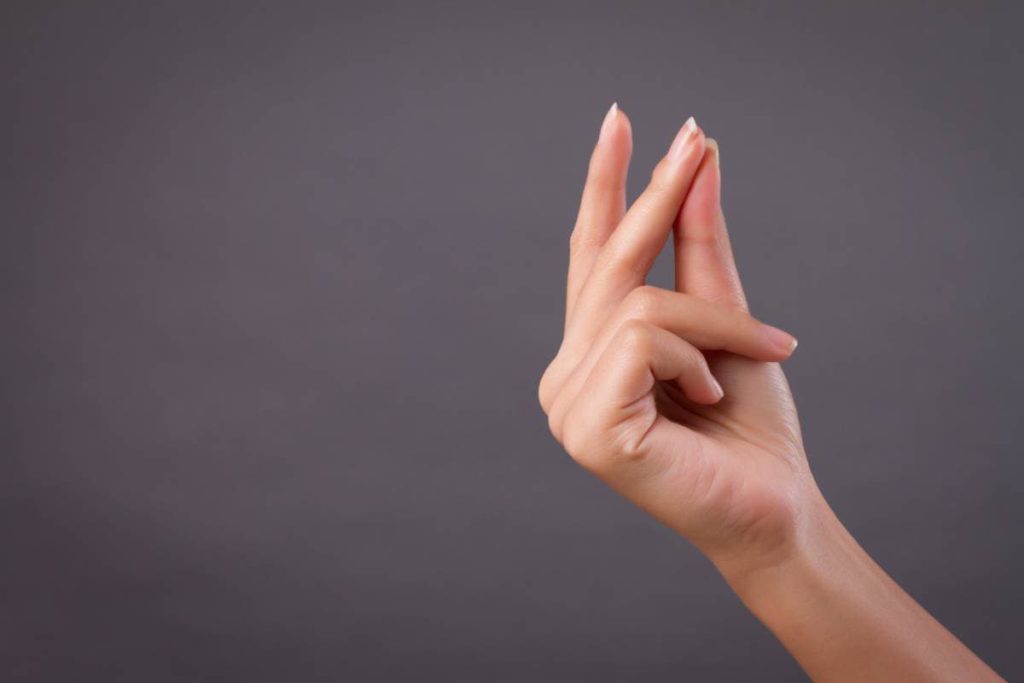
When beginning the actual stretching of your fingers, you should start with your thumbs. Although your thumbs are not being placed in as many uncomfortable positions as the rest of your fingers when playing guitar, they can experience pressure in other ways.
Typically, one thumb grips the back of the neck of the guitar tightly, while the other grips the pick or assists with fingerpicking. In both instances, some strain is placed on that area, and if you are not careful, you can easily develop inflammation and discomfort in these joints.
The best way to stretch out the muscles that connect your thumbs to the rest of your fingers is to flex your thumb with help from your other hand.
To do this exercise:
- Close your fist and stick your thumb out in a “thumbs up” motion.
- From there, grasp your thumb with your opposite hand and slowly and carefully rock it back and forth from side to side about 3-4 times.
- Once it has been loosened up, you can keep your thumb held to the side and open and close your fist a few times.
This extra stretching will wake up the muscle that connects your thumb and index finger and make it easier to wrap your hand comfortably around the neck of the guitar.
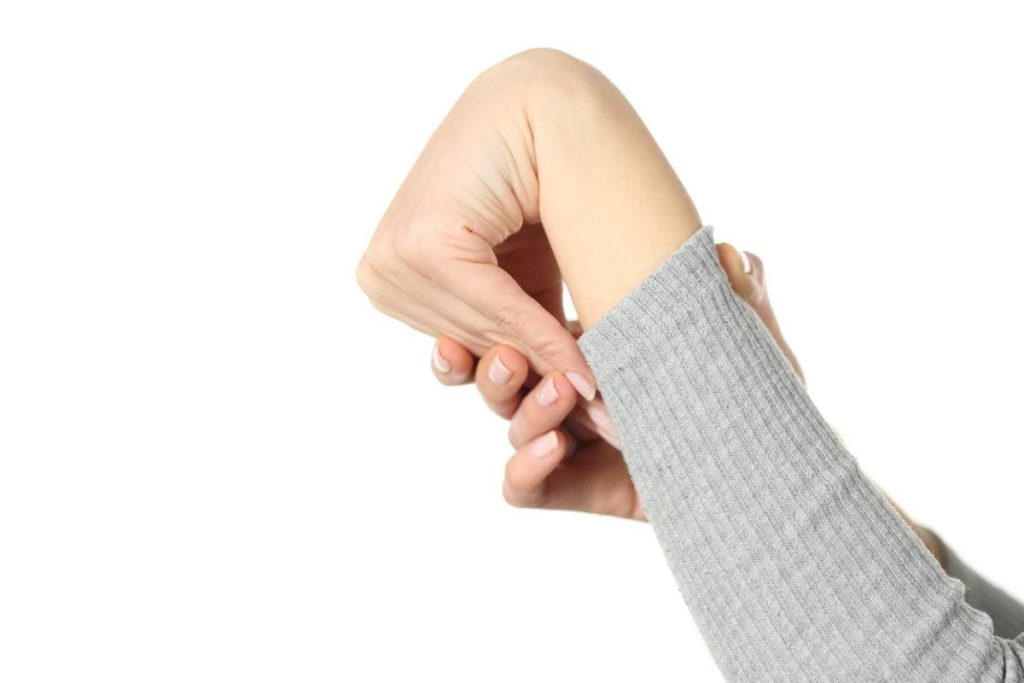
3. Pull Each Finger Toward Your Forearm
Now that your thumbs have been isolated and given a good stretch, it is time to focus on your fingers. When playing guitar, all your fingers need to be warmed up, and taking the time to specifically target each finger will help ensure they are ready for intricate movements.
For this exercise, you will be bending your fingers toward your forearms. This stretch targets your wrists in addition to your fingers, which is highly beneficial since they need to be stretched out well too.
- Start with your wrists bent and your fingers pointing down toward the floor, sort of how you would place them when typing on a computer keyboard.
- Slowly and gently bend your index finger toward your palm, hold it in that position for 2-3 seconds, and then slowly return it to the comfortable position.
- Repeat the motion with your middle, ring, and pinky fingers.
It may be tough to isolate each finger completely for this exercise. In this case, you can use your other hand to hold the rest of your fingers in place and focus the stretch on each individual finger.
4. Push Each Finger Against the Palm of Your Hand
Once you have completed the previous exercise of pulling your fingers gently toward your forearms, this next stretch should be even easier to do.
For this exercise:
- Hold your hand up like you are giving someone a “high five.”
- Using the opposite hand for assistance, bend each finger and push it down until it is resting against your palm.
- Hold it there for 10 seconds before moving on to the next finger.
This stretch can be challenging since your fingers may not be very flexible. Also, it may be a bit uncomfortable trying to keep the rest of your fingers straight while holding down each isolated one.
This is where your other hand can really help. If you keep the assisting hand flat against your fingers, you will manage to simultaneously use it to bend one finger at a time while keeping the rest out of the way.
5. Push Each Finger Against a Hard Surface
Out of all the exercises on this list, pushing your fingers against a hard surface should be done the most gently. This is the stretch where it is easiest to accidentally overextend your finger and end up hurting yourself. Hence, it is essential to take it slowly and use precision.
For this exercise:
- You will want to use the edge of a table, a wall, or any other surface that is not going to move or bend when you press against it.
- Place the tip of your index finger on the hard surface, making sure that your finger is completely straight.
- Slowly move your fist downward and push with your fingertip until your finger is bent back, and you can feel a slight pull where your muscles are stretching.
- Hold this position for 4-5 seconds, then release and move on to your middle finger.
Again, it is imperative that this movement is done in a gentle manner to prevent injury. Your other fingers should remain closed in a fist against your palm, so each finger receives a focused and independent stretch.
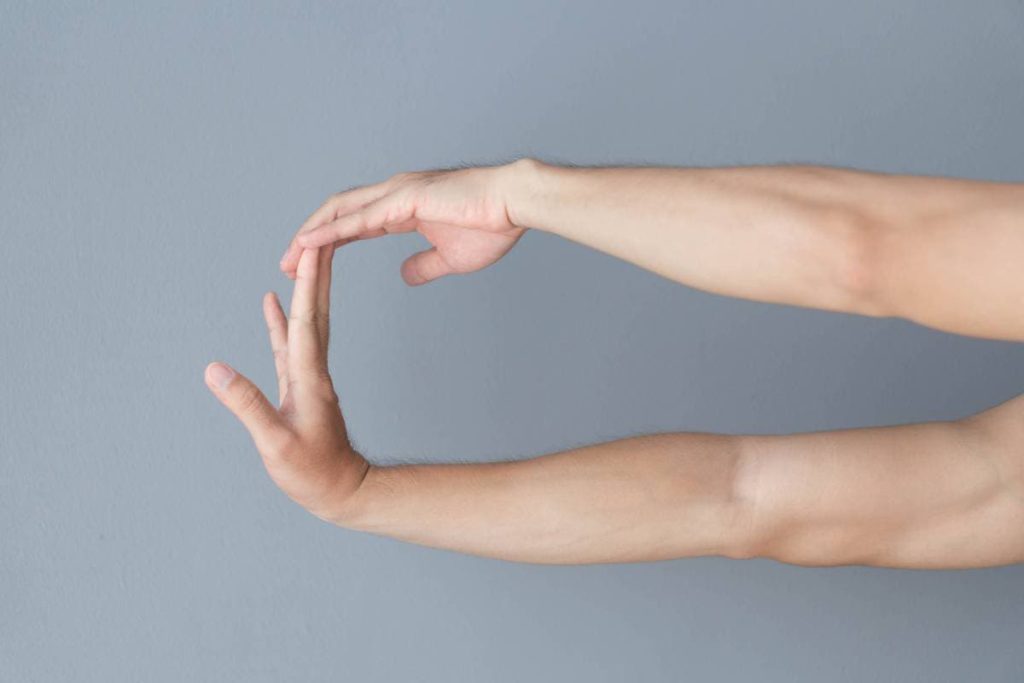
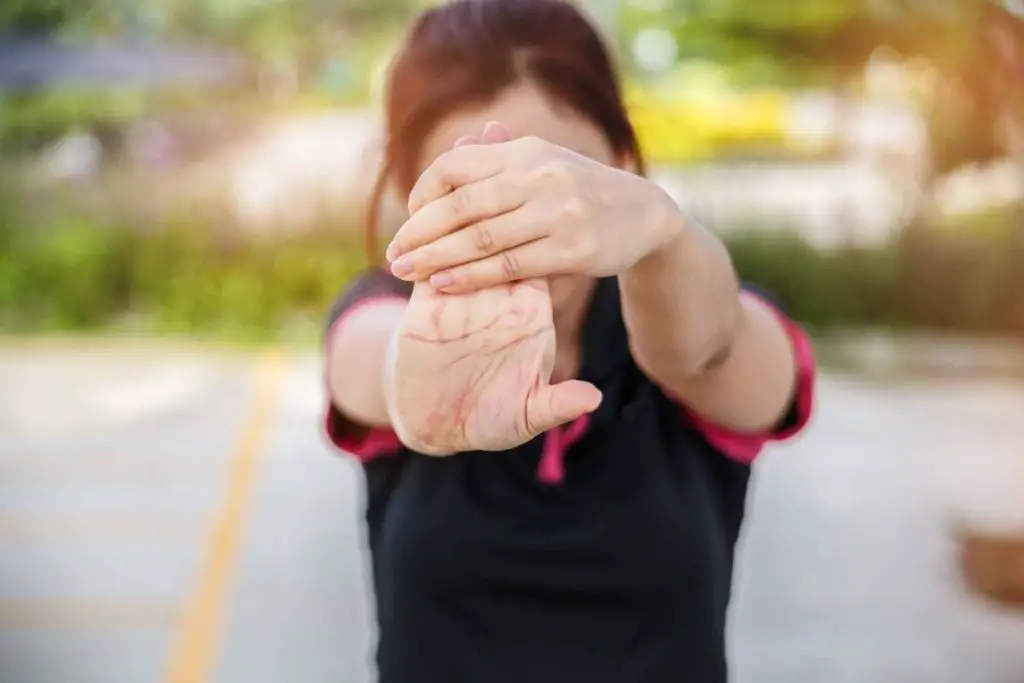
6. Push the Fingers on One Hand Back
Now that each individual finger has received a good amount of stretching on its own, it is time to focus on stretching all your fingers simultaneously.
The first exercise you can do to work one whole hand at a time is to push the fingers on one of your hands back using the other hand. After warming up all your fingers one at a time, this stretch will be much more comfortable.
- Hold your left hand up in the “high five” motion again with your fingers all pressed together, and use your right hand to push your fingers backward slightly toward your forearm.
- Hold them there for up to 10 seconds, then make the same motion on your other hand.
This is another stretch that should be done slowly and carefully since you are bending your fingers in a direction they are not generally used to going.
7. Clench and Unclench Your Fists
This stretch is as easy as it sounds. All you need to do is:
- Close your fingers and thumbs to the palms of your hands, creating a fist.
- Open your hands back up.
- Perform this motion 5-7 times on each hand.
This exercise is beneficial for multiple reasons. For one, it helps to get the blood moving throughout your hand as a whole after spending so much time isolating each finger.
It also strengthens the muscles that connect your fingers and hand to your arm. All these muscles must be able to work in tandem when you play guitar, and stretches like this one help them learn how to work together seamlessly.
8. Spread Your Fingers Open and Closed
This is another great exercise for getting all of the parts of your hand moving in sync with one another.
All you need to do is:
- Bring your fingers and thumb together so that they are touching each other – that “high five” placement again – and then spread them apart as far as you can.
- Hold them apart for 2-3 seconds, then bring them back together again.
- Do this motion 5-6 times on each hand.
9. Walk Your Fingers Across a Flat Surface
Now that your fingers and thumbs have been stretched in various ways, both individually and as a group, the remaining exercises will focus on improving your finger coordination and dexterity.
Being able to move your hands at fast speeds and in complex motions is crucial when playing guitar. Thus, performing exercises that will improve these qualities in your performance will be beneficial to you as a musician.
In this exercise, you will move your fingers across a flat surface as if they were “walking.” If you were to do this just with your index and middle fingers, it may not be too challenging and would not help your skills that much.
Instead, there are different combinations you can try that will not only help with your finger agility but will also provide you with some additional stretching.
Here are a few finger-walking exercises for you to try:
- Walk your middle and ring fingers and hold your index and pinky fingers folded against your palm.
- Walk your index and pinky fingers and hold your middle and ring fingers folded against your palm.
- Connect your index and middle fingers and your ring and pinky fingers and walk them together.
- Walk using your index and ring fingers as one leg and your middle and pinky fingers as the other leg.
There are plenty of other combinations you use. However, the ones listed above are a good starting point for getting your fingers comfortable with the feeling of “walking.”
10. Isolate and Lift the Same Finger on Both Hands
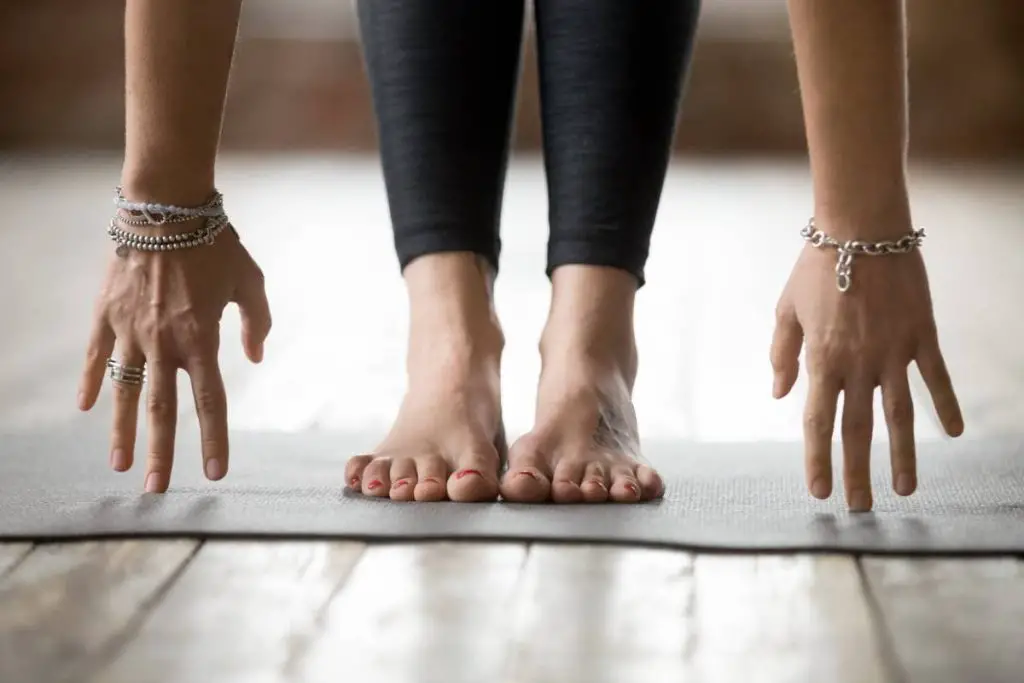
This exercise will focus on a combination of isolating your fingers and working on your coordination. Like the previous one, it will also require a flat surface, but instead of moving your hands, you will want to place them next to each other on the flat surface with your palms down.
- Lift both of your thumbs and hold them in the air for 5-10 seconds, keeping the rest of your fingers flat.
- Do the same for your index, middle, ring, and pinky fingers, ensuring that all your other fingers remain resting flat on the surface.
This exercise will likely become difficult for your middle and ring fingers since these are the hardest to isolate. Nonetheless, as long as you can keep them raised above the rest for a few seconds, it is okay if you cannot lift them very high.
It is critical that the fingers you can lift a bit higher do not get overextended. Your thumbs, index, and pinky fingers will likely be easier to isolate than your middle and ring fingers, so be careful not to stretch them too far.
11. Isolate and Lift Each Finger Going Left to Right
The final stretching exercise to complete before picking up your guitar is similar to the previous one. You will lay your hands on top of a flat surface and will work on isolating and strengthening each finger while also developing your coordination skills.
This time, you will be working from left to right, using both hands simultaneously.
- Lift up the pinky on your left hand and the thumb on your right hand and hold them in the air for 5-10 seconds, keeping the rest of your fingers flat.
- Lift the ring finger on your left hand and the index finger on your right.
- Continue moving down the line in this manner, lifting your left and right middle fingers, then your left index and right ring fingers, and finally your left thumb and right pinky.
- After you have completed the exercise while moving in one direction, you can repeat it the opposite way, starting with your right pinky and left thumb.
Final Thoughts
Even if you have never practiced finger stretching before picking up your guitar before, you can start the next time you plan to play. These exercises will provide you with many advantages, including keeping your fingers strong and helping to prevent injury.
They are all very easy to do, do not require any equipment, and only take a few minutes. So, you will be able to jump right into your practice or performance in no time!
👇😀👇NOTE👇😀👇
If you want to find out what my recommended guitar gear is, then here is what I recommend on Amazon:
- Fender Cutaway Acoustic-Electric Guitar Bundle (MY FAVORITE GUITAR)
- Snark SN-8 Super Tight All Instrument Tuner (Easiest Tuner I’ve Used😏)
- 6 String Acoustic Guitar Capo (Best CAPO for quick changes)
- Dunlop Max Grip 1.0mm Nylon Picks (Thick Guitar Pick So You Don’t Lose Grip!)
- Universal Guitar Stand (Cheap & Minimalist Guitar Stand I Recommend)
- Levy’s 2″ Wide Quick Adjust Guitar Strap (Best Guitar Strap For Any Level)
Related Posts:
- How To Fix a Loose or Broken Guitar Input Jack
- 10 Tips for Keeping a Guitar in a Dorm Room
- How To Record Guitar Without an Audio Interface
- Should You Take Guitar Lessons? 17 Pros and Cons
- 6 Signs That Your Guitar Strings Need Replacing
- Should Beginner Guitar Players Use a Pick? 7 Facts
- 7 Ways To Record Guitar Without an Audio Interface
- 11 Ways You Can Practice Guitar When Traveling
- How To Keep Your Guitar From Cracking (5 Methods)
- How To Play a Guitar Without Strumming (7 Easy Tips)
- 15 Signs Your Guitar Pick Is Worn Out
- 6 Signs Your Guitar Nut Is Too High
- 5 Reasons Why Your Guitar Pick Sounds Bad
- 16 Ways To Make a Guitar Pick Less Slippery
- 6 Signs Your Guitar Is Too Big for You

