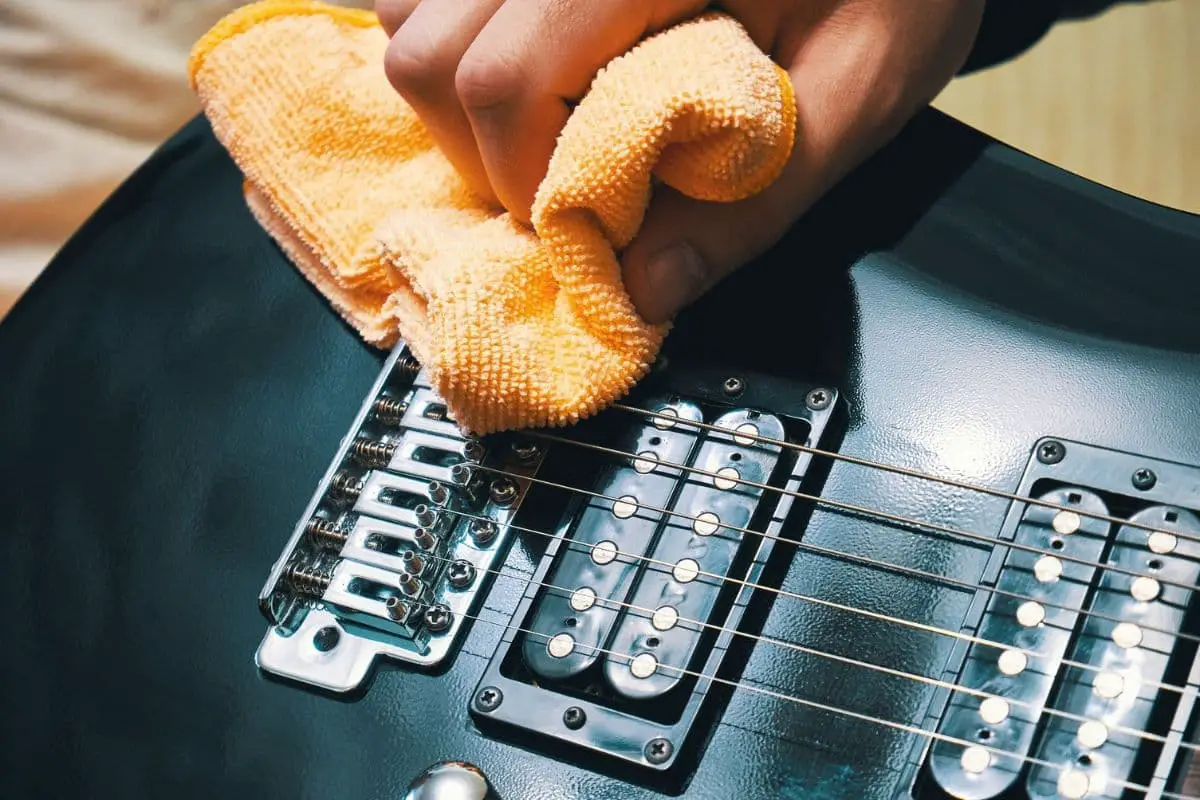
A guitarist’s instrument is always among their most prized possessions. Thus, every guitarist should know how to properly take care of their electric guitar. One of the most important things you can do to keep your guitar in working condition is keeping the dust off of it.
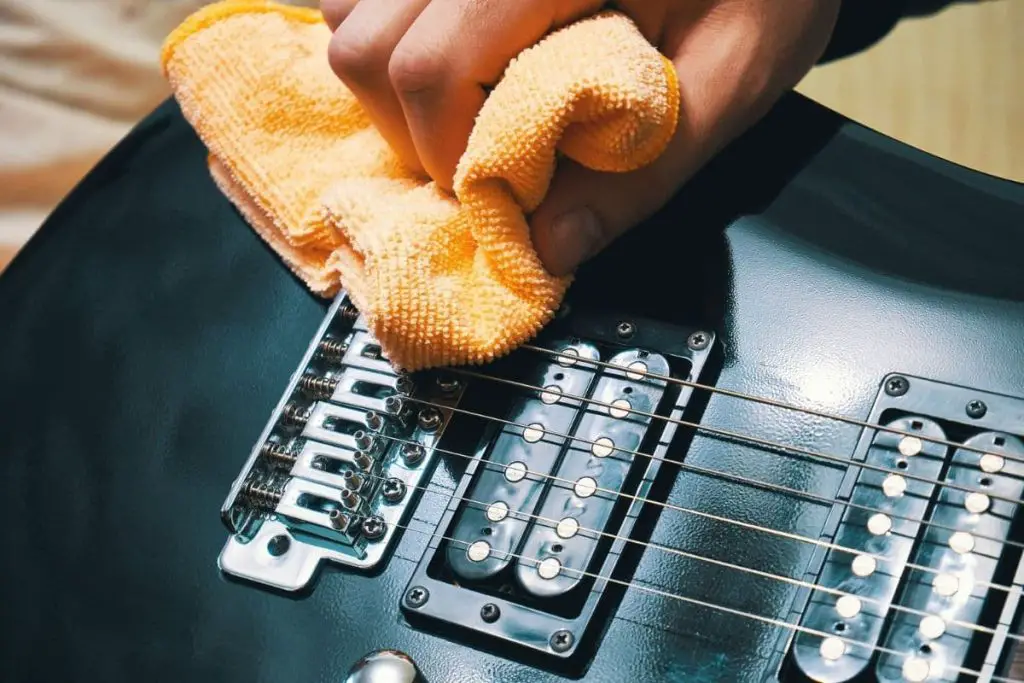
To clean dust off an electric guitar, use a feather duster to clear as much dust as possible. Next, use a soft, dry cloth to carefully clean off any remaining dust. For areas between the strings and other hardware, use a soft brush to remove any dust that may have collected in these areas.
This is the most basic form of guitar cleaning. In this article, I will elaborate on this cleaning method and show you the most thorough way to clean dust off your electric guitar. I will look at different ways to clean your guitar depending on its body type, so read on to find out what the best cleaning method is for your guitar!
If you want to find out what my recommended guitar gear is, then here is what I recommend on Amazon:
- Fender Cutaway Acoustic-Electric Guitar Bundle (MY FAVORITE GUITAR)
- Snark SN-8 Super Tight All Instrument Tuner (Easiest Tuner I’ve Used)
- 6 String Acoustic Guitar Capo (Best CAPO for quick changes)
- Dunlop Max Grip 1.0mm Nylon Picks (Thick Guitar Pick So You Don’t Lose Grip!)
- Universal Guitar Stand (Cheap & Minimalist Guitar Stand I Recommend)
- Levy’s 2″ Wide Quick Adjust Guitar Strap (Best Guitar Strap For Any Level)
1. Wash Your Hands Before Cleaning
It should go without saying, but it can be very easy to get ahead of ourselves and start cleaning our electric guitar before properly washing our hands. This is necessary because it will help eliminate any dirt and oils on your hands. If you do not wash these off your hands, you will transfer them to the guitar you are supposed to clean.
The last thing you want is to finish cleaning your guitar only to smudge it with any oils or residue still on your hands!
2. Use a Feather Duster for the First Cleaning
You should use a feather duster or a microfiber as the first tool for cleaning off dust from your guitar. Starting off by removing excess dust is a great idea for several reasons:
- It will easily loosen and clear dust.
- The soft fiber poses no risk to the finish of the guitar.
- It makes the final cleaning easier.
Carefully dust down the entire guitar with the feather or microfiber duster. Note that you’re not likely to get the guitar completely dust-free with this step alone. It will, however, make the following steps easier.
3. Remove the Strings
You cannot possibly perform a thorough cleaning of your guitar with the strings still attached. Aside from the fact that you may not want some of the cleaning agents to come in contact with the strings, you also need unhindered access to the fretboard.
By taking out the strings, you can get to every part of the guitar more easily. You will also have the opportunity to look closely at the tuning heads and apply some lubrication to them so they continue working without friction.
You can watch the video below if you need help removing your guitar strings. Note that you should not cut the strings before removing them, as suggested in the video, unless you plan to change them. If you simply want to remove them to clean the guitar and then replace them, just loosen them and take them out.
Here’s the video guide:
4. Clean the Guitar Body
Your guitar body will likely have one of the four main body types. How you will go about cleaning it will depend on the specific type of finish you are dealing with.
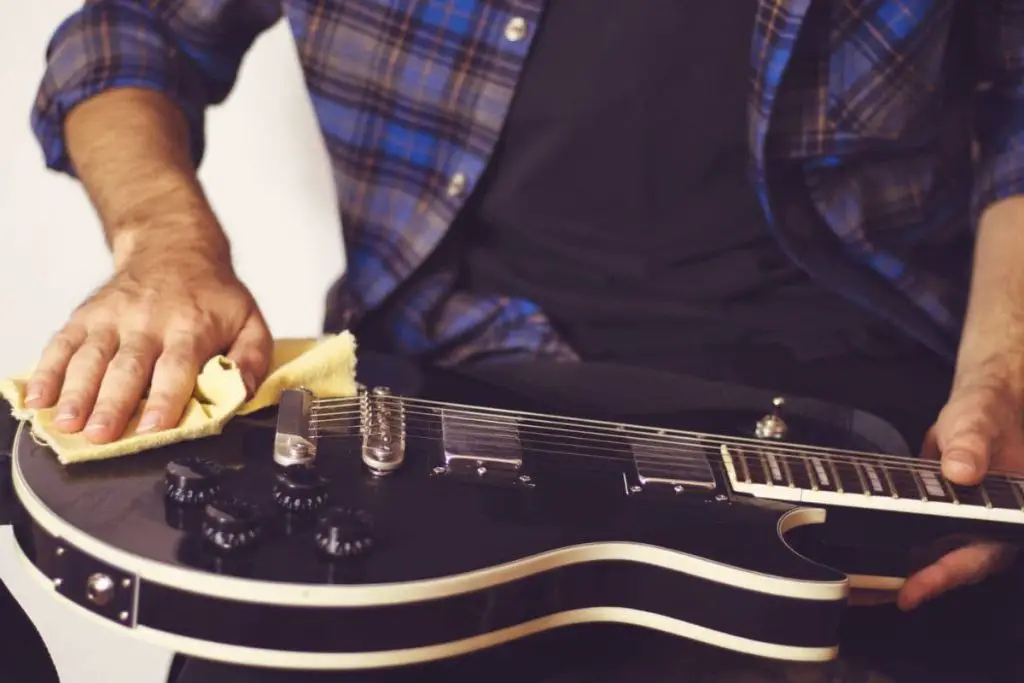
The different types of guitar finishes are:
- Matte
- Satin
- Poly or Glossy (Polyurethane and polyester)
- Nitrocellulose
Matte Finish
You should not clean matte finish guitars with any cleaning agent. The best way to maintain this type of finish is to clean it frequently with a soft dry cloth. Be sure to wipe it down softly because adding a lot of pressure can change the look of the finish.
If there are areas with tough to remove dirt, you can slightly dampen the cloth with warm water to clean those spots. Wipe down with a dry cloth to remove any remaining moisture.
Satin Finish
This type of finish is a mix between a matte and glossy finish. It should also be cleaned with a soft dry polishing cloth. If, however, the dirt proves difficult to clean with only the dry cloth, you can use a slightly damp cloth and rub gently. Be sure to clean the body with a soft dry cloth to mop up any excess moisture from the damp cloth.
As with the matte finish, apply very minimal pressure as you clean to avoid polishing it into a gloss-like finish.
Poly or Gloss Finish
This is the most popular finish you will find today. It can withstand a lot more than the other types of finish. The first thing you need to do is clean the body of the guitar with a soft, damp cloth. Run some water over one of the soft cotton or microfiber cloths. Wring out as much water as you can so that it’s just damp and not dripping with water.
Carefully wipe the guitar’s body (apart from the fretboard) as much as possible. When you are done, get a second soft cloth and wipe the guitar to remove any excess wetness left by the damp cloth.
If your guitar body has some stubborn dirt and grime that proves too difficult for your damp cloth, then you may require a stronger solution. The best cleaning agents for this stubborn dirt and grime include lemon oil, distilled white vinegar, or any other guitar-specific product.
The lemon oil I’m referring to here isn’t your regular natural lemon oil found in grocery stores. This type is designed for use with guitars. It’s also important to use distilled white vinegar and not any other kind. This is very important to ensure you do not deface your guitar.
Ensure you do not apply the cleaning agent directly on the guitar when cleaning these tough areas. It is best to apply them on a damp cloth and then clean the area with it. Remember that you want the finish of your guitar to shine through and not for it to get dull.
Nitrocellulose
If your guitar has this type of finish, it’s likely a very expensive or vintage guitar. This type of finish has a unique look that separates it from others and also gives it its exclusive status.
How you clean this type of body will depend on the age and state of the finish. If the finish is new, you can clean it with a slightly damp cloth. This should be done with great care as frequent cleaning will wear away this finish. Be sure to clean with a soft dry cloth to remove any excess moisture.
If you notice that some parts of the body are cracked or “checked,” then you need to be extra careful. This means the guitar has experienced some wear and tear. At this stage, you can still use a soft, damp cloth, but the level of dampness has to really be mild. You do not want to see any visible signs of moisture on the finish when you clean.
Again, clean with minimal pressure and then clean with a soft dry cloth.
If the cracks are extensive, however, then you shouldn’t use a damp cloth. This is because the cracks you see lead into the main body of the guitar. So, any type of moisture will seep into the wood through the cracks and cause substantial damage.
5. Clean the Fretboard
Your guitar can have a finished or unfinished fretboard. There are also different materials that this part of your instrument can be made of. Knowing which type you are dealing with will help you understand how to clean it effectively.
If you have a non-finished fretboard, you can clean it with a soft, lightly damp cloth. You can also use the ultra-fine steel wool for cleaning out areas with tough stains. This will have enough strength to remove the dirt and grime without damaging the fretboard.
For rehydrating or conditioning your fretboard, you can find some guitar-specific products. You should, however, note that using fret conditioners like lemon oil or any other kind can discolor your unfinished maple fretboard and should therefore be avoided. You use fret conditioners for other types of fretboards.
If you have a finished fretboard, you can clean it with a damp cloth. As with the case of the guitar body, you should ensure that there is no excess water on it after cleaning. Wipe it down with a soft dry cloth.
Be sure not to use the steel wool on a finished fretboard. The steel wool may scratch the finish on the fretboard. If the damp cloth is not getting all the dirt off the finished surface of your fretboard, then you can try applying some lemon oil or white distilled vinegar on a damp cloth and cleaning the tough areas with this.
When shopping for guitar-specific products, you will find various fretboard cleaning products designed for specific fretboard types. Always read the manufacturer’s description to ensure that you are choosing the right product that will clean and rehydrate your kind of fretboard.
6. Get a Soft Brush for Hard To Reach Areas
Since our focus at this point is dust removal, you will need to find a small, soft brush to get to those hard-to-reach-areas. Since you’ve already cleaned most of your guitar, you shouldn’t use a brush that is so hard it will leave marks on your instrument.
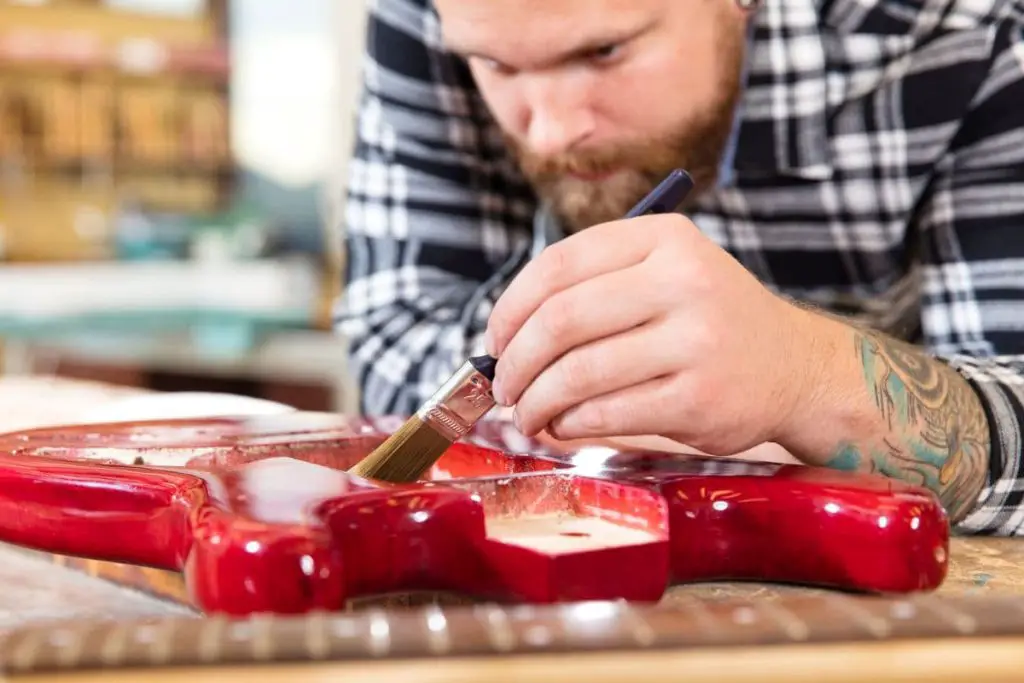
7. Clean the Hardware
Having cleaned your guitar body, neck, and fretboard, you certainly cannot leave the hardware dirty. When I talk about guitar hardware, I am referring to:
- The tuning machine and pegs
- The guitar pickup
- The Bridge and Saddle
The Tuning Machine and Pegs
To clean the tuning machine and pegs, you can wipe them down with a soft, dry cloth. It may be a good idea to clean the hard-to-reach areas with a soft brush.
It’s also a good idea to use some guitar polish to bring it up to a shine. Apply some guitar polish to your soft, dry cloth, and then carefully rub the machines and pegs to a shine. This should also remove slight oxidations.
If there is extensive rusting, however, you may need to remove the tuning pegs and soak them in white vinegar for a few hours. You can then clean them thoroughly before polishing it with guitar polish. Some guitarists use chrome polish for chrome tuning machines.
You can watch how to remove and reinstall your tuning machines here:
Pickups
Your guitar’s pickups are among its most important hardware. It needs to be able to easily receive and transmit the electromagnetic signals from the vibrations of your guitar strings. Unless you notice some rust around it, cleaning it is pretty straightforward.
- Wipe it with a soft dry cloth.
- Blow out dust and debris from the cracks around it with compressed air.
- Clean it once more to remove dust or debris from the blowing.
If some of the pickup poles have started to rust, keep the following in mind:
- Rusting will not necessarily affect the sound of your guitar.
- The pickup poles are magnetic and will attract any metal scraps when you attempt to scrape off the rust.
- You can damage your pickups if you allow any cleaning product to get into the cracks surrounding the pickup rods.
- If they are too far gone, an easier option may be changing the pickups.
Should you decide to go ahead with the cleaning of the rusted poles, add these steps to steps 1 to 3 above:
- Cover the area around the poles with masking tape.
- Apply a tiny amount of WD-40 or Brasso to a dry soft, lint-free cloth.
- Gently rub this over the exposed pickup pole to get the rust out.
- Clean off any excess material with a clean, dry cloth.
You can watch a detailed guide in the following video:
The Bridge and Saddle
This is another part of your guitar where there can be a buildup of dirt and grime. You can also have an occurrence of oxidation. To clean this area, you can use a soft brush to remove dust and dirt from hard-to-reach areas. You can try blowing into these spaces with your compressed air.
When you are done cleaning, polish it with your guitar polish. Apply the polish to your soft cloth and then carefully polish the hardware, ensuring that none of the polish touches the guitar body.
If the dirt or rust is extensive, you may want to remove it from the guitar body. For extensive rusting, remove the bridge and soak it in white vinegar for a few hours. Clean it out and then polish it dry before reinstalling.
This process requires utmost care, so you do not mess up the setup of the bridge.
Check out the following video for some additional help on cleaning the bridge and saddle:
8. Polishing Your Guitar
When you are done cleaning the dirt and grime, you may want to polish it to give it that brand-new look. This process should be handled with the utmost care, especially depending on your choice of polishing material.
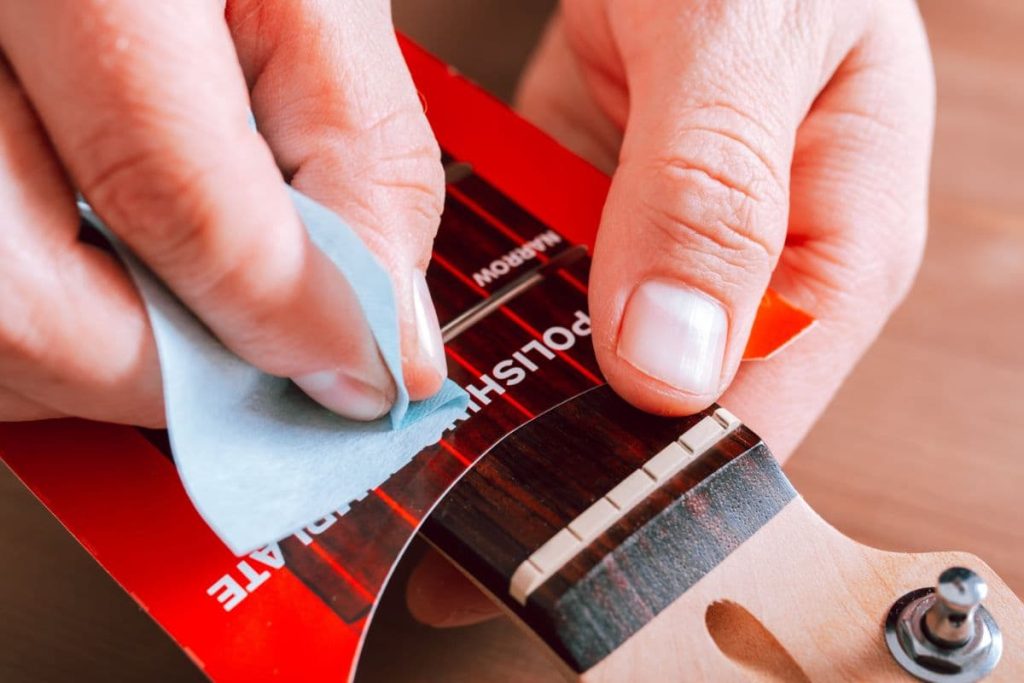
There are different guitar polishes that you will find online and at music stores. It’s essential not to use just any kind of polish. You should avoid any products that contain:
- Silicone.
- Alcohol.
- Ammonia.
- Any other harsh chemicals that may be dangerous to your guitar’s body.
An ideal polishing product will contain pure Carnauba wax.
Not all guitar body finish types can or should be polished. Thankfully, the most common guitar body finish type–the glossy finish–can be polished.
To polish your electric guitar after cleaning:
- Put some quantity of your polish on a different soft dry cloth.
- Rub it into the body of the guitar using gentle circular motions.
- Continue rubbing until the wax disappears.
- Repeat the process for the entire guitar body.
When you have covered the entire body, you can use another clean cloth (soft and dry) to buff the whole body. This will remove any excess wax and also bring the guitar to a shine.
Remember that this polishing cannot be done for matte and satin finishes. Only polish a nitro finish if it’s new and without any checking or cracks.
Benefits of Cleaning Dust From Your Guitar Frequently
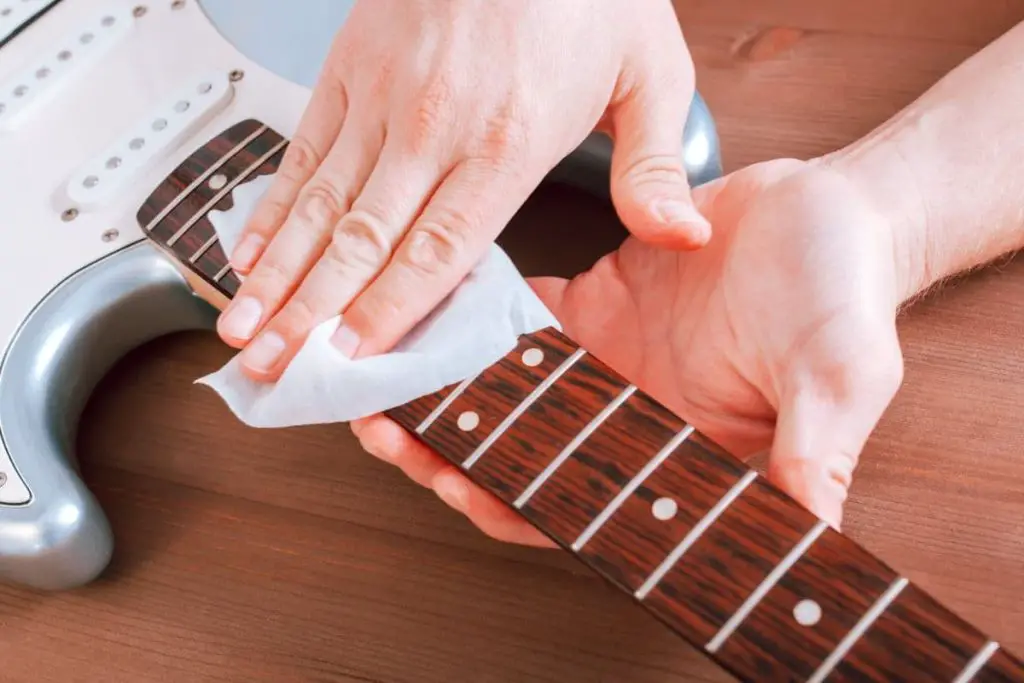
Keeping your guitar clean should be a part of your weekly or monthly cleaning schedule. Besides keeping your guitar clean, regularly wiping off the dust can help prevent the buildup of grime and dirt on your guitar.
Keeps Your Guitar Clean
No one wants to have a dirty instrument. This is the fundamental reason why you should always clean dust off your electric guitar. Being a simple process, you should try to clean it as often as possible. Personally, I formed the habit of wiping down my instrument after every performance or practice.
Prevents the Buildup of Grime and Dirt
Another reason it’s essential to clean off dust from your guitar is that if the dust is allowed to accumulate, it can mix with the moisture in the atmosphere and sweat and oil from your hands to form grime.
Though this may not affect the sound of an electric guitar like it would an acoustic guitar, it can reduce the lifespan of the strings. It can also cause the hardware to stiffen or rust much faster.
Conclusion
You are now well-equipped to take care of your electric guitar like a professional. Whether you are able to perform all eight steps of this guide every time you clean your guitar or can only do a couple of them, make sure that you regularly clean the dust off your electric guitar to maximize its lifespan.
If you want to find out what my recommended guitar gear is, then here is what I recommend on Amazon:
- Fender Cutaway Acoustic-Electric Guitar Bundle (MY FAVORITE GUITAR)
- Snark SN-8 Super Tight All Instrument Tuner (Easiest Tuner I’ve Used)
- 6 String Acoustic Guitar Capo (Best CAPO for quick changes)
- Dunlop Max Grip 1.0mm Nylon Picks (Thick Guitar Pick So You Don’t Lose Grip!)
- Universal Guitar Stand (Cheap & Minimalist Guitar Stand I Recommend)
- Levy’s 2″ Wide Quick Adjust Guitar Strap (Best Guitar Strap For Any Level)
Related Posts:
- 5 Reasons Why All Electric Guitars Sound Different
- Here’s Why Electric Guitars Are Shaped the Way They Are
- How To Test an Electric Guitar Without an Amp
- How To Make Any Electric Guitar Sound Like a Bass
- Electric Guitar vs. Acoustic Amp: Differences Explained
- How To Clean an Electric Guitar Bridge: 7 Steps
- 7 Reasons Why Electric Guitars Cost So Much
- Guitar Maintenance: How To Clean A Guitar (Acoustic, Electric)
- Best Electric Guitars

