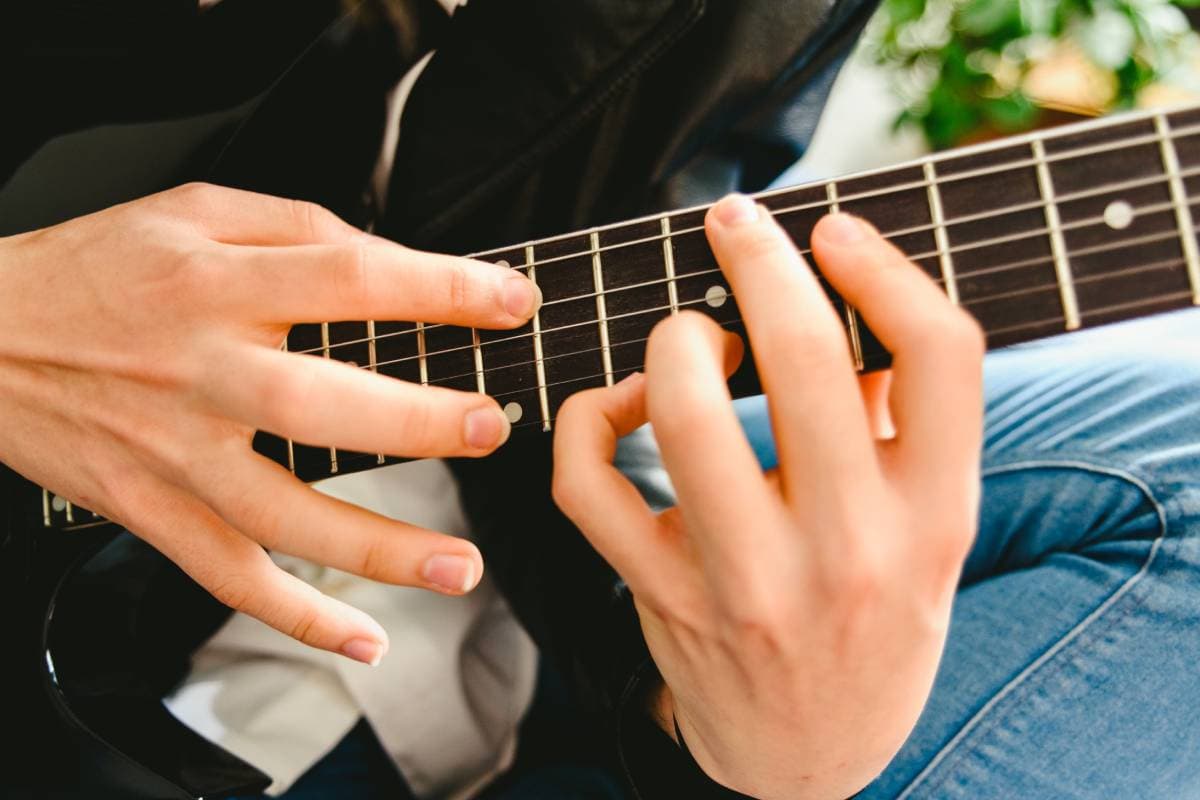
So you’ve learned how to tap on guitar and even got it going pretty well. But something is still holding you back from tapping fluently and effortlessly: the ability to create more challenging rhythms and more intricate patterns. In other words, you either struggle with your tapping routine’s speed or complexity.
You can get better at tapping on your guitar with regular exercise. Tapping is an awesome technique that can add spice to your playing. It’s teachable to anyone regardless of skill level. The only catch is that it takes some time to get good at it, but, the more you practice, the better you’ll get.
So if you’re looking for new ideas to take your playing to the next level, read on for five exercises that will help you get better at tapping your guitar.
If you want to find out what my recommended guitar gear is, then here is what I recommend on Amazon:
- Fender Cutaway Acoustic-Electric Guitar Bundle (MY FAVORITE GUITAR)
- Snark SN-8 Super Tight All Instrument Tuner (Easiest Tuner I’ve Used)
- 6 String Acoustic Guitar Capo (Best CAPO for quick changes)
- Dunlop Max Grip 1.0mm Nylon Picks (Thick Guitar Pick So You Don’t Lose Grip!)
- Universal Guitar Stand (Cheap & Minimalist Guitar Stand I Recommend)
- Levy’s 2″ Wide Quick Adjust Guitar Strap (Best Guitar Strap For Any Level)
What is Tapping?
Although learning guitars for the first time can get quite challenging, there are only so many chords you can play before getting bored. New techniques and skills are constantly being developed and added to the standard playing methods. You’re not alone if you’ve wondered what exactly tapping your guitar means.
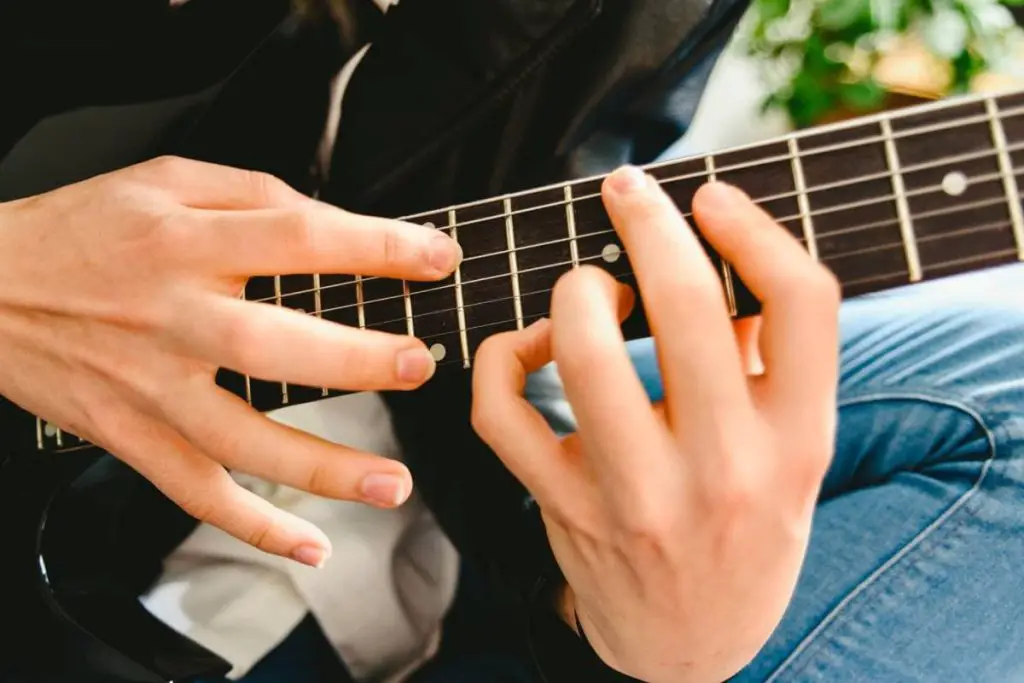
Tapping refers to a particular fingerpicking technique commonly used on the electric guitar. It involves playing a sequence of notes by hammering on or pulling off from one chord to another while fretting other notes with the fretting hand, all at the same time.
Fretting involves using the fingers of the fretting hand to strike a string either directly above or below its intended target point. This creates unique sounds and patterns that wouldn’t be possible with normal fingerpicking techniques.
While it may seem like a challenging and perhaps awkward technique, once you get the hang of it, it is pretty easy to integrate into your playing as part of a solo or riff.
5 Guitar Tapping Exercises
If you’ve ever listened to metal, progressive rock, or any subgenre of rock, you’ve probably heard someone playing fast arpeggios with one hand while hammering out power chords with the other. This can be quite a challenge for any guitarist, regardless of the skill level. Luckily, we’ve broken down the steps into simple exercises for you:
1. Warm-Up Exercise
It’s important to master as many chords as possible before learning to tap your guitar (especially if you’re a beginner). Warming up before tapping lets you focus on one note at a time and later play many individual notes as fast as possible.
That said, here’s a simple warm-up exercise to help you get started:
- Hold down the 9th fret with your index finger at the low E string (the 6th string).
- Start tapping from the 9th fret of the E string, going to the 10th, 11th, 12th, and 13th fret on the same string.
- Switch to the next string (A string) and repeat the process (9, 10, 11, 12, 13 frets).
- Move on to the D, G, B, and the higher E string of the guitar and tap their 9, 10, 11, 12, and 13th frets.
- Once you’re done tapping the 1st string (higher E string), move back upwards to the B string and all the way to the lower E string while tapping their 9, 10, 11, 12, and 13th frets in that order.
This simple exercise helps with muscle memory and hand coordination. It also helps build up your calluses as you practice. The more you do it, the faster and better you’ll get in the following guitar tapping exercises.

2. Tapping Trills
Trills are also one of the most challenging rhythmical concepts to master on guitar. The technique is a series of fast hammering and pull-offs.
- Hold the 10th fret of the high E-string with the index finger of your fretting hand.
- Strum the E-string on the 12th fret with your index finger
- Pull off the E string on its 12th fret (about eight times) as fast as you can
- Move your index finger to the 7th fret on the same high E-string and pull off the string as fast as you can (about eight times).
- Advance to the 5th fret, and then to the 3rd fret of the high E-string, and keep pulling them off as fast as you can
- Lastly, place your index finger on the 3rd fret of the B string and keep pulling off as well.
Check out the full exercise in this video:
This exercise is based on speed and precision. With continuous practice, you should tap your guitar in this technique in a few days.
3. Two-Handed Tapping
There is magic in the combination of one hand playing rhythm, arpeggios, or chords and the other hand playing lead notes at the same time with both hands. This technique is called two-hand tapping. Here’s a simple exercise for two-handed tapping:
- Hammer the low E string on the 7th fret with the index finger of your fretting hand.
- Next, hammer the 9th fret of the A string with the ring finger.
- Hammer the 12th fret of the B string with the middle finger of your picking hand.
- Hammer the 12th fret of the D string with the index finger of your picking hand.
- Return to the low E string’s 7th fret and repeat the process. Do this as fast as you can in the same order.
Check out the full routine in this video:
Pro Tip: Start slow and increase your speed as you master the technique. But, whatever you do, don’t rush into it. Take some time to master this two-handed technique and use it as a basis for more tapping exercises. Also, ensure that the technique falls in line with your beat.
The biggest advantage of two-hand tapping is that you can play notes faster than if you were using conventional fingerstyle techniques. When done right, two-handed tapping produces cleaner notes that give the electric guitar its unique character.
4. 2-Note Tapping
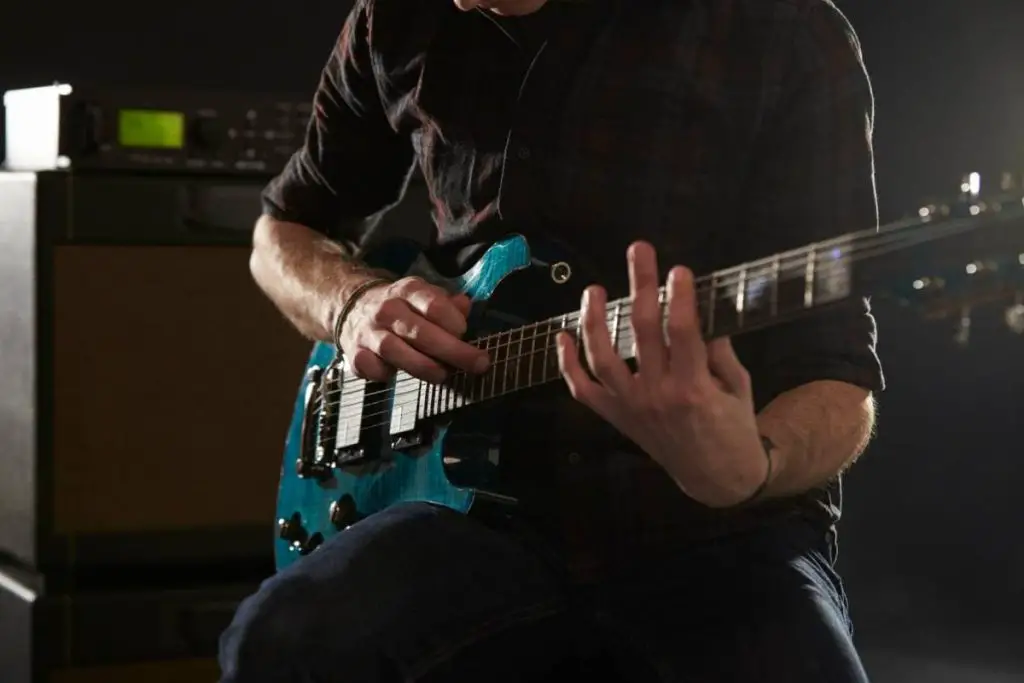
As the name implies, 2-note tapping entails switching between two notes while tapping. Beginners start with the basic one and two-note versions, but it’s not long until you’re moving between more than two strings and incorporating hammer-ons and pull-offs at the same time.
Here are the steps for basic two-note tapping:
- Put the index finger of your fretting on the 7th fret of the first string.
- Using your picking hand, tap the 12th fret of the first string.
- Pull off the 7th fret of the B string.
Repeat this process until you feel comfortable.
5. Up-Down Strumming Exercise
It’s always an excellent practice to know your strings inside-out. That’s what this simple exercise is all about.
- Use your index finger to strum the strings of the guitar from the low E string to the high E string and back.
- Proceed to the middle finger and strum all the strings from top to bottom and up again.
- Skip using your ring finger and pinkie if they put too much strain on your wrist.
This exercise can make a big difference in your tapping routine. It helps you improve your ability to readjust your hands while keeping the sounds flowing. For great practice and better flexibility, do this 20 times with each finger daily.
Bonus Exercise: Memorize Your Notes
It’s okay if you haven’t memorized your chords but still want to learn how to tap your guitar like a pro. In this exercise, you’ll learn how to memorize each string by the sound it produces.
- Find your guitar learning resources (this may include books, PDFs, videos, and other learning materials).
- Study 4 different chords every day and practice.
- Keep practicing the chords at least three times a day. Each time you hit a note, say it out loudly.
- Learn how to progress from one chord to another slowly until you’re comfortable.
You can start with the high string and move down to the low one at a time. The good thing is that you do not have to do this in any particular order.
Tips To Get Better at Tapping
Although it can be a bit intimidating at first glance, guitar tapping is a technique that almost anyone can learn with time and practice. The trickiest part about learning how to tap as a beginner is knowing where to start.

Here are some tips to help take your tapping skills from good to great:
Practice With a Metronome and Fingering Chart
A metronome is invaluable for improving your tapping speed and accuracy, so make sure you have one close by. You can use a digital metronome app on your phone or find a cheap one at any music store.
You’ll also need a guitar fingering chart on hand. The more you practice tapping, the more you’ll notice certain finger combinations coming up repeatedly. Charting these out will help you get to the root of these issues and see areas where you need to improve.
Learn To Play Individual Notes With Your Fretting Hand
When you start learning how to tap, you may start with trying to strum chords. As you progress, you’ll start to play single notes. This is one of the most difficult skills to learn when starting out with tapping, so you might want to start with a simpler chord and focus on perfecting your technique.
You’ll want to position your fretting hand so that your palm slightly faces upwards while your fingers are either on the strings or hovering just above them. Most of your pressure should be coming from the base of your thumb. However, that pressure should be channeled to the strings, not the fretboard.
Pro Tip: Let your fingers press directly downwards on the strings, right behind the fret. This ensures that your chords sound as clean as possible.
Terminate Chords With Hammer-Ons and Pull-Offs
Once you’ve mastered playing single notes with your fretting hand, combining those techniques with chords is time. You’re going to want to use a hammer-on or a pull-off to transition between the two. Depending on the chords you’re playing, you’ll want to use different combinations of hammer-ons and pull-offs, so you might want to keep a fingering chart nearby.
Don’t be afraid to experiment with different strumming patterns while tapping. You’re not limited to strumming the way most people do it, where some guitarists keep their rhythm consistent. For example, you can play around with the amount of pressure you put on the strings or the angle at which you’re striking the strings with your pick.
Find whatever works for you and stick to it.
Master Your Hand Positioning
Keeping your wrists and hands as comfortable as possible brings you a giant step closer to mastering pretty much all techniques. How you position your tapping hand determines how easily you will be able to tap. Different guitarists position their tapping hands differently; what works for them may not apply to you.
You can try hand positions like:
- Wrapping your ring finger around the fretboard to hold your hand in place.
- Lightly place your palm on some of the strings to keep them quiet.
- Resting your arm on the guitar’s body for support and many other positions.
If it helps, use shapes to find chords while typing.
You will face a bigger challenge when you start branching out from playing simple chords. An easy way to avoid confusion is to have the shapes in your head, so you’ll know exactly where to place your fingers without needing to look anything up.
Pro Tip: Keep your wrist straight. Your palm should be positioned as if you were holding onto a ball in your hand. Bending your wrist causes discomfort and hinders you from playing effectively.
Learn To Play by Ear
Learning by ear is an excellent way for anyone to learn how to play guitar fast and efficiently. It helps you recognize chords quicker and sync your hand movements faster to play notes without needing visuals.
Build Up Your Finger Strength
Whenever you learn a new guitar technique, your goal should be to master the technique and build up your strength in that area. This means that you should practice different exercises that will strengthen your fingers to make them more agile and responsive. Be sure not to overdo it; you don’t want to get any injuries!

Common Mistakes Guitarists Make When Tapping
Beginners and pros alike make mistakes that derail their performance. Here are a few mistakes guitarists often make during taping:
- String muting. Guitarists often fail to mute strings that shouldn’t be vibrating in their patterns. These strings create too much noise that ends up in the final output. Additionally, holding on to a note longer than needed paves the way for some crappy, less professional performance. So, keep an eye on how you release your notes to prevent issues.
- Poor timing. Timing is everything when it comes to tapping. However, most people’s timing is not the best when playing the guitar. If your timing is off, producing solid and clear sounds may be challenging. You can always improve your timing by using a metronome.
- Failure to focus on rhythm. Tapping is not just about playing fast notes – which is what most guitarists will have you believe. On top of speed, these notes must fall in place with the song’s rhythm. If you have to tap slower, tap slower.
- Skipping the fundamentals. When learning how to tap, you want to focus on getting your left and right-hand fundamentals beforehand. Getting the strength, coordination, and awareness of your left-hand fingers is of utmost importance when tapping. Without it, you may find yourself struggling with single notes and other fingerpicking techniques that require strong left-hand fingers.
- Playing too many notes at once. In case you didn’t notice, tapping is just a series of repeated notes – not too many notes cramped up into tight spaces. If you follow any high-profile guitarists, you’ll see them playing what looks like far more than six strings at once. Don’t be tempted to do the same, especially if you’re new to tapping.
- Focusing on speed too much. New guitarists are often guilty of prioritizing speed over technique when learning how to tap the instrument. While speed accounts for the final output, learning to play slowly can help you master a good technique and reduce the risk of injury when tapping.
There are lots of unnecessary movements when you first start tapping. For example, you might be tempted to play faster and lift your fingers and thumbs up or down too far away from the fretboard because you are rushing to get to the next fret as quickly as possible. That’s where the risk of injury starts to grow.
Conclusion
Whether you’re an experienced player or just starting out, the exercises outlined in this article can help you get better at guitar tapping. However, nothing beats regular practice when cultivating new techniques into your routine. Regular practice with these drills will help your fingers become more agile, your chord changes quicker and more precisely, and your rhythm stronger.
If you want to find out what my recommended guitar gear is, then here is what I recommend on Amazon:
- Fender Cutaway Acoustic-Electric Guitar Bundle (MY FAVORITE GUITAR)
- Snark SN-8 Super Tight All Instrument Tuner (Easiest Tuner I’ve Used)
- 6 String Acoustic Guitar Capo (Best CAPO for quick changes)
- Dunlop Max Grip 1.0mm Nylon Picks (Thick Guitar Pick So You Don’t Lose Grip!)
- Universal Guitar Stand (Cheap & Minimalist Guitar Stand I Recommend)
- Levy’s 2″ Wide Quick Adjust Guitar Strap (Best Guitar Strap For Any Level)
Related Posts:

