The bridge on an electric guitar can quickly get grubby and dirty, especially because it is one of the areas of a guitar that gets touched most frequently. Keeping the bridge clean helps your guitar look nicer, ensures that everything keeps working as it should and prevents rust. However, cleaning an electric guitar bridge can be intimidating if you’ve never done it before.
Here’s how you can clean an electric guitar bridge in 7 steps:
- For a quick clean, rub a lint-free cloth over the bridge.
- Remove the strings or cut them off.
- Use a toothbrush, warm water, and dish soap.
- Use a lint-free cloth and drinking straw to dry water.
- Use a cotton swab to dust hard-to-reach areas.
- If necessary, remove the bridge and use WD-40.
- Polish the bridge.
Some of these steps include advanced techniques which can damage your guitar if not done properly so be careful! Keep reading if you’d like a thorough guide to getting your electric guitar bridge nice and clean hopefully without causing any damage.
If you want to find out what my recommended guitar gear is, then here is what I recommend on Amazon:
- Fender Cutaway Acoustic-Electric Guitar Bundle (MY FAVORITE GUITAR)
- Snark SN-8 Super Tight All Instrument Tuner (Easiest Tuner I’ve Used)
- 6 String Acoustic Guitar Capo (Best CAPO for quick changes)
- Dunlop Max Grip 1.0mm Nylon Picks (Thick Guitar Pick So You Don’t Lose Grip!)
- Universal Guitar Stand (Cheap & Minimalist Guitar Stand I Recommend)
- Levy’s 2″ Wide Quick Adjust Guitar Strap (Best Guitar Strap For Any Level)
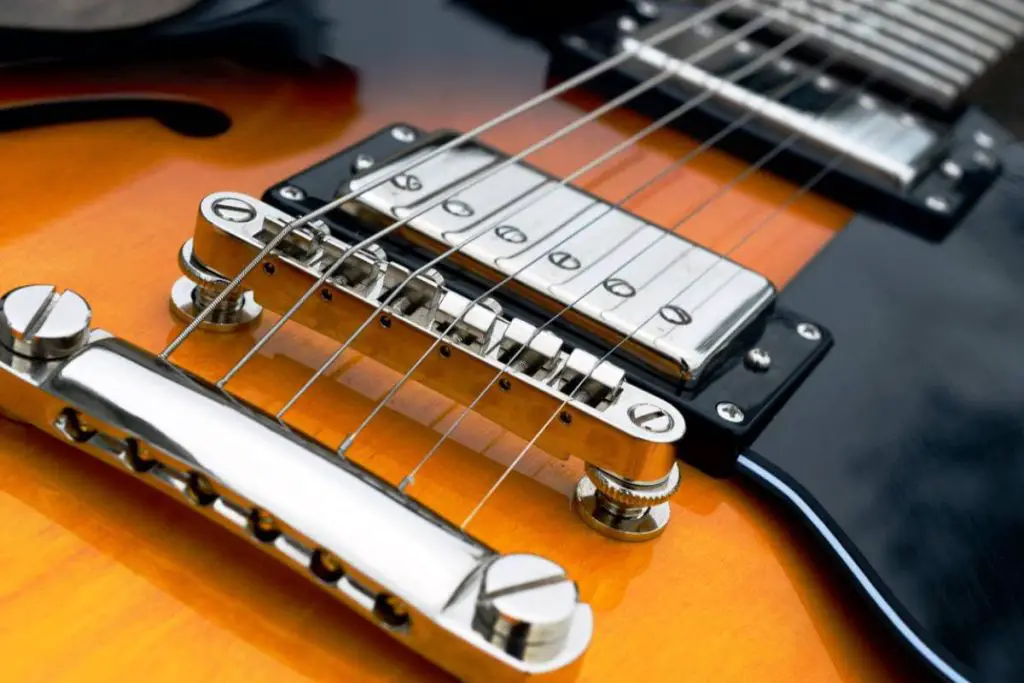
1. Rub a Lint-Free Cloth Over the Bridge For a Quick Clean
If you don’t have a lot of time or if your bridge isn’t that dirty, you can clean it quickly with just a lint-free cloth. Simply slide the cloth under the strings and rub it over the bridge to pick up dust and moisture.
If you don’t already have a cloth to use, I recommend the Niveaya Multi-Functional Reusable Lint Free Cloths from Amazon.com. These microfiber cloths quickly absorb water and won’t leave any streaks on your bridge. Additionally, they are reusable and durable, so you can keep using them for years, and they won’t wear out.
2. Remove the Guitar Strings
If a quick solution won’t make a difference then it’s time for a deeper clean. Removing the strings from an electric guitar is a relatively straightforward process, and if you haven’t already learned how to do this, now is a perfect time.
Most serious electric guitar players who play their guitar regularly change their strings at least every three to four months, so it’s a process you’ll have to get used to.
You should replace your strings when they get rusty or when they frequently fall out of tune. If you don’t play often, you won’t have to replace your strings as much. On the other hand, some players replace their strings once a week.
If you’re unfamiliar with changing strings, take a picture of the strings so you can replicate the path after you’ve cleaned the bridge and you’re ready to restring your guitar.
Loosen the strings by down-tuning the guitar until you can unwind the strings and pull them off the guitar’s body. To down-tune, pull the tuning peg counterclockwise. Alternatively, if you’re going to replace the strings, you can cut the old ones off since you won’t need them anymore.
Be sure to take your time; you could damage your guitar if you try to yank the strings out too quickly.
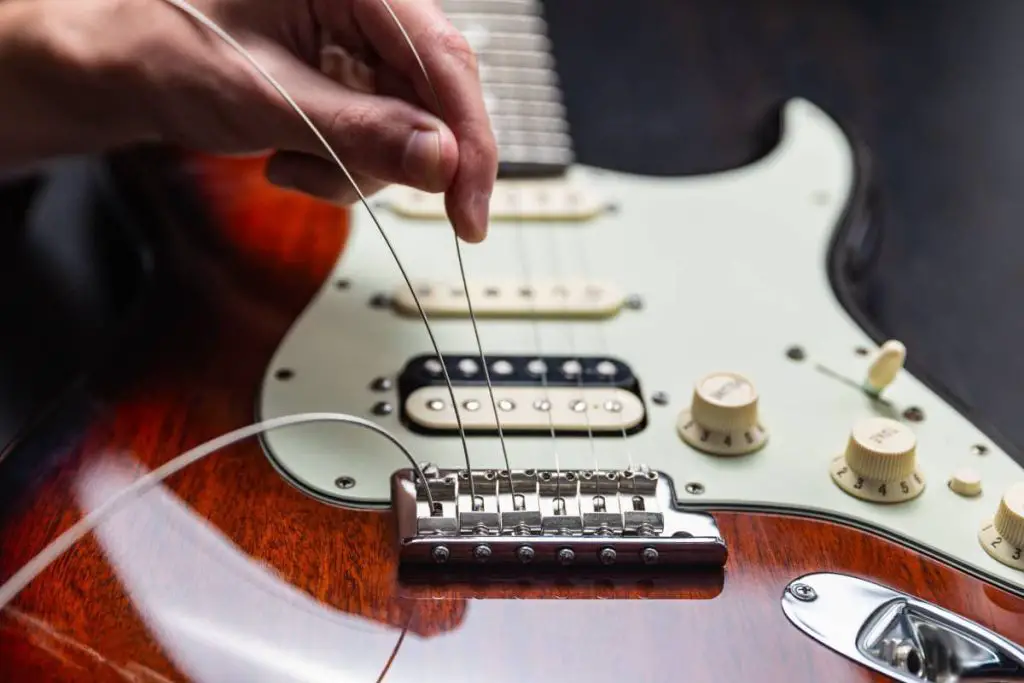
3. Use a Toothbrush, Warm Water, and Dish Soap
Bridges are prone to rust and damage because guitar players touch the bridge often, so the oils and dirt on their hands rub off on the hardware. Because of this, they often require more than just a quick clean with a cloth.
For a more thorough cleanse, you’ll need to use a soft-bristled toothbrush so you don’t scratch the bridge. I recommend the Colgate 360 Extra Soft Toothbrush for Sensitive Teeth, which you can get on Amazon.com. The bristles on this toothbrush are 48% softer than ordinary manual toothbrushes, and the raised cleaning tip makes it easier to get to every part of the bridge.
You’ll also need some dish soap. You can use whatever dish soap you use to wash your dishes. I use Dawn Original Dishwashing Soap (available on Amazon.com). This soap is the best selling soap in the United States, so it is a well-known and trusted brand, and it is known for its versatility for various cleaning tasks around the home.
Here’s how to clean your bridge:
- To make the cleaning solution, add a few drops of dish soap to some warm water.
- Dip a clean and lint-free cloth into the water and squeeze out any excess.
- Wipe the bridge with the cloth. You can use a soft-bristled toothbrush to scrub any particularly dirty areas.
4. Dry The Guitar
Drying your guitar after you clean it is extremely important, as any water left on wood can cause significant damage as the water seeps deeper into the wood and ruins it’s structural integrity. You can use a dry cloth to dry the areas you’ve cleaned. If you can’t reach some damp areas, you can blow air through a drinking straw to dry up the spot.
If you don’t dry your guitar completely, the wood can swell and alter the guitar’s tone. The sound will be more dull, which is undesirable.
When you’re done cleaning, no moisture or residue should be left behind.
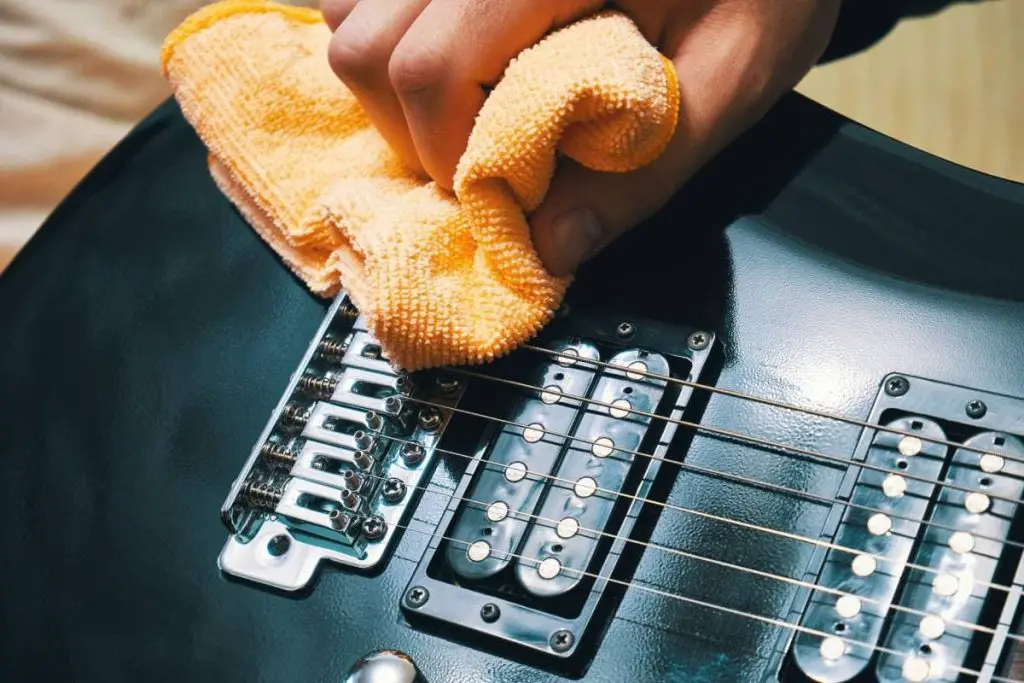
5. Use a Cotton Swab to Dust Hard-To-Reach Areas
Fixed bridges don’t have any hard-to-reach places or cavities that you need to worry about, but some other types of bridges do. Floating bridges and tremolo systems have cavities that can be difficult to clean. Furthermore, saddles can occasionally pose a cleaning challenge.
The best way to get to these places and wipe them down is to use a cotton swab. My favorite swabs to use for cleaning are the PINGMIC Long Cotton Swabs from Amazon.com. These swabs are tightly wound and have strong bamboo stems, so they won’t break while you’re cleaning. They are also six inches long, so they can reach the cavities.
6. If Necessary, Remove the Bridge and Use WD-40
If your bridge is extremely dirty and has already begun to rust, you may need to clean it even more thoroughly. To do this, you’ll need to remove the bridge completely and apply WD-40. WD-40 acts as a rust preventative and a lubricant. However, you should be careful with this product because it could damage a guitar’s finish. You can apply the WD-40 using a toothbrush.
I recommend the WD-40 Multi-Use Product and Specialist Silicone Lubricant Combo Pack from Amazon.com. This two-pack includes the original formula lubricant and protective silicone lubricant. These formulas reduce stickiness and help release rusty parts. I also appreciate that the products have a smart straw nozzle that gives you more control over where the spray is going.
7. Polish the Bridge
The final step of cleaning an electric guitar bridge is making it shine with some polish! You shouldn’t overuse polish, though. I recommend only applying polish every three or four months. The Fender Guitar Super Care Kit Bundle (available on Amazon.com) contains its high-quality polish with no silicones, resins, polymers, alcohol, or bonding agents. This makes it a gentle formula that won’t damage your guitar. It is also effective in reducing fingerprints and streaks.
I also like the MusicNomad Guitar Polish, and Wax (available Amazon.com) because it acts as a cleaner and a polish. The polish is infused with white Brazilian carnauba wax because it creates a glossy and acoustically transparent shield. The formula is safe for use on most lacquer finishes, but if your electric guitar has a matte finish, I do not recommend this product.
8. Replace the Strings
Once your bridge is nice and clean, it’s time to replace the strings and get back to playing! Be mindful not to tighten them too much because new strings need time to adjust to the new tension applied to them. If you overtighten them right away, they could snap.
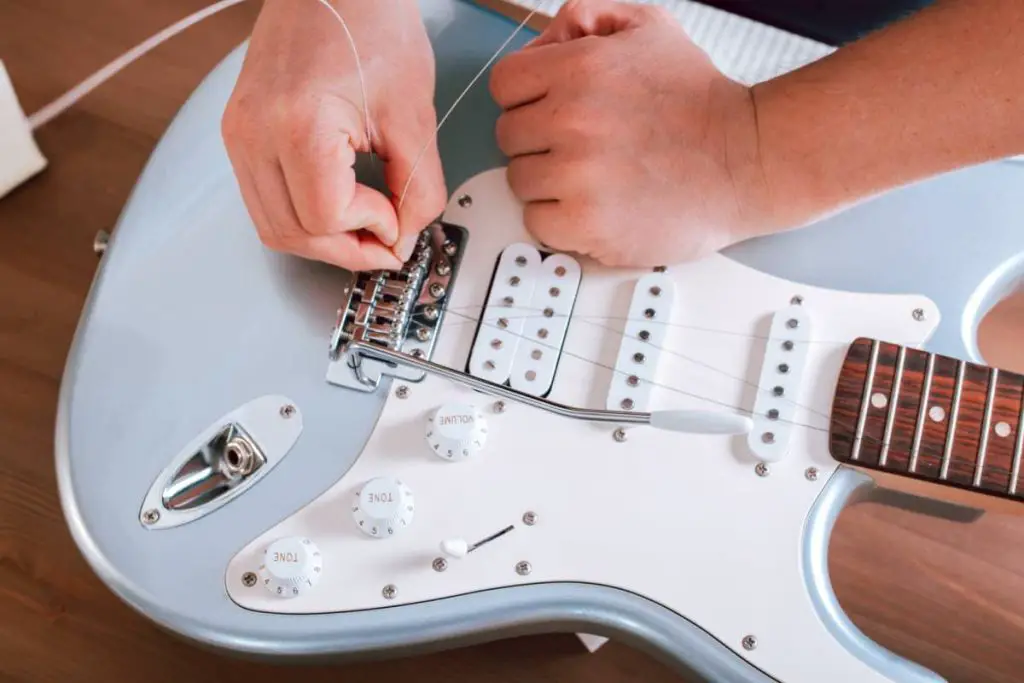
Here’s how to replace your strings:
- Identify the strings using the packaging label or the color of the string at the ball end.
- Insert the string through the corresponding bridge entry.
- Pull the string all the way through.
- Align the string with the correct bridge saddle.
- Pull the string taut but not too tight.
- Pull the string to the center of the correct tuning post.
- Ensure there are no twists in the string.
- Tighten the string with the tuning key until the ball end is tight against the bridge.
- Trim off any excess.
- Tune the guitar.
The following table outlines some of my favorite electric guitar strings that you can give a try the next time you’re ready to freshen up your tone after cleaning your bridge. All links are available on Amazon.com.
| Strings | Why I Love Them | Possible Disadvantages |
| Ernie Ball Regular Slinky Nickel Wound Electric Guitar Strings | There are seventeen different gauges available, ranging from 8-38 to 12-62. There are half-gauges available. They are durable. Regular Slinky’s 10-46 gauge is the industry standard. They’re packaged in element shield packaging, which prolongs their life.The strings make a bright, pleasant tone. Slash, Eric Clapton, and Metallica all use this brand. Made in the United States. They are affordably priced. | The strings aren’t coated. Some think the sound is too bright. Some users have reported that the strings break easily. |
| D’Addario Nickel Electric Guitar Strings | These strings have a variety of construction methods, so you can find exactly what you need.They last longer than most nickel-wound strings. They create a sound that is bright and warm. There are wide gauge options. | There’s so much variability that the choice can be overwhelming. Some users report that the strings unwind easily. |
| Elixir Optiweb Electric Guitar Strings | The strings are coated so they last longer. The strings sound bright, even with the coating. The coating protects against corrosion and debris. The tone life of these strings is long-lasting, so you won’t need to replace them as often. | Some players think that coated strings don’t resonate as well as uncoated strings. They are more expensive than other strings on the market.Some users report that these strings break easily. |
| Rotosound UM11 Ultramag Electric Guitar Strings | These strings have magnetic properties that deliver extra volume and sustain. They are imbued with corrosion-resistant properties, so they last longer.These strings have reduced friction, so the tuning is more stable. | The magnetic properties may be unnecessary. The strings are a bit pricier than other strings you can buy. |
| D’Addario NYXL Electric Guitar Strings | D’Addario is a reliable brand.The NYXL range is designed for strength. The strings have a high-carbon steel core and can therefore withstand lots of whammy bar use. The strings have great tuning stability, so you get in tune faster and stay in tune for longer. There are 20 different gauges to choose from. | They are more expensive than other non-coated strings.The strings come in one package, so they often get tangled. Some users report that they break easily. |
Now you’re ready to start playing your guitar again, and with a sparkling bridge and excellent strings!
Why Should I Clean My Electric Guitar Bridge?
Cleaning your electric guitar bridge is important because cleaning helps prevent rust and corrosion due to the dirt, sweat, and oil accumulating when you place your hands on it. A dirty or damaged bridge can also affect the sound when you play.
One of the most effective ways to properly maintain an electric guitar and extend its lifespan is to keep it clean. Electric guitars can be quite expensive, so it is best to take care of them properly so they last a long time and you get your money’s worth.
If your electric guitar bridge gets too rusty or damaged, you’ll either have to replace the bridge or replace the whole guitar, neither of which are particularly appealing options.
A dirty guitar not only looks bad, but the grime can also change the guitar’s tone and sound. You’re doing the best thing for your music and instrument by keeping everything clean.
However, be careful not to overclean or overpolish. Cleaning products can wear down the finish, and polish can build up and dampen your resonance.
Types of Electric Guitar Bridges
Knowing what kind of bridge you have is cleaning your electric guitar bridge effectively. All bridges support the strings and transmit vibration to the pickups, but the different types of bridges do this differently and can influence how your guitar sounds and how you should clean it.

There are two main types of electric guitar bridges: fixed and floating.
Fixed bridges, also called hardtail bridges, refer to bridges that are screwed down to the guitar’s body. These bridges have saddles with a spot for each string.
Floating bridges, also called tremolo bridges, act as the endpoint for the strings just like fixed bridges do, but they also have a tremolo. The tremolo allows the player to change the string’s pitch after it is plucked for an effect called “vibrato.”
Moving the tremolo arm up and down either adds pressure to the strings or takes it away, which changes the pitch. Musicians use vibrato to make their sound more unique, add warmth, and give longer sustain.
Vibrato is a challenging technique, but it does make you a more interesting player when you finally master it. Here is some advice:
- You should use your wrist more than you use your fingers. Most people think moving the tremolo arm is done entirely with their fingers, but the movement is more in the wrist than in the fingers. To accomplish this, move your hand to move the arm back and forth or in a circle.
- Play the string before applying vibrato. When you apply vibrato, you’re changing the note’s natural pitch. If you apply the vibrato too soon, the listener never hears the natural note, so they don’t know the target and have no context for what the music is supposed to sound like.
- Apply vibrato when a note is held for a long period of time. Vibrato should be used sparingly for the best results. It sounds best when it is applied to a note that is being held.
- Consider what genre you’re playing. You can change the speed of your vibrato by moving the arm more or less quickly, and certain vibratos sound more appropriate in certain genres. For example, a blues number calls for a slower vibrato.
- Know the different types of vibrato. There are three kinds of vibrato: classical, traditional, and blues. Classical is accomplished by moving the hand from left to right with pressure on the note, traditional has the hand moving vertically, and blues is more exaggerated.
A downside to floating bridges is that it is more difficult to change the strings with this type of bridge because they go through the guitar’s body. In contrast, with fixed bridges, the strings end on the top of the guitar.
Another drawback is that electric guitars with floating bridges must be tuned more often (Relevant Article: Why drop d tuning is used so often for acoustic guitar). This type of bridge simply doesn’t hold a tune as well as a fixed bridge, especially Fender Tremolos and cheaper electric guitars with poorly-made hardware.
An advantage is that floating bridges are more comfortable than fixed bridges. Floating bridges are flatter, so you can rest the side of your picking hand on it without discomfort.
Final Thoughts
Regularly cleaning your guitar is one of the most important parts of maintaining and caring for your instrument. The bridge can get dirty quickly, so it is important to keep up with cleanings and ensure that you’re cleaning thoroughly to avoid any damage.
If you want to find out what my recommended guitar gear is, then here is what I recommend on Amazon:
- Fender Cutaway Acoustic-Electric Guitar Bundle (MY FAVORITE GUITAR)
- Snark SN-8 Super Tight All Instrument Tuner (Easiest Tuner I’ve Used)
- 6 String Acoustic Guitar Capo (Best CAPO for quick changes)
- Dunlop Max Grip 1.0mm Nylon Picks (Thick Guitar Pick So You Don’t Lose Grip!)
- Universal Guitar Stand (Cheap & Minimalist Guitar Stand I Recommend)
- Levy’s 2″ Wide Quick Adjust Guitar Strap (Best Guitar Strap For Any Level)
Related Posts:

